You want to climb. But you’re stuck scrolling forums, overwhelmed by gear lists, and intimidated by gym lingo. And honestly? Most “beginner guides” skip the real barrier: not knowing where or how to start physically showing up. Here’s the fix—no fluff, just field-tested steps to get you on real rock.
Why “Just Go Climbing” Advice Fails Newcomers
“Find a partner, rent shoes, show up”—great if you live near Boulder or Squamish. For everyone else? That advice ignores geography, cost, and social friction. You don’t need more motivation. You need a logistical path that works for your location, budget, and schedule. Period.
How to Get to Rock Climbing: A Step-by-Step Field Plan
Forget theory. This is what actually moves you from couch to crag.
Step 1: Map Your Closest Access Point
Use Mountain Project—not Google—to locate climbing areas within a 2-hour drive. Filter by “beginner-friendly” routes (5.6–5.9). If nothing’s close? Target an indoor gym as your launchpad. Not forever—just until you build skills and find partners.
Step 2: Gear Up Without Going Broke
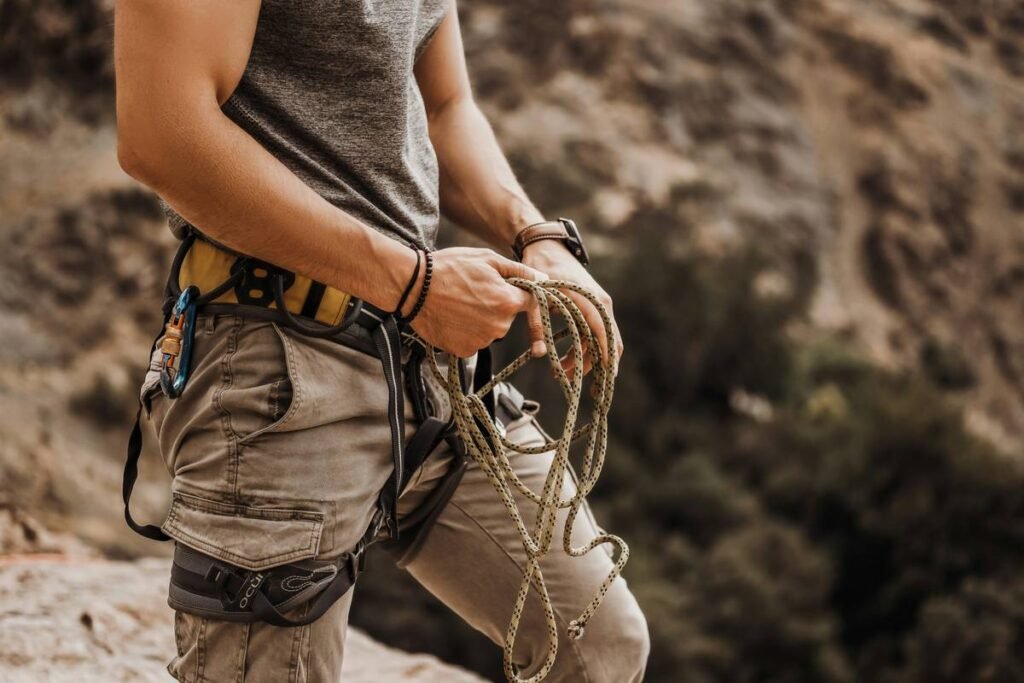
You don’t need $300 shoes day one. Rent at the gym. Buy used harnesses and belay devices from REI Outlet or local Facebook groups. The only non-negotiable? A certified helmet—never skimp there.
Step 3: Learn Belays Before Boulders
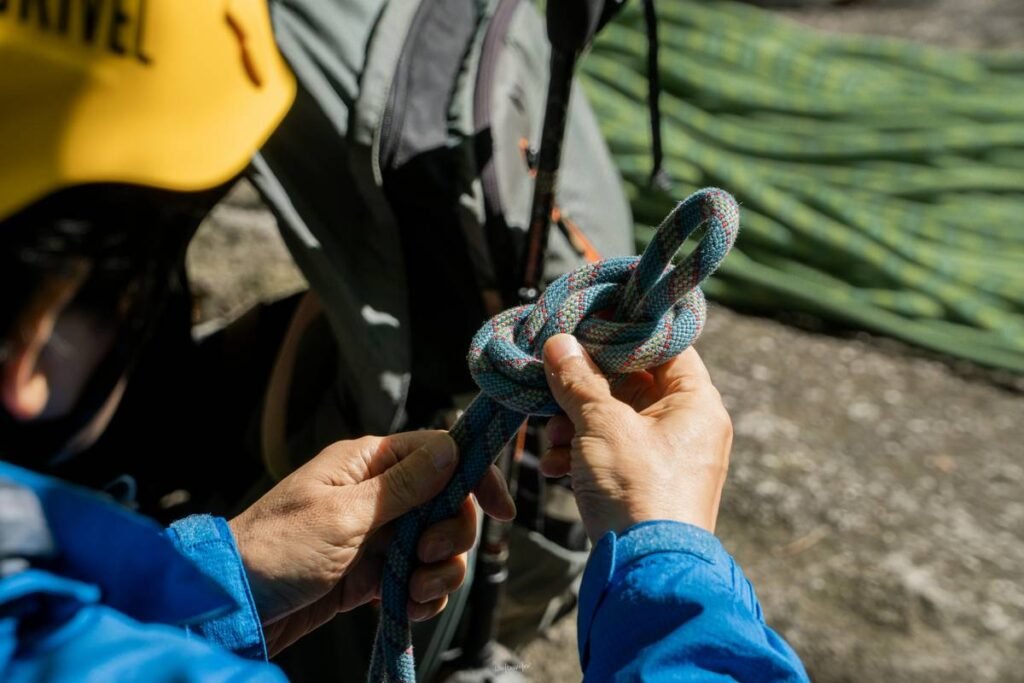
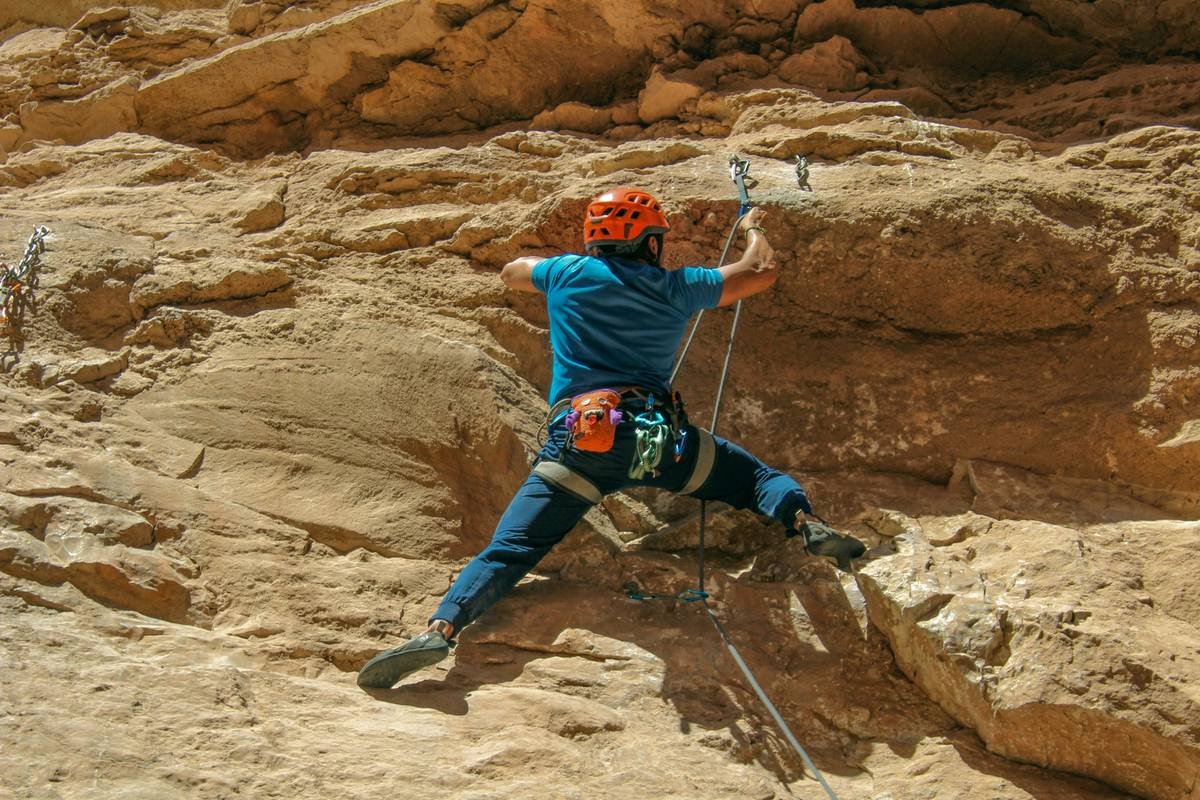
Top-rope or lead climbing teaches rope systems faster than bouldering ever will. Why? Because anchors aren’t optional in roped climbing—they’re central. Skip this, and you’ll hit a ceiling fast when moving outdoors.
| Pathway | Time to First Outdoor Climb | Startup Cost | Risk of Stalling |
|---|---|---|---|
| Gym-first (structured classes) | 4–8 weeks | $150–$250 | Low (community + coaching) |
| DIY outdoor meetup (e.g., r/climbing partners) | 2–6 weeks | $80–$180 | High (safety gaps, ghosting) |
| Guided single-day course | 1 day | $200–$400 | Very low (pro instruction + gear) |
Step 4: Anchor Literacy = Freedom
Most beginners treat anchors like magic boxes. Don’t. Spend one session learning how to inspect fixed anchors—corrosion, webbing wear, bolt hangers. Carry a backup quickdraw and know when to walk away. Real confidence starts here.
The Industry Secret Nobody Talks About
Here’s the truth: gyms profit from keeping you indoors. They won’t tell you that many crags have free, well-maintained anchors installed by local coalitions. And that land managers often run free “anchor stewardship” days—you show up, learn real rigging from route setters, and leave with beta no app provides. Find these through local climbing organizations (LCOs), not Instagram. It’s the fastest way to transition safely outdoors. But it’s never advertised. Now you know.
FAQ
What’s the cheapest way to start rock climbing?
Join a guided intro course—it includes gear and mentorship. Avoid buying full kits upfront.
Do I need a partner to begin?
Not immediately. Gyms offer auto-belays. For outdoor climbing? Yes—but use LCO events or gyms to meet vetted partners.
How long until I can climb outside safely?
With consistent gym practice and one anchor workshop: 6–10 weeks. Rushing causes accidents.