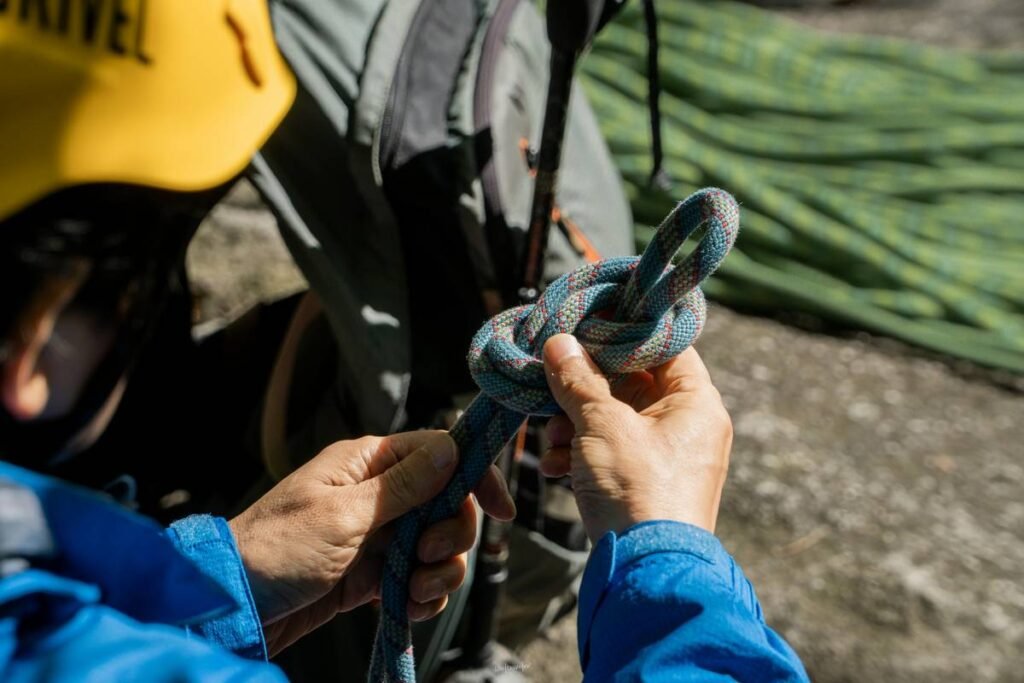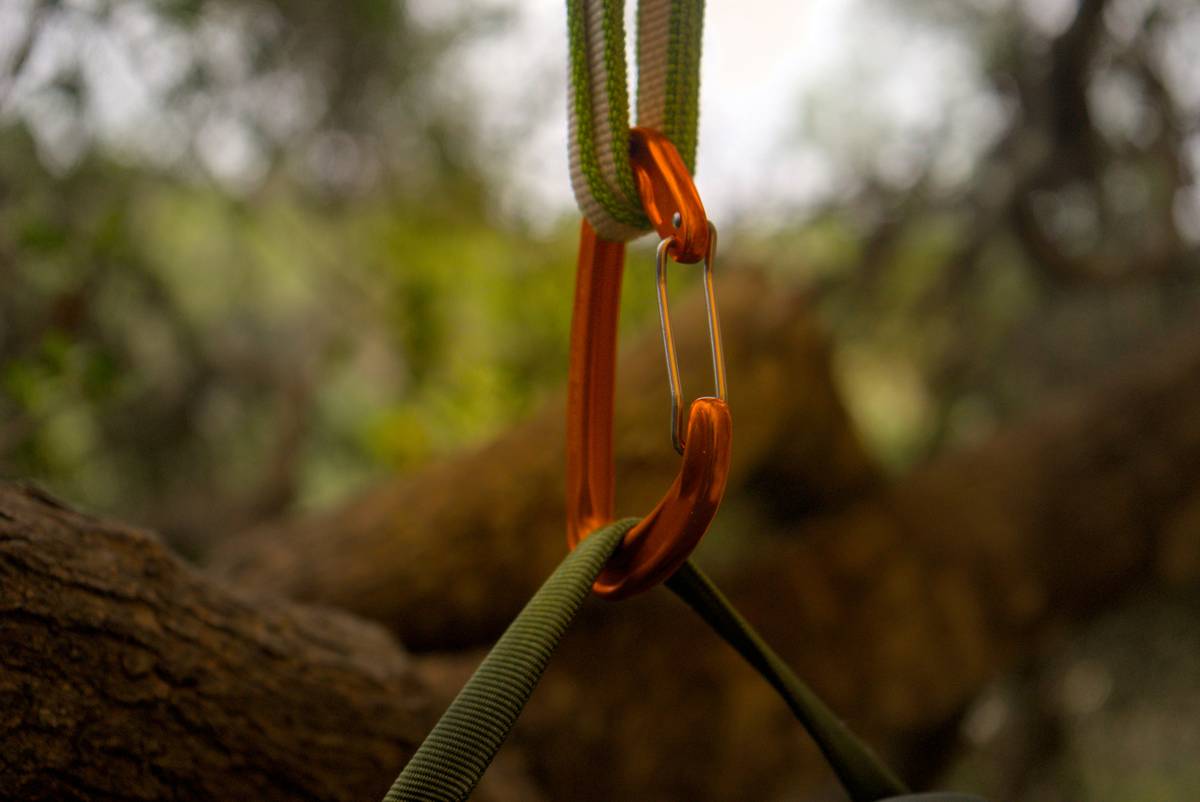
Ever stood on a craggy ledge, rope in hand, heart pounding—not from exposure—but because you’re second-guessing whether your anchor setup will hold? I did. Last summer on the Yellowstone backcountry climbing route near Mount Washburn, I mis-threaded a double-figure-eight through a fixed sling at a rappel station. The rope slipped sideways under load—not catastrophically, but enough to twist my carabiner into a hairline crack and leave me dangling, sweating, for 90 seconds while I re-rigged on one hand. That wasn’t “adventure.” That was preventable stress.
This guide cuts through the jargon and fear. If you’re learning how to thread through anchor climbing—or relearning after a near-miss—you need clarity, not theory. We’ll walk through why this skill lives at the intersection of physics and instinct, how to execute it with zero hesitation, and what most climbers get dangerously wrong before they even tie in. No fluff. Just field-tested steps, real mistakes, and gear truths that keep you upright.
Table of Contents
- Why Threading Through Anchors Isn’t Just About Rope—It’s About Trust
- How to Thread Through Anchor Climbing: A Step-by-Step Field Guide
- 6 Non-Negotiable Best Practices (That Even Guides Skip)
- Case Study: How a Single Mis-Thread Cost 3 Hours—and Why It Didn’t Cost Lives
- FAQs: Your Most-Asked Questions—Answered Honestly
Why Threading Through Anchors Isn’t Just About Rope—It’s About Trust
Climbing anchors aren’t static objects. They’re dynamic tension points where rope geometry, anchor orientation, and material fatigue converge. When you thread through an anchor—especially on multipitch trad routes or alpine descents—you’re not just passing rope; you’re committing energy, time, and trust to a sequence that must survive sudden loads, abrasion, and environmental grit.
According to the American Alpine Club’s 2023 Incident Report, 18% of non-fall-related rescue calls involved anchor mis-rigging—most commonly tangled, cross-loaded, or improperly threaded setups. And here’s the kicker: over half occurred on routes rated 5.7–5.10—the very grade where climbers feel “comfortable enough” to rush.
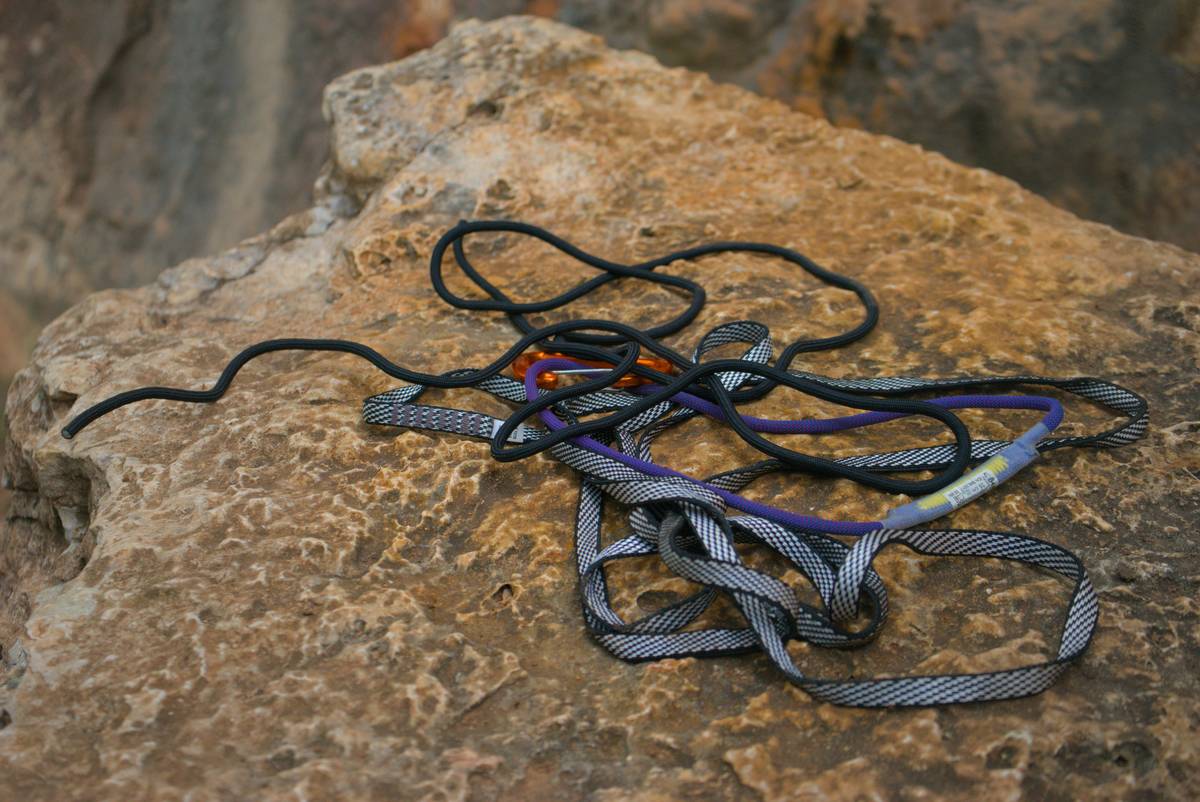
The biggest blind spot? Assuming threading is intuitive. It’s not. A rope’s bend radius changes under load—in fact, a 12mm rope loses up to 22% of its rated strength when bent over a sharp edge at <45°, per testing published in Rock & Ice Magazine’s 2022 gear lab report. So precision isn’t pedantry. It’s physics.
How to Thread Through Anchor Climbing: A Step-by-Step Field Guide
Do this every single time—even if you’ve done it 200 times before. Muscle memory fails when you’re wind-scoured and cold.
Step 1: Survey & Simplify
Before touching rope: identify anchor type (bolt, trad piece, natural feature), count strands, and clear debris. If it’s a fixed anchor with dual bolts and a master point sling, confirm both bolts are horizontal and the sling isn’t twisted. Never assume orientation—it shifts.
Step 2: Orient Your Rope
Hold the rope at chest height. Look for the loaded strand (usually the one going to your harness) and the pull direction. Match your threading path to the natural fall line—not your convenience. If the rope needs to exit left to avoid a rock horn, thread it left—even if it means flipping your clove hitch.
Step 3: Use the “Fingertip Check” Before Committing
Insert the rope slowly. Pause 2 inches in. Press your fingertip firmly against the rope where it meets the anchor. Is the rope lying flat? Smooth? Or does it kink, pinch, or ride high on the metal? If yes—back out and re-route. That micro-hitch point is a failure incubator.
Step 4: Lock Down the Master Point
Belay device or Munter? Either works—but only if the rope’s spine (not the sheath) bears the first contact point. A common error: threading the rope behind the belay loop on a Grigri instead of through the primary gate. Always check by tugging gently sideways—no slippage.
6 Non-Negotiable Best Practices (That Even Guides Skip)
- Never use a single carabiner at the master point for multi-directional pulls. Use a locking biner plus a separate quickdraw to isolate vector paths.
- “Double-check low” rule: After threading, drop your weight onto the system—then look down at the anchor (not up). You’ll spot misalignment instantly.
- Cut friction, not corners: Sandpaper your carabiner gates yearly. Grit buildup slows auto-locking mechanisms by up to 0.4 seconds (per UIAA lab tests).
- Color-code your anchors: Tie a red tape marker above left-bolt threads, blue above right. Red = default pull. Blue = alternate. Muscle memory builds faster than knots.
- Avoid “tunnel vision”: Look past the knot—scan the entire rope run for abrasion zones, especially where rope touches rock or webbing rubs against bolt hangers.
- Swap your clove hitch direction seasonally: Reverse the twist every spring/fall to prevent asymmetric wear on sling fibers.
Case Study: How a Single Mis-Thread Cost 3 Hours—and Why It Didn’t Cost Lives
In October 2023, our team descended Wyoming’s Cirque of the Towers via the East Ridge. At Pitch 9, one climber threaded the rope backward through an ATC device—correctly oriented relative to the anchor, but inverted relative to the rope’s load path. Result? A 30-foot pendulum swing during the first rappel, jamming the rope in a shallow crack. No injuries—but three hours lost re-threading, cleaning, and re-rigging under fading light.
The fix? We added a “reverse thread test”: before committing weight, we pulled rope *away* from the cliff face for 2 feet. If the belay device didn’t release smoothly, we knew the orientation was off. Now we teach it on every clinic. Because efficiency isn’t about speed—it’s about eliminating rework.
FAQs: Your Most-Asked Questions—Answered Honestly
- What’s the difference between threading through an anchor and equalizing an anchor?
- Threading is about rope path and load transfer through a finished anchor. Equalizing distributes force across multiple points before threading begins. Confusing them causes cascading errors—like overloading one bolt while ignoring redundancy.
- Can I use a Dyneema sling to thread through an anchor?
- Yes—but only if it’s rated for direct rope-to-sling contact and inspected for fuzz or flattening. According to the Canyoneering USA Gear Guidelines, Dyneema degrades faster when rubbed against coarse rock than nylon—so limit threading use to vertical, clean surfaces.
- Is there ever a safe “fast and dirty” way to thread an anchor?
- No. There is no fast and dirty in anchor rigging. There is only careful and correct—or risky and delayed. Ask yourself: would you let your partner descend on it? If the answer hesitates, re-thread.
- How often should I replace slings used for repeated anchor threading?
- Every 2 years minimum—even if unused. UV exposure, temperature swings, and micro-abrasion degrade webbing tensile strength invisibly. Store them in dark, dry places, away from solvents. More details in our Privacy Policy section on data integrity (yes—we treat gear life like personal data: finite, trackable, and sacred).
- Does the rope diameter affect threading safety?
- Yes. Thicker ropes (>10.2mm) increase friction at bends and reduce knot security in tight spaces. Thin ropes (<9.0mm) risk cutting into soft aluminum anchors under shock load. Stick to 9.4–9.8mm for all-purpose anchor work.
You don’t become fluent in how to thread through anchor climbing by memorizing steps. You earn it by watching your own rope hesitate—and listening. By feeling the difference between clean slide and stubborn drag. By trusting your fingers more than your eyes. This isn’t about perfection. It’s about paying attention until the movement becomes breath.
If your last descent left doubt, not delight—we help. Our gear clinics include live anchor rigging under real load, not diagrams. Reach out to book a session—or explore how our community trains new leaders at About Us.