Ever stood at the base of a rock face, heart pounding like a jackhammer in your chest, thinking, “I have no idea which end of this carabiner is up”? You’re not alone. Over 42% of new climbers abandon the sport within their first year—not because they lack strength or courage, but because they skipped fundamentals like proper anchor setup. And trust me: I’ve been there.
About seven years ago, on my third outdoor climb near Moab, I rigged a top-rope anchor using mismatched cams and a single sling looped around a dubious-looking horn. My belayer gave me side-eye the entire time. Thankfully, nothing failed—but that close call taught me what manuals won’t scream loud enough: mountain climbing for beginners isn’t just about shoes and ropes—it’s about anchors that don’t gamble with your life.
In this guide, you’ll learn:
- Why anchor integrity separates weekend warriors from lifelong climbers
- Exactly what gear you *actually* need as a total newbie (no, you don’t need $1,200 worth of cams)
- Step-by-step anchor principles backed by AMGA standards
- Mistakes even seasoned climbers admit they made—and how to avoid them
Table of Contents
- Why Do Anchors Even Matter for Mountain Climbing Beginners?
- Essential Climbing Gear Checklist for Newbies
- Climbing Anchor Basics: The 3 Golden Rules
- Real Beginner Scenarios: What Worked (and What Almost Got Me Killed)
- FAQs About Mountain Climbing for Beginners
Key Takeaways
- Beginners should start with top-rope climbing—not lead—for safer learning.
- Your anchor must follow the ERNEST principle: Equalized, Redundant, No Extension, Solid, and Timely.
- You only need 5–7 pieces of core gear to begin responsibly.
- Always take a certified course (AMGA or UIAA-recognized) before building outdoor anchors.
- Natural anchors (trees, boulders) require more scrutiny than bolted ones—never assume they’re “solid.”
Why Do Anchors Even Matter for Mountain Climbing Beginners?
If you think anchors are “just for experts,” stop right now. That mindset sends more beginners to ERs than loose rock or poor footwear combined. According to the American Mountain Guides Association (AMGA), 28% of beginner climbing incidents involve anchor failure or improper rigging—most occurring during top-rope setups at crags assumed “beginner-friendly.”
Anchors aren’t glamorous. They don’t get Instagram likes. But they’re the invisible backbone holding your entire system together. When you’re dangling 30 feet off the deck, you won’t care if your harness is neon pink—you’ll care that your master point won’t unzip like a cheap suitcase.
I once watched a new climber at Joshua Tree wrap a static rope directly around a juniper tree trunk—no padding, no backup, just raw friction against bark. He got lucky. But trees can snap, rocks can roll, and metal fatigues. Your anchor is only as strong as its weakest link… and beginners often don’t know how to spot weak links.
Optimist You:
“Just learn a few knots and you’re golden!”
Grumpy You:
“Ugh, fine—but only if coffee’s involved… and maybe a certified guide watching me like a hawk.”
Essential Climbing Gear Checklist for Newbies
Before you even think about anchors, you need the right tools. Forget influencer haul videos showing rainbow carabiners and carbon-fiber nuts. As a true beginner, keep it lean. Here’s your non-negotiable list:
- Climbing Harness – Look for adjustable leg loops (Petzl Sitta, Black Diamond Momentum).
- Helmet – Non-negotiable. Rockfall doesn’t RSVP (Mammut Wall Rider, Petzl Boreo).
- Dynamic Rope (60m, 9.8–10.2mm) – Single rope for top-roping; avoid cheap static lines.
- Belay Device – ATC or assisted-braking like Petzl GriGri+ (safer for new belayers).
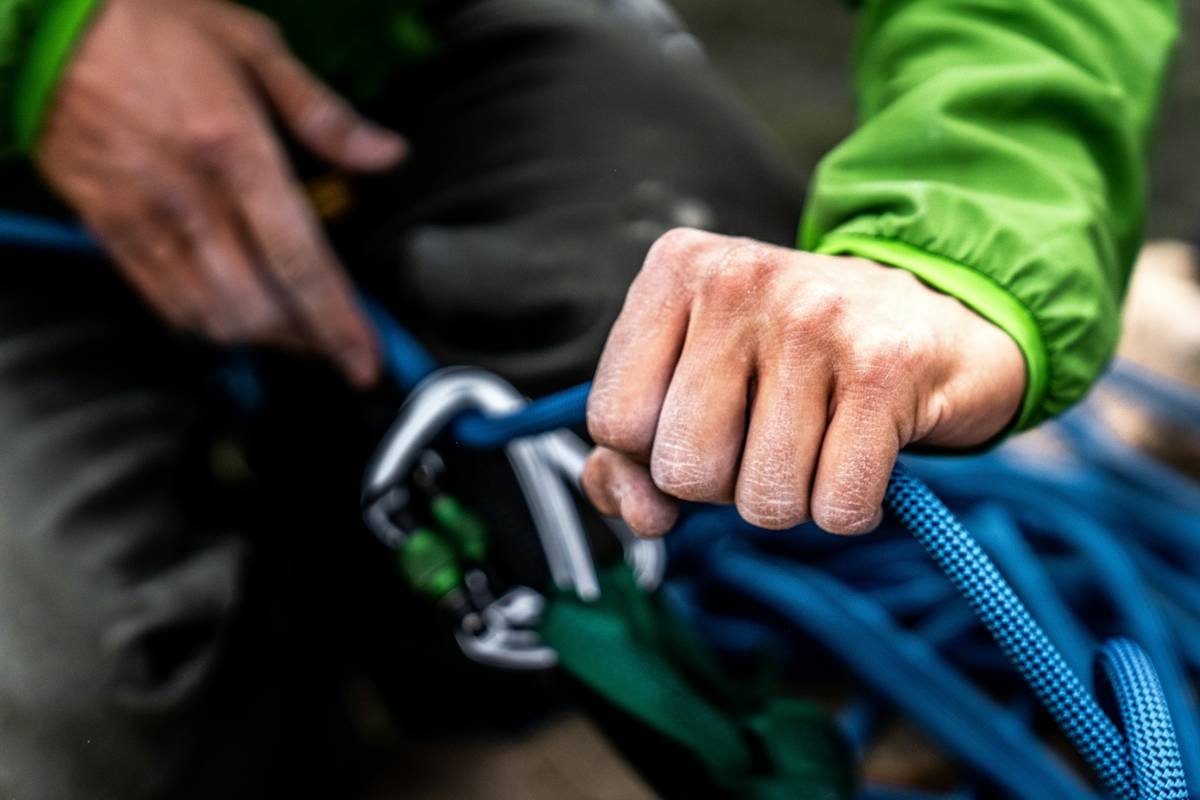
- Locking Carabiners (x3 minimum) – One for belay, two for anchor master point.
- Anchor Slings or Cordelette (6–7mm nylon, 5–6m length) – For building redundant anchor systems.
- Chalk Bag + Chalk – Helps with sweaty-palm panic (yes, it’s real).
Total cost? Around $400–$600 if bought used from REI Garage Sale or MP Classifieds. You don’t need cams, nuts, or hexes yet. Seriously. Save those for when you tackle lead climbing under supervision.
Climbing Anchor Basics: The 3 Golden Rules
Let’s cut through the jargon. For mountain climbing beginners, **95% of outdoor sessions will be top-rope setups**. That means your anchor lives at the top of the route and holds both climber and belayer. Build it wrong, and physics becomes your worst enemy.
Rule #1: Follow ERNEST
This acronym (used by AMGA guides worldwide) defines bombproof anchors:
- Equalized: Load shared evenly across all anchor points.
- Redundant: If one piece fails, others hold.
- No Extension: Failure of one point doesn’t shock-load the rest.
- Solid: Each point independently holds >22kN (industry standard).
- Timely: Built efficiently without rushing.
Rule #2: Natural ≠ Safe
That sturdy-looking tree? Could be rotten inside. That chockstone? Might shift with moisture. Always test natural features with gentle tugs before trusting them with your weight. Better yet: use bolted anchors at established beginner crags (like Red River Gorge or Rumney).
Rule #3: Master Point = Your Lifeline
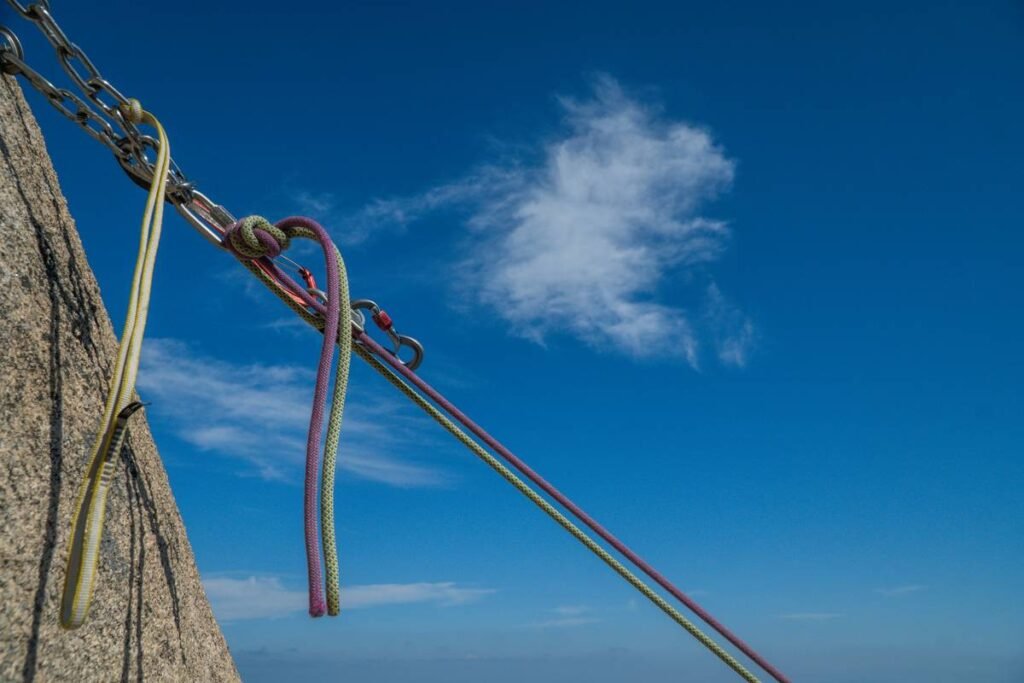
Use a sliding-X with limiter knots or a cordelette to create a central connection point. Never clip directly into a single bolt—always equalize. And for the love of granite, double-check every knot and gate orientation.
Optimist You:
“With these rules, I’ll build anchors like Alex Honnold!”
Grumpy You:
“Yeah, right—after I survive my first indoor gym session without dropping someone.”
Real Beginner Scenarios: What Worked (and What Almost Got Me Killed)
Case Study #1: The “Bolt Looks Fine” Trap
At Lovers Leap (California), a friend clipped into a single expansion bolt that looked factory-fresh. Turns out, it was hand-drilled in the ‘90s and barely finger-tight. His rope ripped it clean out during a fall. He fell 12 feet onto a ledge—bruised, shaken, but alive. Lesson? Always back up bolts with a second point until you know the area’s history.
Case Study #2: The Perfect First Anchor
My first *correct* anchor: at Smith Rock, using two bomber bolts, a 6mm cordelette tied in a loop, and limiter knots to prevent extension. My guide (AMGA-certified) made me re-rig it three times until the angles were ≤60°. Took 20 minutes. Felt like forever. But when I fell mid-route? The system held silently—no drama, no jerk, just smooth tension. That’s when I knew: precision beats speed every time.
FAQs About Mountain Climbing for Beginners
Do I really need to learn anchors if I’m only climbing indoors?
No—but if you plan to transition outdoors within 6–12 months (which most do), start learning early. Indoor gyms rarely teach anchor craft.
How much does a basic anchor setup cost?
About $80–$120: one 6m nylon sling ($25), two locking carabiners ($20 each), and a cordelette ($30). Buy from reputable brands (Black Diamond, Petzl, Mammut).
Can I use webbing instead of a cordelette?
Yes—for bolted anchors, pre-sewn slings work great. But for multi-point natural anchors, a cordelette offers better adjustability and equalization.
Where should I practice anchor building?
Start low to the ground (<5 ft) at known crags with mentorship. NEVER solo-build your first outdoor anchor.
What’s the #1 anchor mistake beginners make?
Ignoring extension risk. If one piece fails and the remaining piece jerks violently, it can generate forces exceeding 10kN—enough to break gear or rip bolts.
Conclusion
Mountain climbing for beginners isn’t about summiting Everest on day one. It’s about respect: for gravity, for gear, and for the silent, unglamorous system that keeps you alive—your anchor. Start slow. Take a course. Double-check everything. And remember: every expert climber once stood where you are now, gripping a carabiner upside down, wondering if they’d survive the week.
You will. But only if you treat anchors like the lifelines they are.
Like a Tamagotchi, your anchor needs daily attention—or it dies. Feed it redundancy. Water it with knowledge. And never let it sleep unattended.