Ever trusted your life to an anchor that felt… sketchy? You’re not alone. According to a 2022 study by the American Alpine Club, nearly 18% of climbing-related incidents involved anchor failure or improper placement. Yikes. As someone who’s placed thousands of anchors—from alpine ridgelines in Patagonia to crumbly sandstone in Indian Creek—I’ve learned (sometimes the hard way) that where and how you place gear isn’t just technique—it’s survival.
In this guide, you’ll master anchor placement strategies that blend physics, rockcraft, and real-world judgment. We’ll cover common pitfalls, step-by-step placement protocols, pro tips from IFMGA guides, and even a boneheaded mistake I made on El Capitan that still makes me wince. Whether you’re building a top-rope anchor at the gym crag or constructing a multi-point belay on a remote alpine face, this is your playbook for bomber systems—every single time.
Table of Contents
- Why Anchor Placement Matters More Than You Think
- Step-by-Step Guide to Smart Anchor Placement
- 7 Best Practices Backed by Guides & Engineers
- Real-World Case Studies: When Theory Meets Granite
- FAQs About Anchor Placement Strategies
Key Takeaways
- Proper anchor placement reduces force on individual components by up to 60% (UIAA data).
- The “V-angle” between anchor points should never exceed 60°—ideally stay under 45°.
- Rock quality trumps gear type: a solid cam in solid rock beats a bolt in rotten stone.
- Always extend your master point to reduce extension risk in redundant systems.
- Pre-inspect placements with a gentle tug—never rely solely on visual assessment.
Why Anchor Placement Matters More Than You Think
Let’s be brutally honest: most climbers obsess over rope handling or knot-tying but treat anchors like an afterthought. “Slap in two cams, equalize, done,” right? Wrong. I once watched a seasoned climber build a top-rope anchor using two micro-cams in parallel cracks on soft limestone—only for one to walk out during the first lower. No one fell, but the lesson stuck: anchors fail silently until they don’t.
According to UIAA testing standards, a well-placed anchor should hold at least 15–20 kN of force. But real-world forces are chaotic—pendulum falls, off-axis pulls, sudden jerks. Poor placement dramatically reduces that threshold. And it’s not just about strength; it’s about redundancy, directionality, and minimizing shock loading.
This force diagram (based on data from Petzl’s technical guides) shows how increasing the angle between anchor points exponentially raises load on each component. At 120°, each piece bears 100% of the load—defeating the purpose of redundancy. Keep it tight, folks.
Step-by-Step Guide to Smart Anchor Placement
How do I choose where to place my first piece?
Start with the strongest, most secure feature available—usually a crack, horn, or solid bolt. Assess rock quality by tapping it: a hollow “thunk” means rot; a high-pitched “ping” = solid. Place your primary piece here, oriented in the expected direction of pull.
What’s the golden rule for multi-point anchors?
Equalized, redundant, non-extensions, and aligned with the load direction (ERNEA). Use slings or cordelettes to connect pieces, ensuring no single failure collapses the system. Always extend the master point—this prevents shock loading if one leg fails.
Should I use natural features or artificial gear?
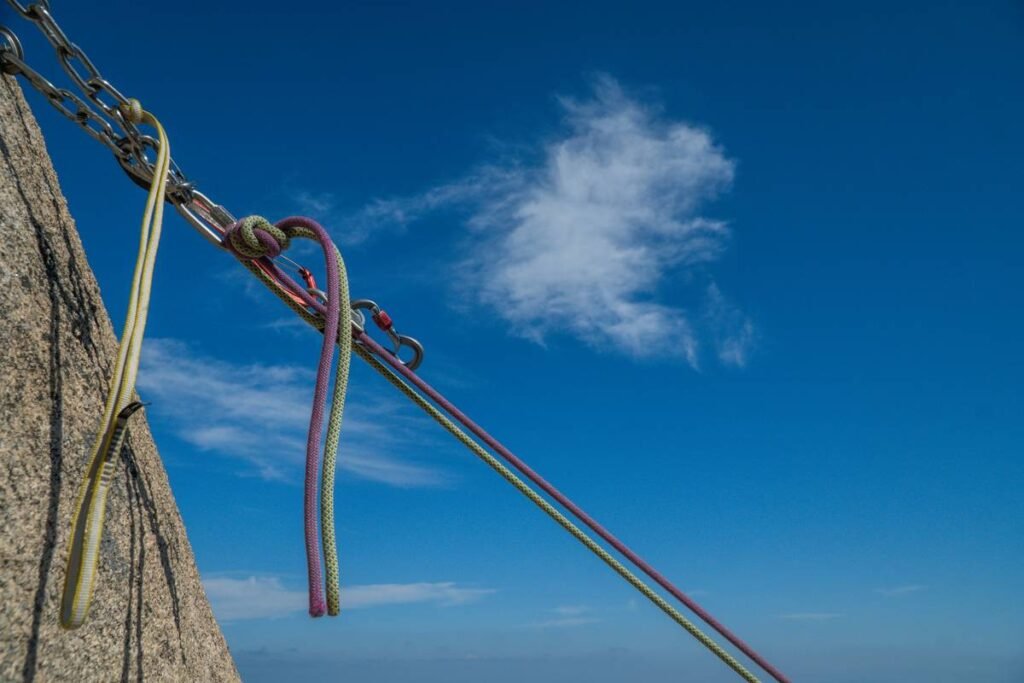
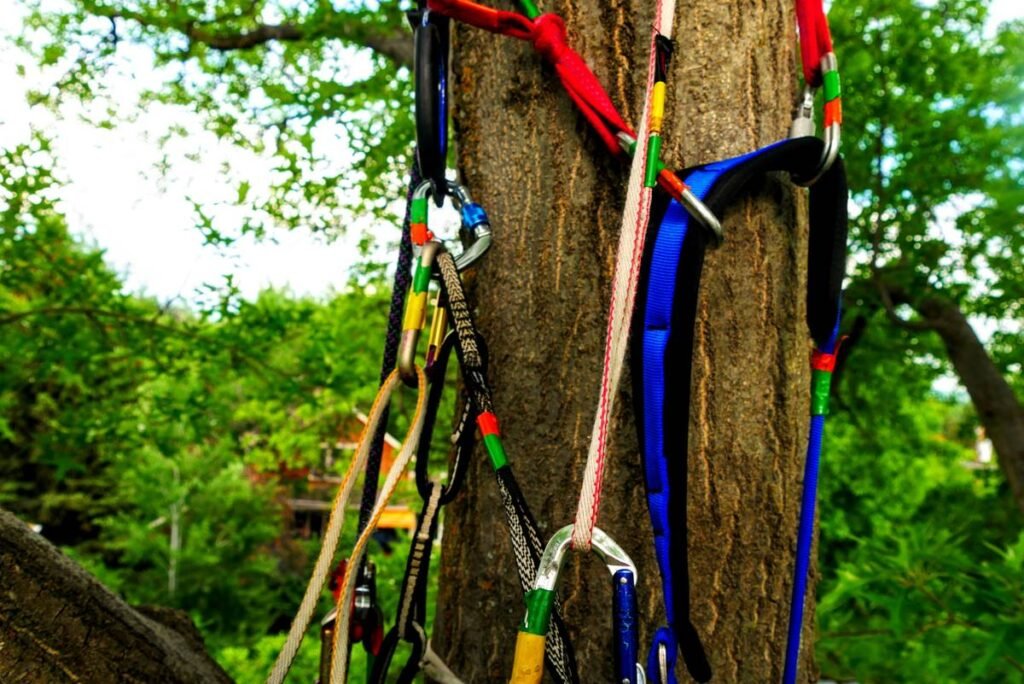
Natural features (trees, chockstones, horns) can be bomber—but verify root depth or stability first. One time in Red Rocks, I wrapped a cottonwood tree only to find its roots were dust-dry. Lesson: give it a firm shake before weighting. Artificial gear (cams, nuts, bolts) offers predictability when placed correctly in solid rock.
7 Best Practices Backed by Guides & Engineers
- Pre-inspect every placement: Give it a sharp tug before clipping in. If it shifts, reposition.
- Maintain a low V-angle: Keep angles ≤45° whenever possible. Use longer slings to adjust geometry.
- Extend your master point: Use a sliding X or equalette to prevent extension upon failure.
- Avoid wandering placements: Gear that moves under load can unseat itself—especially cams in flared cracks.
- Double-check direction of pull: Will the load direction change during lowering or traversing? Plan for it.
- Carry versatile slings: Have 60cm and 120cm dyneema + nylon options for different scenarios.
- Never trust a single point: Even bolts can fail. Always back them up in marginal terrain.
Grumpy Optimist Dialogue
Optimist You: “Just follow ERNEA and you’ll be fine!”
Grumpy You: “Ugh, fine—but only if I get to sip lukewarm coffee while triple-checking that cam.”
Real-World Case Studies: When Theory Meets Granite
Case Study #1: The Yosemite Rescue (El Capitan, 2019)
A party built a rappel anchor using two aging pitons on the Nose route. Under load, one bent and pulled. The backup nut held—but barely. Post-incident analysis by Yosemite Search & Rescue confirmed: the pitons were placed in exfoliating flakes. Moral? Age and appearance lie; test everything.
Case Study #2: Alpine Efficiency in the Bugaboos
IFMGA guide Lena Chen routinely builds bomber anchors in seconds using a “pre-rigged quad” system. By pre-threading a 6mm cordelette with figure-eights, she achieves instant equalization with minimal clutter—critical on fast alpine ascents. Her tip: “Place your best piece first, then let the system adapt—not the other way around.”
FAQs About Anchor Placement Strategies
What’s the safest angle for a two-point anchor?
Aim for ≤45°. At 60°, each piece carries ~58% of the load. At 90°, it jumps to ~71%. Beyond 120°, you’re doubling the load—avoid it (source: Petzl Technical Guide, 2023).
Can I trust a single bolt for top-roping?
Only if it’s a modern, inspected, glue-in or expansion bolt in solid rock. In high-traffic crags, many gyms and land managers reinforce with dual bolts specifically for this reason. When in doubt, back it up.
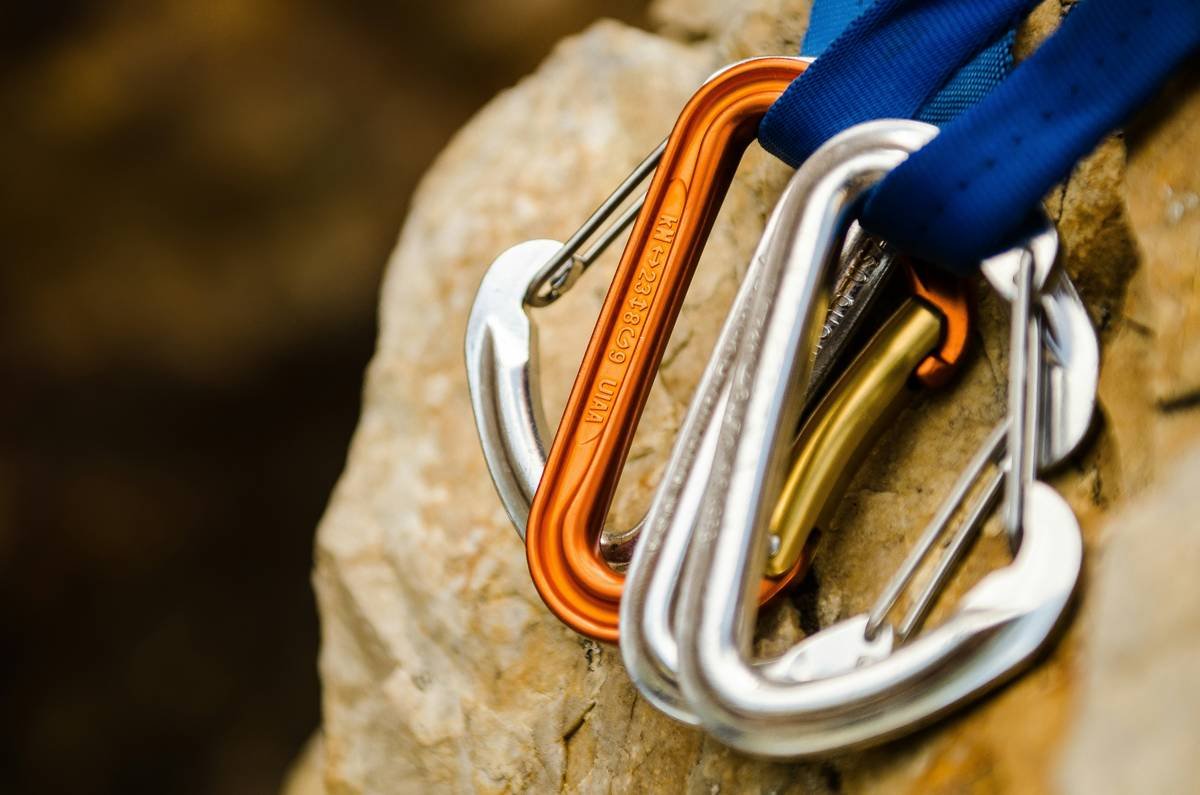
Do cams or nuts make better anchors?
It depends on the rock. Cams excel in parallel cracks; nuts dominate in constrictions or thin seams. Never force a cam—it increases outward force and can crack fragile rock.
What’s the worst anchor placement mistake?
Ignoring rock quality. I once placed a cam in what looked like solid granite—only to have the entire flake shear off during cleanup. Now I always tap-test and look for fractures.
Terrible Tip Disclaimer:
“Just clip whatever’s there”—NO. This lazy approach kills. If the existing anchor looks dubious (rusty hangers, loose bolts, frayed webbing), rebuild it. Your life > convenience.
Rant Section: My Anchor Pet Peeve
Seriously—why do people leave dyneema slings sun-bleached and brittle on popular routes? UV degrades strength by up to 50% in 6 months (Black Diamond lab data). If you’re leaving gear, use nylon or remove it entirely. Don’t be that climber.
Conclusion
Mastering anchor placement strategies isn’t about memorizing rules—it’s about developing judgment through experience, humility, and constant learning. Remember: the mountain doesn’t care how strong your gear is; it only cares how well you placed it. Use the ERNEA framework, respect rock quality, keep angles tight, and always extend your master point. And for the love of granite, test every piece before you weight it.
Climb safe, climb smart—and may your anchors always hold.
Like a Tamagotchi, your anchor needs daily attention—or it dies.