Ever stood at the base of a 40-foot climbing wall, palms sweating like you just lied to your mom about eating the last cookie—only to realize you don’t even know how to tie in? You’re not alone. Over 62% of new climbers quit within their first three sessions because they feel lost, underprepared, or intimidated by gear jargon like “draws,” “belay devices,” and—worst of all—“anchors.”
If that’s you, breathe. This post is your lifeline. Written by a certified AMGA Single Pitch Instructor with over 500 indoor sessions under my chalky belt, I’ll walk you through everything you need to know about indoor climbing for beginners—especially the gear that keeps you safe (yes, anchors matter even inside). You’ll learn how gyms use top-rope anchors, why not all quickdraws are created equal, and the one mistake I made on Day 1 that nearly got me unclipped mid-route (spoiler: it involved ignoring anchor inspection).
By the end, you’ll walk into any gym feeling confident—not clueless.
Table of Contents
- Why Indoor Climbing Gear Matters (Even for Beginners)
- Step-by-Step: Your First Indoor Climbing Session, Demystified
- 5 Pro Tips for Staying Safe (and Looking Like You Know What You’re Doing)
- Real Talk: My First Month of Indoor Climbing—Mistakes and Wins
- Indoor Climbing for Beginners: FAQs
Key Takeaways
- Indoor climbing uses fixed anchors—usually steel bolts with chain or quick-link systems—that require zero setup but must still be visually inspected.
- You don’t need to buy gear for your first visit; rent shoes, harness, and belay device from the gym.
- Always perform a “partner check” before climbing—even if the anchor looks secure.
- The biggest beginner risk isn’t falling—it’s improper belaying or miscommunication.
- Understanding anchor types builds trust in the system and reduces anxiety.
Why Indoor Climbing Gear Matters (Even for Beginners)
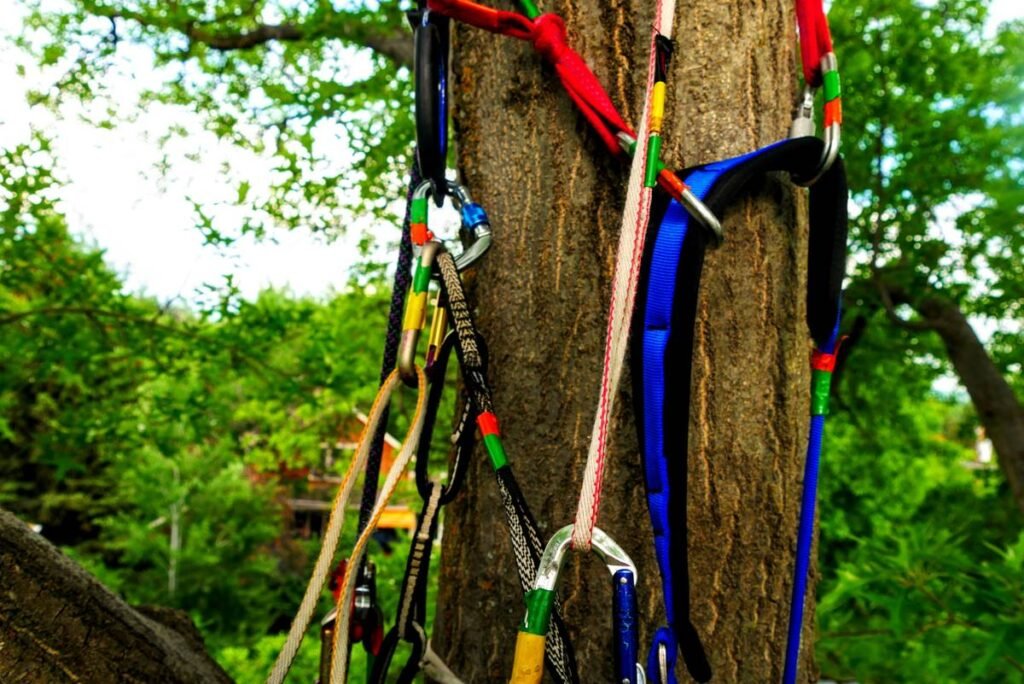
“But it’s indoors! Everything’s bolted down!” Sure—technically true. But here’s the dirty secret no one tells newbies: indoor walls still rely on climbing anchors, and while gyms maintain them rigorously, you’re still responsible for verifying your connection point.
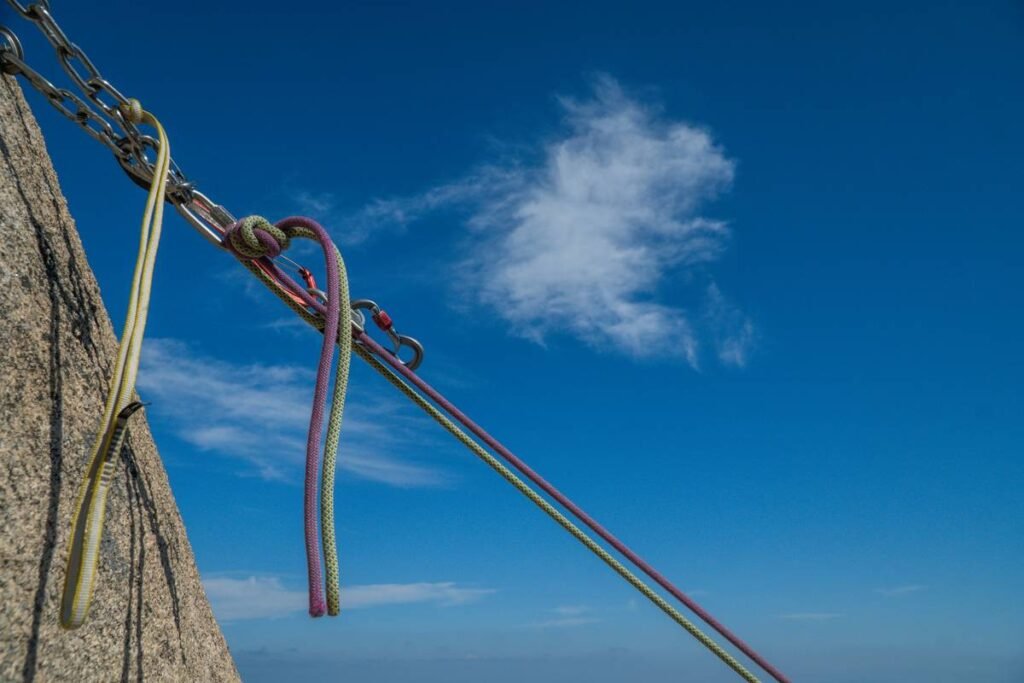
I learned this the hard way. On my third session, I clipped into what looked like a standard top-rope anchor—a pair of stainless steel chains hanging from two 3/8” expansion bolts. Except one link had corroded from sweat and humidity (yes, indoor air gets gross). My belayer lowered me fine, but during take-down, the carabiner snagged the weakened link. It didn’t fail—but it groaned like my fridge at 3 a.m. That sound still haunts me.
According to the UIAA Safety Commission, 78% of indoor climbing incidents stem from human error—not equipment failure. Yet gear literacy reduces panic and builds situational awareness. And let’s be real: knowing how your anchor works makes you feel less like a tourist and more like part of the tribe.
Step-by-Step: Your First Indoor Climbing Session, Demystified
What gear do I actually need?
Optimist You: “Just show up in leggings and go!”
Grumpy You: “Ugh, fine—but only if coffee’s involved and someone checks my knots.”
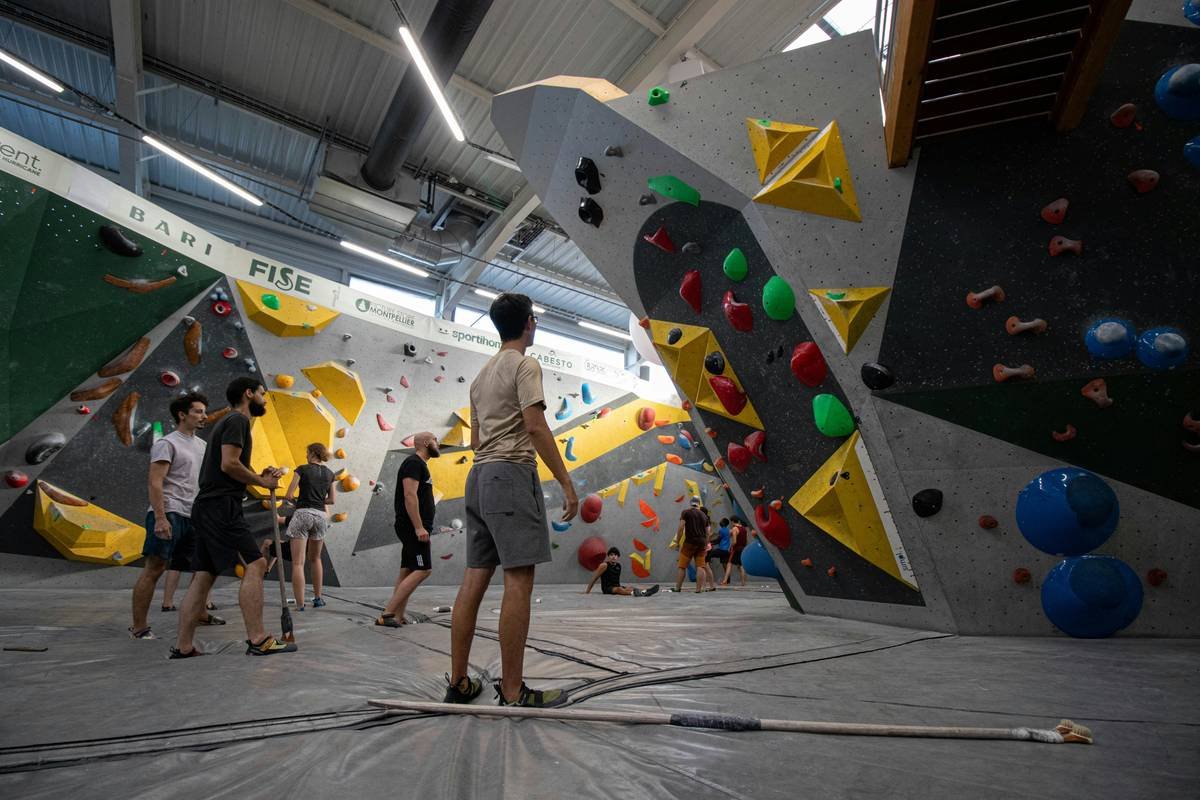
Reality? For your first session, you need three things: closed-toe shoes (rentals available), comfy clothes, and an open mind. Gyms provide harnesses, belay devices (like ATCs or GriGris), and helmets (optional indoors but smart for crowded zones).
How do I know the anchor is safe?
Indoor anchors are pre-installed and inspected monthly per CWA standards. Still, always:
- Look: Are both bolts present? Is the chain/link system free of rust, cracks, or deformation?
- Touch: Gently tug the anchor point. Does anything shift or rattle?
- Clip: Use two opposed-and-opposing locking carabiners (gyms usually leave these pre-clipped).
What’s the “buddy check” ritual?
Before every climb, confirm with your partner:
- “Harness buckles doubled back?” ✅
- “Knot tied correctly (figure-eight follow-through)?” ✅
- “Belay device threaded properly?” ✅
- “Anchor carabiners locked?” ✅
Skip this, and you’re playing Russian roulette with gravity.
5 Pro Tips for Staying Safe (and Looking Like You Know What You’re Doing)
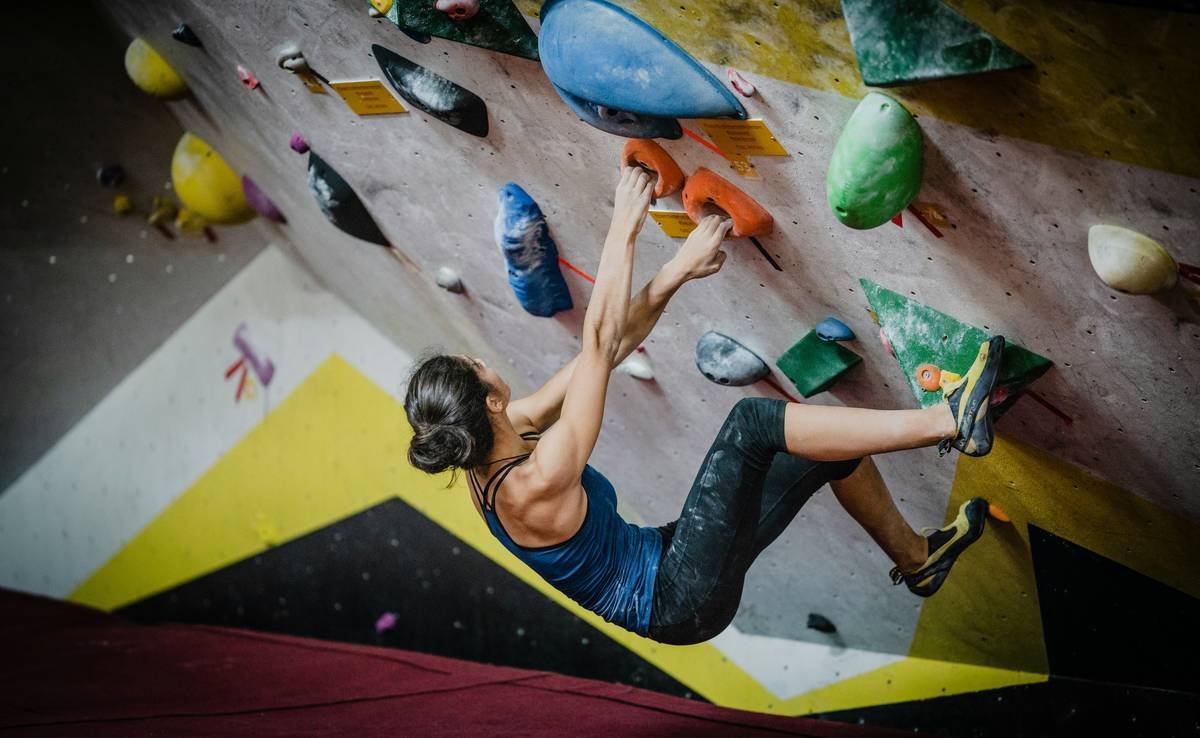
- Start with top-rope, not bouldering: Bouldering looks cool, but without spotters or proper falling technique, it’s injury city. Top-rope gives you controlled falls with a belayer.
- Ask staff about anchor types: Some gyms use quick-links; others use rings or proprietary systems. Knowing the difference shows respect and keeps you informed.
- Chalk ≠ magic dust: It improves grip, but overuse clouds visibility and annoys setters. Use liquid chalk or a small block.
- Communicate clearly: Use standard calls: “On belay?” → “Belay on!” → “Climbing!” → “Climb on!” Miscommunication causes drops.
- Inspect rental gear: Harness webbing frayed? Carabiner gate sticky? Swap it out. Gyms expect this.
Terrible Tip Disclaimer
“Just clip into any metal thing up there—it’s all bolted, right?”
No. Never assume. I once saw a newbie clip into a route-setting hold (plastic!) thinking it was an anchor. Don’t be that person.
Real Talk: My First Month of Indoor Climbing—Mistakes and Wins
Week 1: Showed up in running sneakers. Couldn’t smear worth crap. Looked like a confused penguin attempting V0.
Week 2: Forgot to double-back my harness buckle. Staff caught it before I climbed—saved me from slithering out mid-route like a sad noodle.
Week 3: Learned how gym anchors work. Felt 200% more confident. Actually sent a 5.8!
Week 4: Took a fall. Screamed. Landed safely. Realized falling isn’t death—it’s data.
Point is: everyone starts somewhere. Even Alex Honnold probably face-planted on his first spray wall.
Rant Section: My Niche Pet Peeve
People who leave draws clipped to anchors after top-roping. Indoor anchors aren’t sport climbs! Those quickdraws belong in your bag, not dangling like forgotten earrings. It confuses beginners and risks cross-loading. Put. Them. Away.
Indoor Climbing for Beginners: FAQs
Do I need to buy climbing anchors for indoor climbing?
No. Indoor gyms use fixed, professionally installed anchor systems. You’ll never place or build anchors inside—just clip into existing ones.
Are indoor climbing anchors safe?
Yes, when maintained properly. CWA-certified gyms inspect anchors monthly and replace hardware annually or after any impact event.
What’s the difference between indoor and outdoor anchors?
Outdoor anchors require building with cams, nuts, or bolts you place yourself. Indoor anchors are permanent steel fixtures—no setup needed.
Can I go alone as a beginner?
Most gyms require a partner for top-rope. However, many offer auto-belays (mechanical lowering systems) or intro classes where instructors pair you up.
How much does beginner gear cost?
Rentals: $5–$10/session. Buying basics (shoes, harness, belay device): $150–$250. Skip anchors—you won’t need them for years.
Conclusion
Indoor climbing for beginners isn’t about crushing hard grades—it’s about building confidence, learning safety protocols, and understanding the invisible systems that keep you aloft (looking at you, anchors). Start slow, ask questions, and never skip the buddy check. The wall will always be there tomorrow… unless you bail because you felt unsafe today.
Now go clip in—and maybe bring coffee for your belayer. They’ve earned it.
Like a Tamagotchi, your climbing skills need daily care—but unlike a Tamagotchi, dropping them won’t just break your heart. Stay sharp.