Ever stood at the base of a crag, heart pounding, palms slicker than a greased doorknob—only to realize you don’t even know how to tie into the rope correctly? Yeah, I’ve been there. In fact, on my very first outdoor top-rope session, I accidentally clipped my belay loop through my harness’s leg loop instead of the proper tie-in point. (Spoiler: My partner caught it before I left the ground—but my ego didn’t recover for weeks.)
If you’re new to rock climbing for beginners, that mix of awe and panic is normal. But here’s the good news: with the right gear knowledge—especially around climbing anchors—you can climb smarter, safer, and with way less “oh-god-what-am-I-doing” energy.
In this guide, you’ll learn:
- Why anchor integrity separates weekend warriors from lifelong climbers
- Exactly what gear you need (and what you can skip)
- Step-by-step instructions for setting up beginner-friendly top-rope anchors
- Real mistakes I’ve made—and how to avoid them
Table of Contents
- Why Do Climbing Anchors Even Matter?
- Step-by-Step: Setting Up a Beginner Top-Rope Anchor
- 5 Non-Negotiable Best Practices for New Climbers
- A Real Anchor Fail (And What We Learned)
- FAQs About Rock Climbing for Beginners
Key Takeaways
- Climbing anchors are your lifeline—never improvise without training.
- For beginners, stick to pre-built top-rope anchors at gyms or established crags.
- Your first anchor kit should include locking carabiners, slings, and a cordelette—not cams or nuts.
- Always verify anchor redundancy: if one piece fails, the system must hold.
- Take a certified anchor-building course before leading or building your own anchors outdoors.
Why Do Climbing Anchors Even Matter?
Let’s cut through the chalk dust: anchors aren’t just “ropes tied to rocks.” They’re engineered safety systems that absorb dynamic loads, distribute force, and—most critically—keep you from meeting gravity face-first. According to the American Alpine Club’s Accidents in North American Climbing report, **anchor failure accounts for ~12% of all serious climbing incidents**—and nearly all were preventable with proper knowledge.
As a former climbing instructor with over 400 days guiding in Red River Gorge and Joshua Tree, I’ve seen beginners fixate on shoes and chalk bags while ignoring the gear that literally holds their life together. Big mistake.
Here’s the reality: your harness, rope, and knots only matter if the anchor at the top of the route is bomber. And “bomber” isn’t a vibe—it’s physics.
Step-by-Step: Setting Up a Beginner Top-Rope Anchor
Optimist You: “Follow these steps and you’ll set a safe anchor!”
Grumpy You: “Ugh, fine—but only if someone’s checking my work. And maybe there’s coffee at the crag.”
If you’re climbing indoors or at a well-trafficked outdoor area (like Smith Rock or Rumney), you’ll usually find pre-installed anchor points—typically two bolts drilled into solid rock with chains or rings. That’s your starting line.
What Gear Do You Actually Need?
- Two **locking carabiners** (pear-shaped HMS biners preferred)
- Two **nylon or Dyneema slings** (60cm length)
- Optional but smart: a **cordelette** (6mm cord, 5–6m long) for equalizing
How to Build a Top-Rope Anchor (The Safe Way)
- Inspect the fixed anchors. Look for rust, cracks, or loose hardware. If anything seems sketchy, walk away.
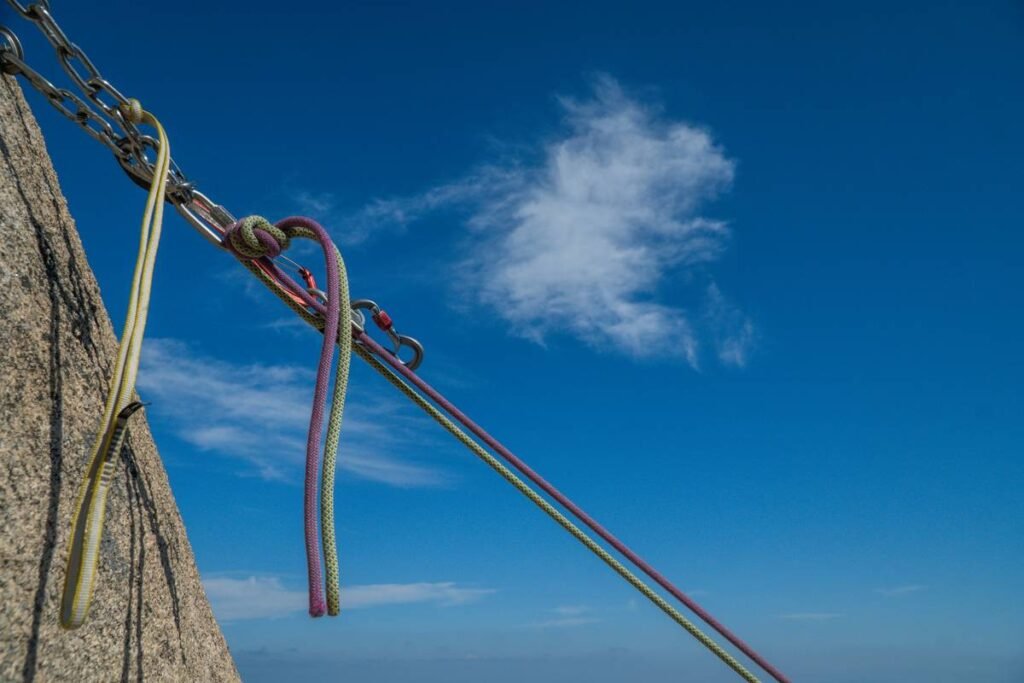
- Clip each bolt with a sling. Use a girth hitch or clove hitch to attach a sling securely to each anchor point.
- Create a master point. Join the two slings with an overhand knot or use a cordelette tied in a loop with a double fisherman’s knot, then equalize by pulling the strands until weight is evenly distributed.
- Attach locking biners. Clip two opposite-and-opposed locking carabiners to the master point. This prevents cross-loading and adds redundancy.
- Thread the rope. Pass the climbing rope through both biners so it runs smoothly for your partner.
Pro tip: Always perform a “tug test” before your partner climbs. Hang your full body weight on the system and watch for slippage or imbalance.
5 Non-Negotiable Best Practices for New Climbers
These aren’t suggestions—they’re survival rules carved from years of near-misses and mentorship under AMGA-certified guides.
- Never trust a single point of failure. All anchors must be redundant. If one bolt blows out, the system holds.
- Extend your anchor past the edge. Rope rubbing on sharp rock = shredded rope. Use slings to extend the master point over the lip.
- Communicate clearly. Use standard commands: “On belay?” → “Belay on!” → “Climbing!” → “Climb on!” Silence kills.
- Learn to back-check. Before your partner climbs, double-check: knots tied? Harness buckles doubled back? Belay device loaded correctly?
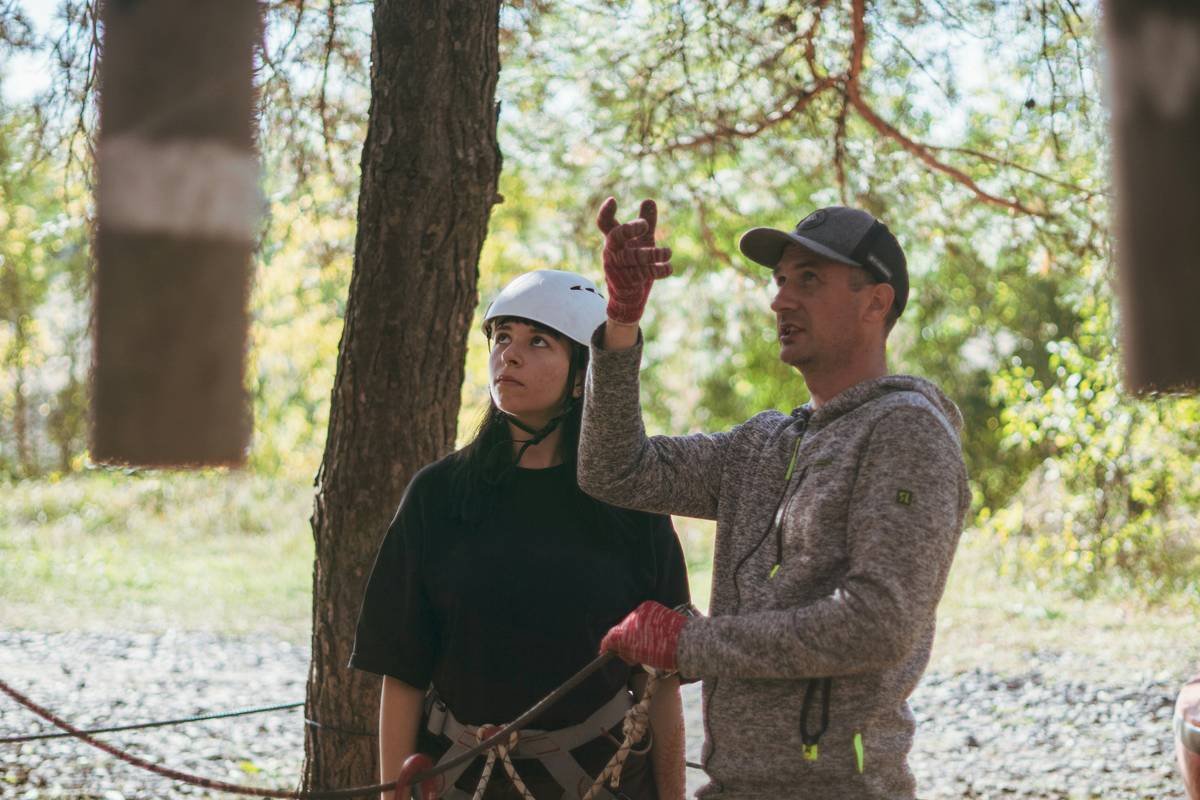
- Take a class—seriously. The American Mountain Guides Association lists certified instructors nationwide. A $150 course beats a $150k ER bill.
🚫 Terrible Tip Alert
“Just tie the rope directly to the chain links!” — NO. Chain links can wear, rotate, or create dangerous rope drag. Always use your own slings and biners to build a dynamic, equalized system.
Rant Section: My Pet Peeve
People who leave quickdraws permanently hanging on sport routes and call it “community gear.” Those draws degrade in UV light, get stolen, or become death traps when aluminum cracks from corrosion. If you put it up, you take it down. Period.
A Real Anchor Fail (And What We Learned)
Last summer in Indian Creek, my friend Max (let’s protect the guilty) tried to top-rope off a single piton hammered loosely into sandstone. He argued, “It held my weight when I tugged it!” Moments later, as his partner climbed, the piton popped like a cork. She fell 3 feet onto her back—bruised, shaken, but alive because she was only 10 feet up.
The fix? We walked 200 meters to a proper bolted anchor nearby. Took 8 minutes. Saved lives.
Moral: Nature doesn’t care how “solid” something feels. Trust data, not vibes.
FAQs About Rock Climbing for Beginners
Do I need to buy expensive anchor gear right away?
No. Start at a gym or crag with fixed anchors. Your initial investment should be a harness, helmet, shoes, and a belay device. Add anchor-specific gear once you’re ready to lead or clean routes.
Can I use regular carabiners for anchors?
Only if they’re **locking** and rated for climbing (look for CE/UIAA certification). Never use hardware-store biners—they fail catastrophically under load.
How do I know if an outdoor anchor is safe?
Check for:
- Two independent, solid points (bolts, trees, or boulders)
- No visible corrosion, cracks, or movement
- Proper equalization and extension over the edge
When in doubt, don’t climb. Ask a local guide or experienced climber.
Is indoor climbing enough to prepare me for outdoor anchors?
It builds skills—but not anchor judgment. Gyms use fixed, inspected systems. Outdoors, you assess rock quality, weathering, and gear placement. Take an outdoor transition course.
Conclusion
Rock climbing for beginners isn’t about conquering peaks on day one—it’s about respecting systems that keep you alive so you can climb for decades. Anchors aren’t glamorous, but they’re everything. Master the basics, prioritize redundancy, never stop learning, and always—always—back-check your partner.
Now go clip some bolts… safely.
Like a Tamagotchi, your climbing skills need daily care—except with more chalk and fewer beeps.
Anchor strong,
Rope runs smooth and true—
Beginner’s joy.