Ever clipped into an anchor only to hear that unsettling *creak*? You’re not alone. As someone who’s spent over a decade scaling cliffs from Yosemite to the Dolomites, I’ve learned—sometimes the hard way—that your life literally hangs on your outdoor climbing anchors. In this guide, we cut through the gear jargon and deliver actionable, field-tested advice to help you build, inspect, and trust your anchors with confidence. Whether you’re a weekend warrior or prepping for alpine epics, these seven tips will keep you safe and sane.
Table of Contents
- Why Outdoor Climbing Anchors Matter in Adventure Travel
- Step-by-Step Guide to Building Reliable Anchors
- Top Best Practices for Anchor Safety
- Real-World Anchor Failures (and How to Avoid Them)
- Frequently Asked Questions
Key Takeaways
- Always equalize load across anchor points using the “magic X” or cordelette method.
- Inspect every piece of gear—corrosion, sharp edges, or worn slings are red flags.
- Never trust a single point; redundancy is non-negotiable in outdoor climbing anchors.
- Environmental factors like rock type and weather drastically affect anchor integrity.
- When in doubt, back it up—or walk away.
Why Outdoor Climbing Anchors Matter in Adventure Travel
In adventure travel, especially technical climbing, your anchor isn’t just gear—it’s your lifeline. A poorly constructed system can turn a dream ascent into a rescue nightmare. I once built an anchor on a desert sandstone tower using two cams and a dyneema sling. Halfway down the rappel, the sling snagged on a sharp horn and frayed. I hit the ledge with a jolt that still echoes in my knees. That near-miss taught me: anchors demand respect, not assumptions.
According to the American Alpine Club’s Annual Accidents Report, anchor failure contributes to nearly 18% of all climbing incidents—most due to user error, not gear malfunction. That’s why understanding how to construct trustworthy outdoor climbing anchors is as crucial as packing water or checking the forecast.
Step-by-Step Guide to Building Reliable Anchors
1. Assess Your Anchor Points
Look for solid rock features: bolts (check for rust or movement), natural threads, or sturdy trees (minimum 6-inch diameter). Avoid loose flakes or soft sandstone.
2. Create Redundancy
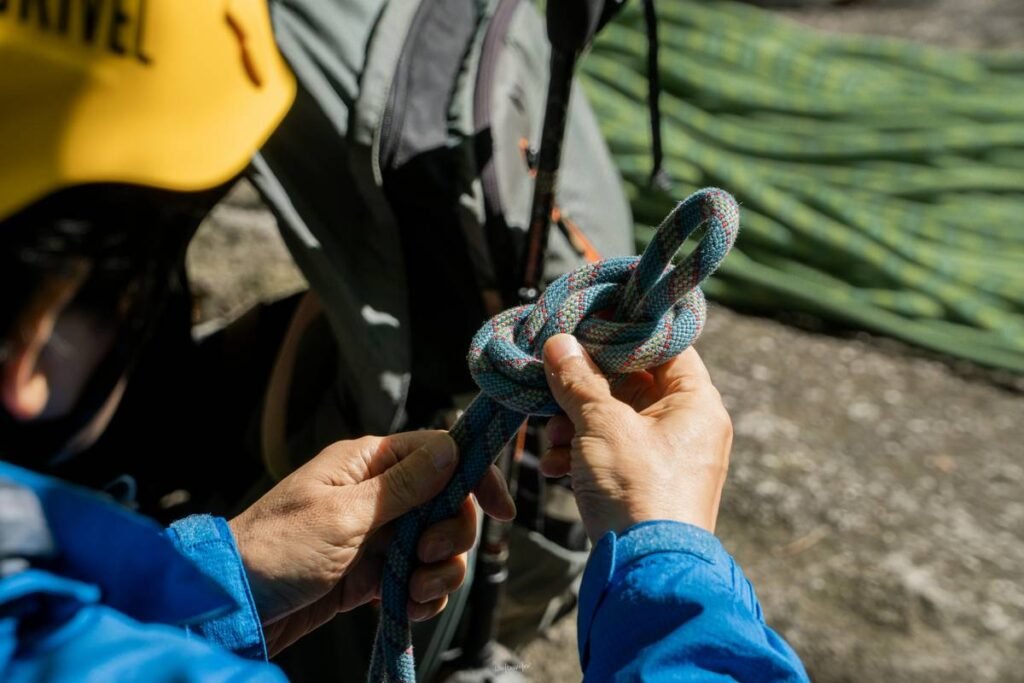
Use at least two, preferably three, independent points. Connect them with a cordelette or sliding-X configuration to distribute force evenly. Never rely on a single cam or nut.
3. Equalize and Align
Pull test your system from the anticipated direction of pull. Adjust until each strand shares tension. Misalignment creates shock-loading if one point fails.
4. Add Extension Control
Use knots or stopper knots in your cordelette to limit how far the master point extends if one leg blows. This prevents catastrophic energy transfer.
5. Back It Up
On marginal terrain, add a third point—even a well-placed sling around a chockstone can save your life.
Top Best Practices for Anchor Safety
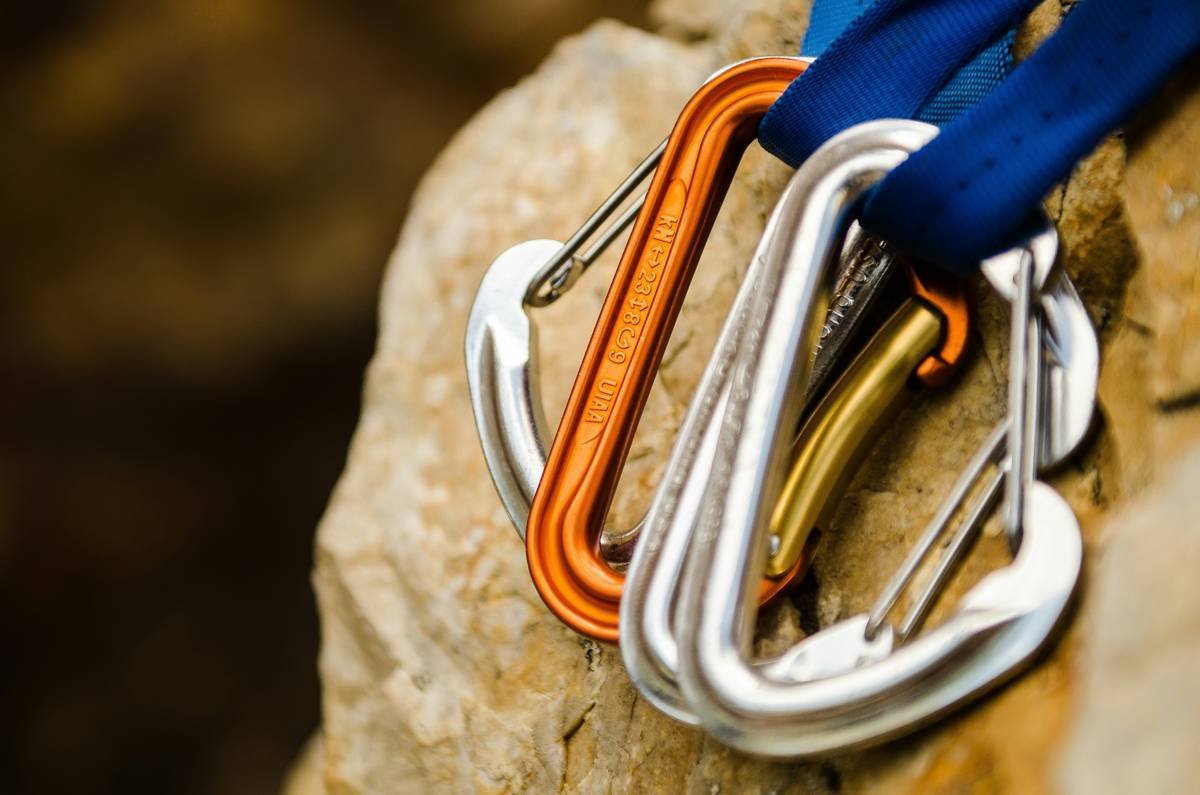
- Inspect slings regularly: UV exposure and abrasion degrade nylon fast. Replace after heavy use or visible wear.
- Avoid dyneema on rough edges: While strong, it melts under friction—use nylon for runners near sharp rock.
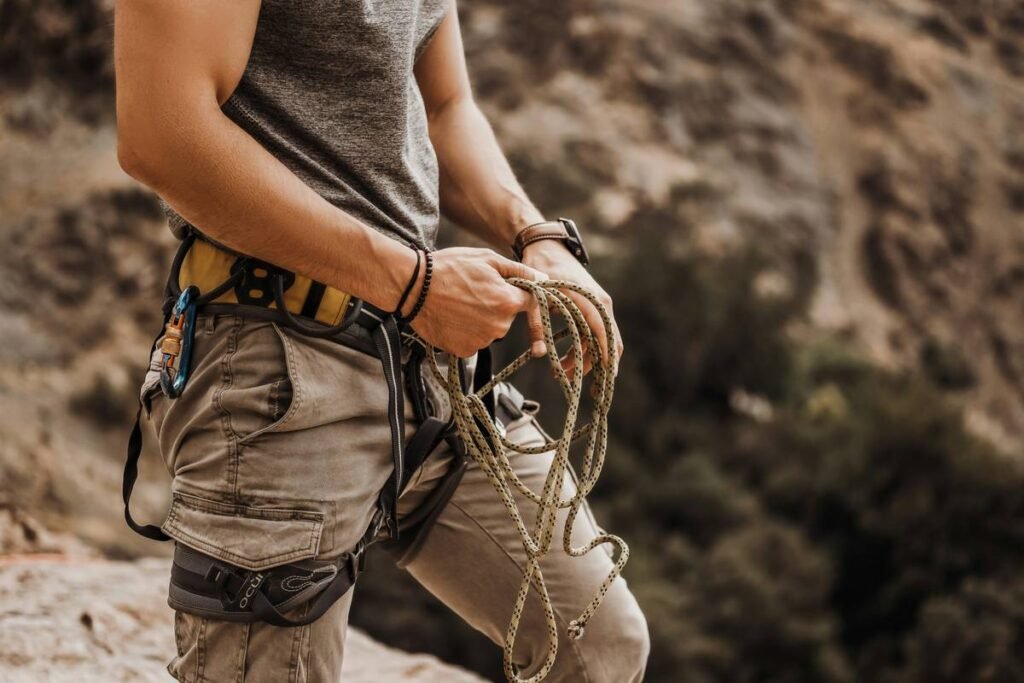
- Carry extra material: A 20-foot cordelette and spare slings belong in every rack—not just your pack.
- Practice at home: Before heading out, rehearse anchor setups in your backyard. Muscle memory saves time—and lives—on the wall.
- Never skip the tug test: Give each point two firm pulls before trusting your weight.
Real-World Anchor Failures (and How to Avoid Them)
In 2022, a climber in Joshua Tree died when his single-bolt anchor sheared off during rappel. The bolt was old, unmarked, and installed in decomposing granite—a known hazard in the area. Similarly, a 2019 incident in Colorado involved a dyneema sling failing after rubbing against sandstone during a long traverse. Both cases highlight critical oversights: neglecting redundancy and ignoring material limitations.
Compare that to a successful alpine ascent on the Grand Teton last summer. My partner and I used a three-point gear anchor with nylon slings, equalized with a figure-eight knot, backed by a tree wrap 10 feet away. We lost one cam mid-rappel—but our backup held without drama. Trust systems, not single pieces.
That’s why we rigorously vet every setup. At Climb Fix, our team tests anchor protocols across terrains because speculation has no place where gravity rules.
Frequently Asked Questions
What makes a good outdoor climbing anchor?
A good anchor is redundant, equalized, aligned with the direction of pull, and uses gear appropriate for the rock type and conditions. Always include at least two solid points.
Can I reuse old climbing anchors?
Only if you verify their condition. Check bolts for corrosion and movement; inspect slings for UV damage or fraying. When uncertain, replace it—your safety isn’t worth the risk.
Are glue-in bolts safer than expansion bolts?
In soft rock like limestone or sandstone, glue-ins offer superior holding power and longevity. The UIAA recommends them for permanent installations in such environments (UIAA Safety Standards).
How often should I replace my cordelette?
Every 2–3 years with regular use, or immediately after any significant fall or abrasion. Store it away from sunlight and chemicals to extend its life.
Do I need special training for building outdoor climbing anchors?
Absolutely. Self-teaching leads to dangerous gaps. Enroll in a certified course through organizations like AMGA or local guiding services. Knowledge is your strongest gear.
What’s the #1 mistake climbers make with anchors?
Assuming one solid point is enough. Redundancy is the golden rule—never compromise it.
If you’re rethinking your anchor strategy after reading this, great. Now take action. Visit our Contact Us page to ask questions or share your own close calls—we read every message. And remember: your next climb starts with a trustworthy foundation. Build smart, climb safe, and always double-check your work. After all, the best summit views are enjoyed alive.
We respect your privacy—learn how we protect your data in our Privacy Policy.