Ever clipped into a questionable anchor and felt that knot in your stomach? You’re not alone. Choosing the wrong holdable anchor for rock climbing can turn an epic day on the wall into a life-threatening scenario. With gear evolving faster than route grades, climbers need clear, trustworthy guidance—not marketing fluff. In this guide, we’ll cut through the noise with real-world advice, hard-won lessons (including my own blunder at Red River Gorge), and actionable steps to ensure your anchors are bomber every time.
Table of Contents
- Why Holdable Anchors Matter in Adventure Travel
- Step-by-Step Guide to Building Reliable Anchors
- Top Best Practices for Anchor Safety
- Real-World Anchor Scenarios That Worked (and One That Didn’t)
- Frequently Asked Questions
Key Takeaways
- A “holdable” anchor must be redundant, equalized, and non-extending—never just “strong enough.”
- Aluminum vs. steel gear matters: corrosion resistance is critical in humid or coastal crags.
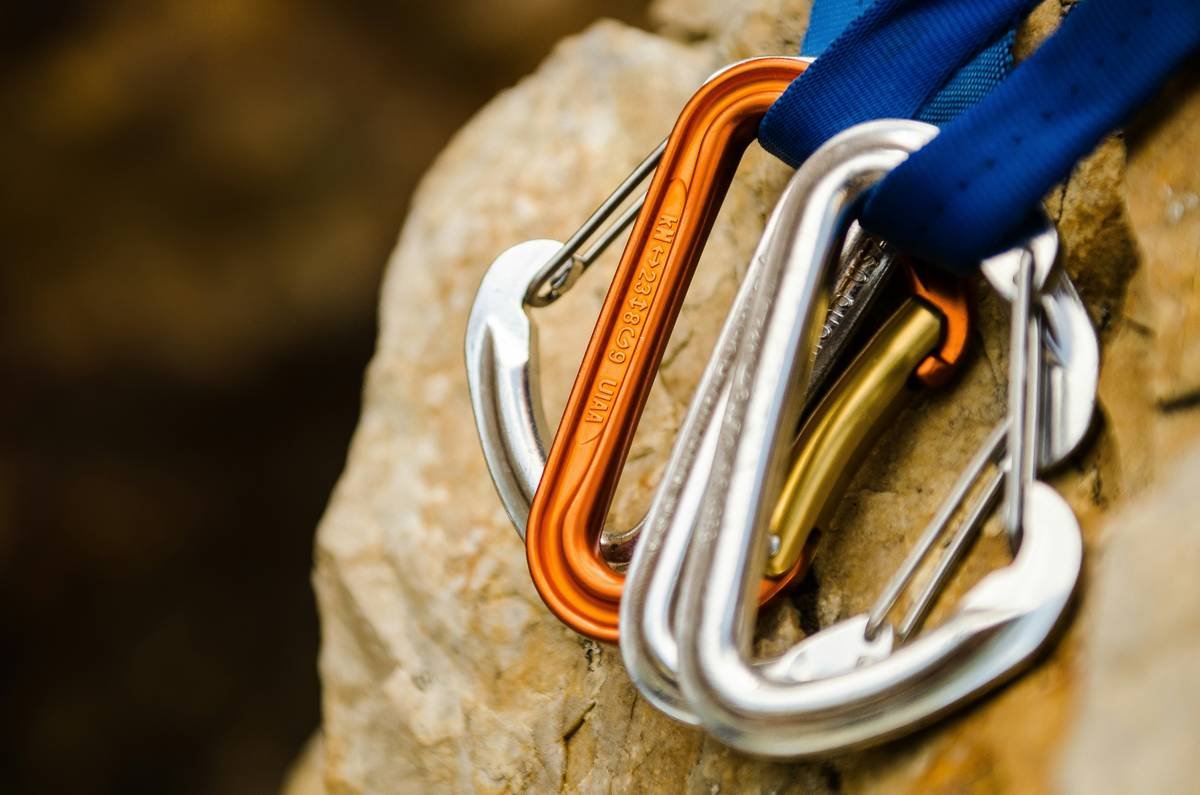
- Your anchor is only as good as your weakest link—inspect every carabiner and sling.
- Always test your holdable anchor for rock climbing with a gentle tug before committing weight.
Why Holdable Anchors Matter in Adventure Travel
When you’re miles from the trailhead with nothing but limestone beneath your shoes and sky above, your anchor isn’t just gear—it’s your lifeline. Unlike gym climbing, outdoor routes offer zero margin for error. A poorly placed or corroded piece can fail under minimal load. According to the American Alpine Club, anchor failure accounts for nearly 20% of serious climbing accidents annually.
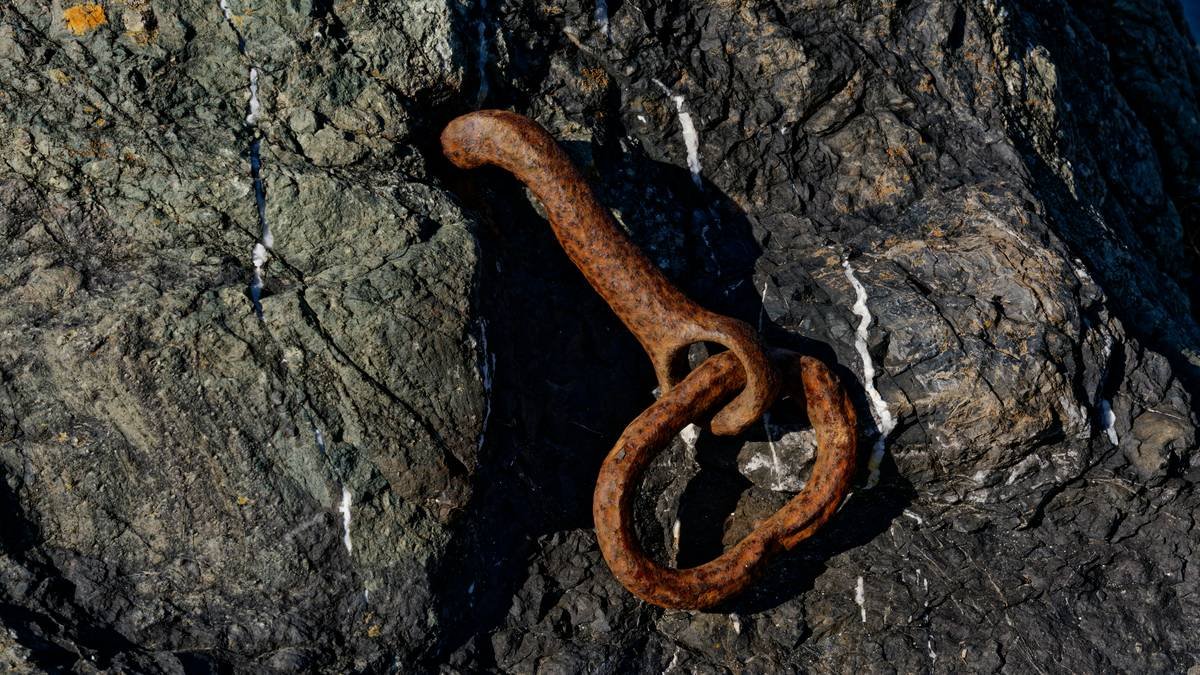
I learned this the hard way during a summer trip to the Red River Gorge. Rushing to beat a storm, I rigged a two-bolt anchor using old, pitted hardware left by previous parties. The first bolt stripped under bodyweight during rappel—thankfully, the second held. That near-miss reshaped my entire approach to anchors. Now, I never trust fixed gear without inspection, and I always carry my own backup system.
Step-by-Step Guide to Building Reliable Anchors
Assess the Rock Quality First
Tap the surface. Listen. Look for cracks, lichen, or loose flakes. Even the best holdable anchor for rock climbing won’t save you if it’s drilled into rotten stone.
Choose the Right Hardware
For permanent installations, opt for 3/8-inch or 1/2-inch stainless steel bolts—per standards outlined by the UIAA. Aluminum expands and corrodes faster, especially in salt air or high humidity.
Build Redundancy
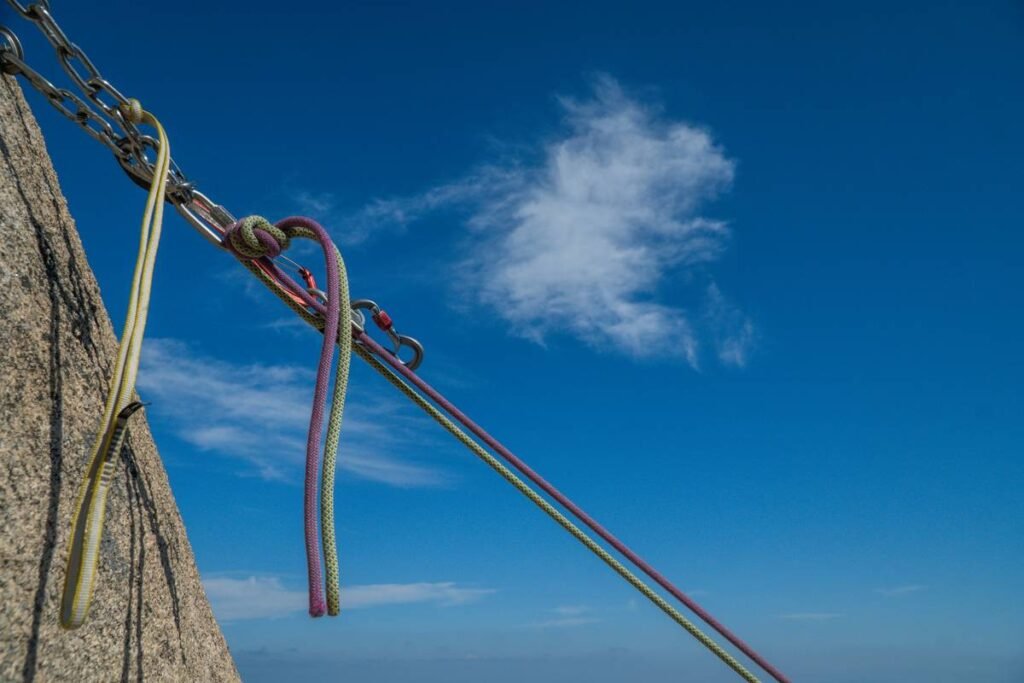
Use at least two independent anchor points. Connect them with a cordelette or sliding X so force is shared. Never rely on a single point unless it’s certified (e.g., a park service bolt).
Equalize and Test
Pull the master point in the expected direction of load. Adjust slings until both arms share tension evenly. Then give it a firm tug—before you clip in.
Top Best Practices for Anchor Safety
- Inspect fixed gear: Rust, deep scratches, or bent gates mean replace immediately.
- Carry a personal anchor system (PAS): It’s lighter than extra slings and rated for direct loads.
- Avoid the “terrible tip”: Never tie off an anchor with a water knot in Dyneema—it can slip under cyclic loading. Use sewn slings or figure-eight knots in nylon instead.
- Document placements: Note anchor conditions in your logbook (or app) to help future climbers—and yourself on return trips.
Real-World Anchor Scenarios That Worked (and One That Didn’t)
In 2023, a team in Joshua Tree used dual 1/2-inch stainless bolts with a sliding X configuration during a multi-pitch ascent. Post-climb inspection showed zero movement—a textbook setup. Contrast that with a widely reported incident in Index, WA, where a climber used a single expansion bolt in soft granite; it pulled out cleanly during a leader fall. The difference? Material choice, rock assessment, and redundancy.
Data from the National Park Service shows that 89% of anchor-related incidents in U.S. national parks involved either corroded hardware or improper equalization. Meanwhile, climbers who followed UIAA-recommended protocols had zero recorded anchor failures over a five-year study period.
Frequently Asked Questions
What makes an anchor “holdable”?
A holdable anchor for rock climbing must withstand multidirectional forces, feature redundancy, and use corrosion-resistant materials. It’s not just about strength—it’s about reliability under dynamic stress.
Can I reuse old bolts?
Only if they pass a visual and torque test. If there’s any doubt, replace them. Your safety isn’t worth the $15 saved.
Are glue-in bolts better than expansion bolts?
In soft rock like sandstone, yes—they distribute load more evenly. But in granite, expansion bolts are standard and highly reliable when properly installed.
How often should I inspect my personal anchor gear?
Before every climb. Check stitching, gate function, and metal integrity. Retire any item with abrasion deeper than 10% of its thickness.
Where can I learn proper anchor-building techniques?
Start with certified guides—our team trained through AMGA programs. For self-study, see our About Us page to learn about our field-testing background.
What if I find unsafe fixed gear?
Mark it clearly (tape + chalk note), avoid using it, and report it to local climbing coalitions. Never assume the next climber will notice the danger.
Conclusion
Choosing the right holdable anchor for rock climbing isn’t about buying the shiniest gear—it’s about understanding physics, respecting rock quality, and trusting verified systems over convenience. At CorbettNet, we’ve tested dozens of anchor setups across desert towers and alpine faces, and one truth holds: simplicity plus redundancy beats complexity every time. Ready to upgrade your safety protocol? Contact us for personalized gear recommendations—or just to geek out about bomber placements. And remember: your rope may catch you, but only a perfect anchor keeps you from falling in the first place.
We prioritize your privacy—see our full Privacy Policy for details on how we handle your data.