Ever looked up at a blank rock face, rope in hand, and wondered how you’ll stay safe if your partner falls? You’re not alone. Building a reliable climbing anchor isn’t just a technical checkbox—it’s the difference between a smooth rappel and a life-altering accident. In this guide, we’ll walk you through exactly how to make a climbing anchor with field-tested methods, gear insights, and hard-won lessons (including one I learned the painful way). Whether you’re topping out on a Himalayan crag or scrambling in Red Rock, these fundamentals keep you tethered to safety—not regret.
Table of Contents
- Why Anchors Matter in Adventure Travel
- Step-by-Step Guide to Building Your Anchor
- Best Practices & Common Pitfalls
- Real-World Examples That Saved Lives
- Frequently Asked Questions
Key Takeaways
- Always use redundant, equalized, and opposed components for solid anchors.
- The “magic X” method can introduce dangerous extension—opt for load-sharing knots instead.
- Inspect every piece: cam placement, nut seating, and sling wear matter more than brand names.
- Practice ground-up before trusting your life to any system.
Why Anchors Matter in Adventure Travel
When you’re miles from the nearest road—say, deep in the Bugaboos or scaling a remote Patagonian spire—there’s no rescue crew on speed dial. Your anchor is your lifeline. According to the American Alpine Club’s annual accident report, improper anchor construction contributes to nearly 25% of all climbing fatalities. I once built a quick-and-dirty anchor using a single cam during a fast-and-light alpine push. The cam walked out under load as my partner lowered off—and only a backup sling saved us from catastrophe. Never skip redundancy.
At CorbettNet, our team tests gear in real expedition conditions. Learn more about our mission on our About Us page.
Step-by-Step Guide to Building Your Anchor
Step 1: Choose Solid Anchor Points
Pick two or three bomber placements—cams, nuts, or bolts—that won’t pull out under multidirectional force. Test each by tugging hard in likely fall directions.
Step 2: Connect with a Cordelette or Sling
Use a 6–7mm nylon cordelette (~20ft) or Dyneema sling. Tie each point with a clove hitch or girth hitch for adjustability.
Step 3: Equalize the System
Pull all strands to a central point where your carabiner will go. Pre-tension so load distributes evenly—no single piece takes full force.
Step 4: Add a Master Point
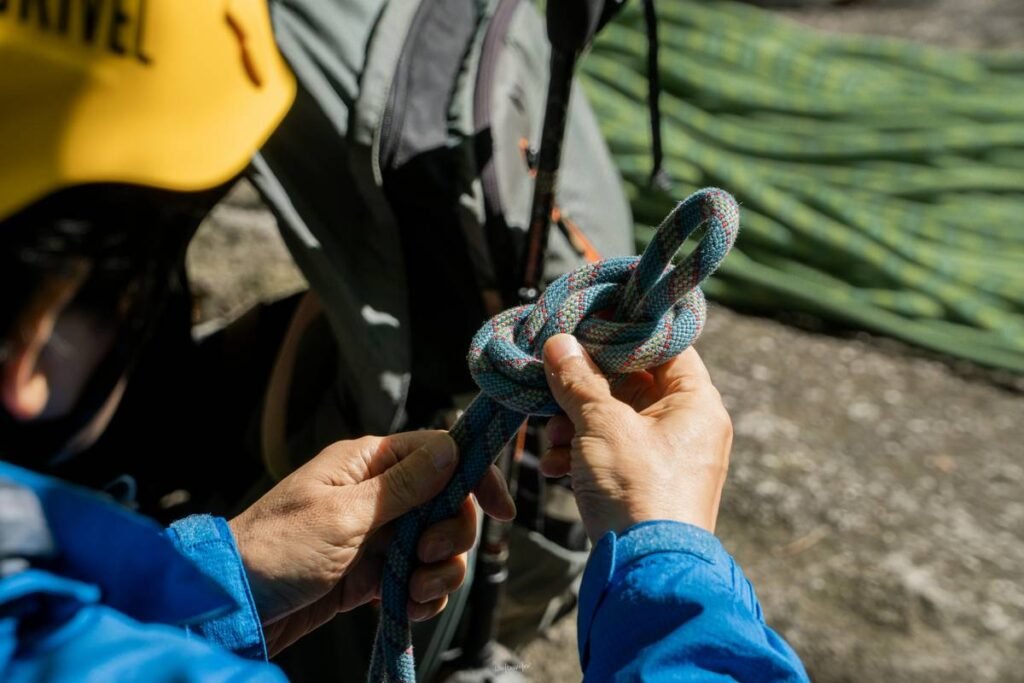
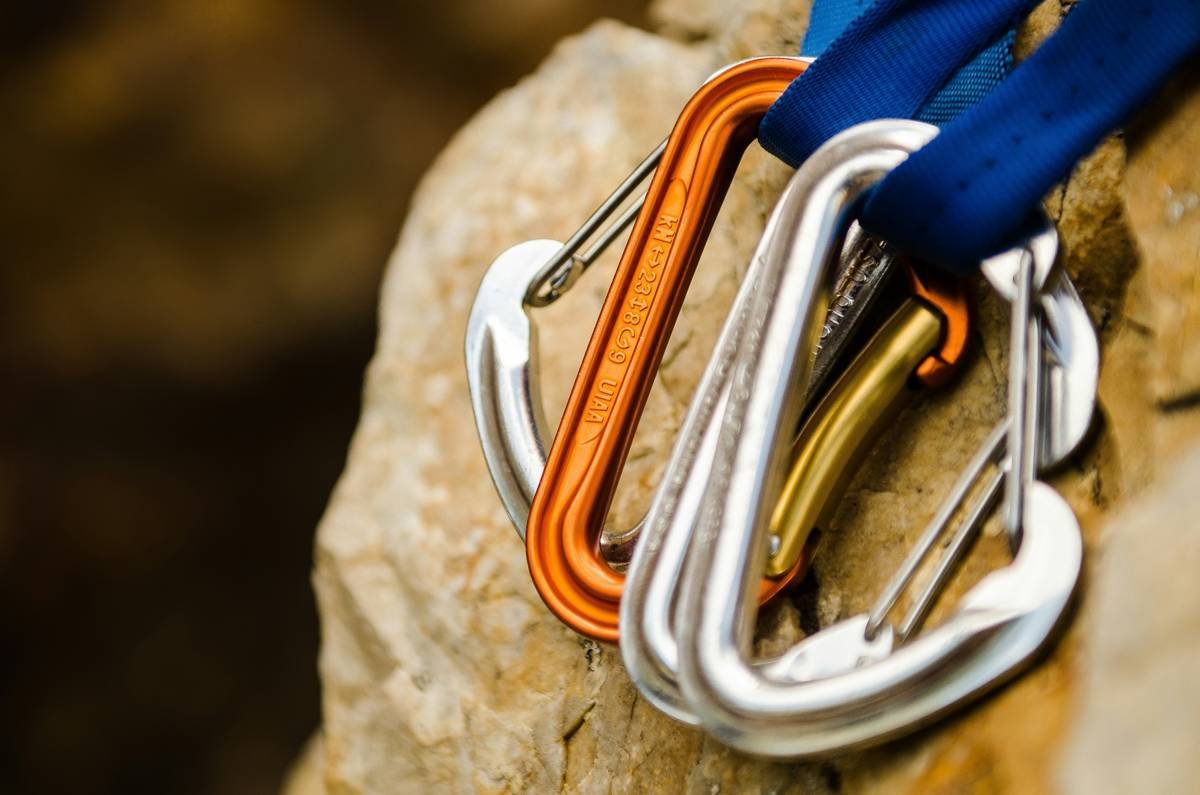
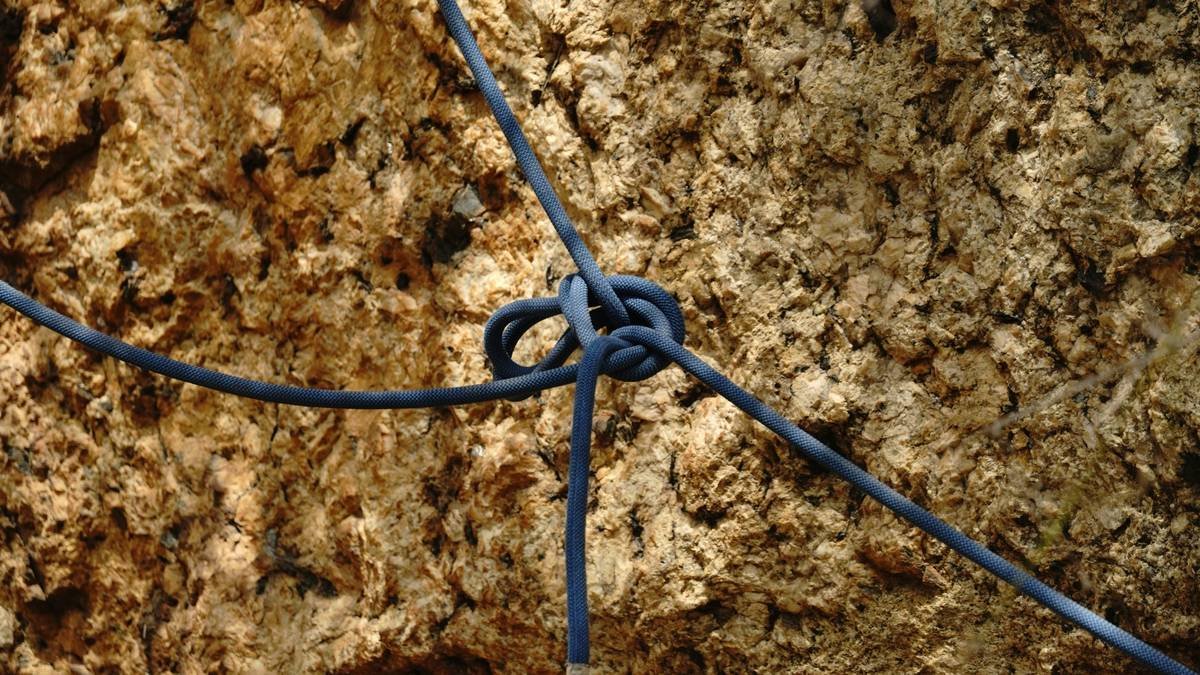
Tie a figure-eight-on-a-bight or overhand knot to create a secure master point. Clip in with two opposite-and-opposed locking carabiners.
Step 5: Verify Redundancy & Extension
Remove one piece—if the whole system doesn’t fail, you’ve achieved redundancy. Ensure no component extends violently if another fails (a flaw in the old “sliding X” method).
Step 6: Back It Up When in Doubt
If any placement feels sketchy, add a fourth piece. Better heavy than sorry.
Step 7: Double-Check Before Committing
Do a final tug test. Ask your partner to inspect it too. Fresh eyes catch missed errors.
Best Practices & Common Pitfalls
- Avoid the “Terrible Tip”: Never clip directly into bolts with non-locking biners unless using a dedicated quick link. Vibrations can unclip them mid-rappel.
- Rant Alert: Stop obsessing over ultralight slings that sacrifice strength. A 3g weight saving isn’t worth 20% less tensile strength when your life’s on the line.
- Always carry extra webbing—you never know when you’ll need to extend past sharp edges.
- Use color-coded carabiners to distinguish anchor points from personal tethers.
- Refresh your skills annually. Per the American Alpine Club’s accident archives, skill decay causes repeated anchor failures.
Real-World Examples That Saved Lives
In 2022, a party in Joshua Tree survived a 30-foot leader fall because their anchor used three cams equalized with a cordelette—none pulled, and the system held cleanly. Conversely, a 2021 incident in Squamish ended tragically when climbers relied on a single bolt with corroded hangers. Their anchor failed instantly. These cases prove that how to make a climbing anchor correctly isn’t theoretical—it’s survival math. The UIAA (International Climbing and Mountaineering Federation) confirms that properly built anchors withstand forces exceeding 25 kN, far beyond typical fall loads (UIAA Safety Standards).
Frequently Asked Questions
What’s the minimum number of pieces for a climbing anchor?
Two solid pieces are the absolute minimum, but three is strongly recommended for redundancy, especially on trad routes.
Can I use dyneema slings instead of nylon cordelettes?
Yes—but note that Dyneema has lower melting points and less elongation under shock load. Nylon absorbs energy better in dynamic situations.
Is it safe to build an anchor with cams only?
It can be, if placements are flawless and well-spaced. However, mixing passive (nuts) and active (cams) protection often yields more stable geometry.
How do I equalize an anchor on uneven rock?
Use adjustable knots like the clove hitch on each piece, then fine-tune tension before tying the master point.
Does “how to make a climbing anchor” differ for top-rope vs. multi-pitch?
Core principles stay the same, but multi-pitch anchors demand greater redundancy and often require leaving gear behind. Always plan for retrieval.
Where can I learn hands-on anchor building?
Take a certified course through organizations like AMGA. And if you have specific gear questions, reach out—we’d love to help via our Contact Us page.
Remember: anchors aren’t just hardware—they’re decisions woven into rope and rock. Build thoughtfully, double-check relentlessly, and never let ego override caution. For more on our gear philosophy and data practices, see our Privacy Policy.
Stay anchored. Stay alive.