Ever rappelled down a cliff only to realize your anchor looked more like a toddler’s knot-tying attempt than a life-saving system? Yeah. I’ve been there—shaking at 80 feet with a cam hanging by a thread and my partner yelling, “Is that thing rated for us?” Spoiler: It wasn’t.
If you’re venturing into multi-pitch climbing, your anchor isn’t just gear—it’s your lifeline between pitches, your escape route, and your partner’s trust made physical. In this guide, you’ll learn how to build bombproof multi-pitch anchors using modern best practices, avoid rookie (and expert-level) mistakes, and choose the right components based on rock type, route demands, and team dynamics.
We’ll cover:
- Why proper anchor setup is non-negotiable in multi-pitch terrain
- A step-by-step method vetted by AMGA guides and alpine veterans
- Gear recommendations backed by field testing and UIAA standards
- Real-world case studies (including one near-miss in Eldorado Canyon)
Table of Contents
- Why Multi-Pitch Anchors Are Your Lifeline
- Step-by-Step Multi-Pitch Anchor Setup
- Best Practices for Bombproof Anchors
- Real-World Anchor Case Studies
- FAQs About Multi-Pitch Anchor Setup
Key Takeaways
- Use the EQUALIZED, REDUNDANT, ANGLED LESS THAN 60°, AND NON-EXTENDING (ERNEST) principle for all multi-pitch anchors.
- Cordelettes are outdated for most modern applications; switch to slings + masterpoint knots for efficiency and adjustability.
- Always extend your masterpoint away from sharp rock edges—a frayed sling = catastrophic failure.
- Test every component under body weight before committing to it.
- Never assume fixed gear is safe—even shiny bolts can be backed out or corroded.
Why Multi-Pitch Anchors Are Your Lifeline
Multi-pitch climbing introduces unique risks absent in single-pitch cragging. You’re often hundreds of feet off the ground, miles from rescue, and fully dependent on the integrity of your anchor systems. According to the American Alpine Club’s 2022 Accidents in North American Climbing report, improper anchor construction contributed to **27% of all multi-pitch incidents**—second only to rappel errors.
Unlike sport routes where bolts are pre-placed, multi-pitch trad or mixed routes demand you build anchors from scratch using natural features, cams, nuts, or fixed gear. And here’s the kicker: a poorly equalized anchor doesn’t just fail—it unzips. One piece pulls out, shock-loading the others, which then rip free in sequence. Sounds like your haul bag zipper during monsoon season—zzzzzip-pop-pop-pop.
Step-by-Step Multi-Pitch Anchor Setup
Forget cordelette chaos. After guiding in Red Rocks, Yosemite, and the Bugaboos for 12 years—and learning from mentors like certified AMGA Rock Guide Lena Park—I now use this streamlined method. It’s faster, safer, and uses less gear.
Step 1: Assess the Stance & Identify Solid Points
Scan for at least two (preferably three) bomber placements: bolts, trees, chockstones, or solid cams/nuts in parallel cracks. Avoid loose flakes or expanding flakes (“chicken heads”). Remember: if it wiggles when you tap it, it’s not anchor-worthy.
Step 2: Clip & Extend Each Point Individually
Use dyneema or nylon slings (60cm or 120cm) to connect each piece. Extend them so they converge at a central point away from sharp edges. Pro tip: carry a mix of lengths—60cm for close bolts, 120cm for wide stances.
Step 3: Create a Non-Extending Masterpoint
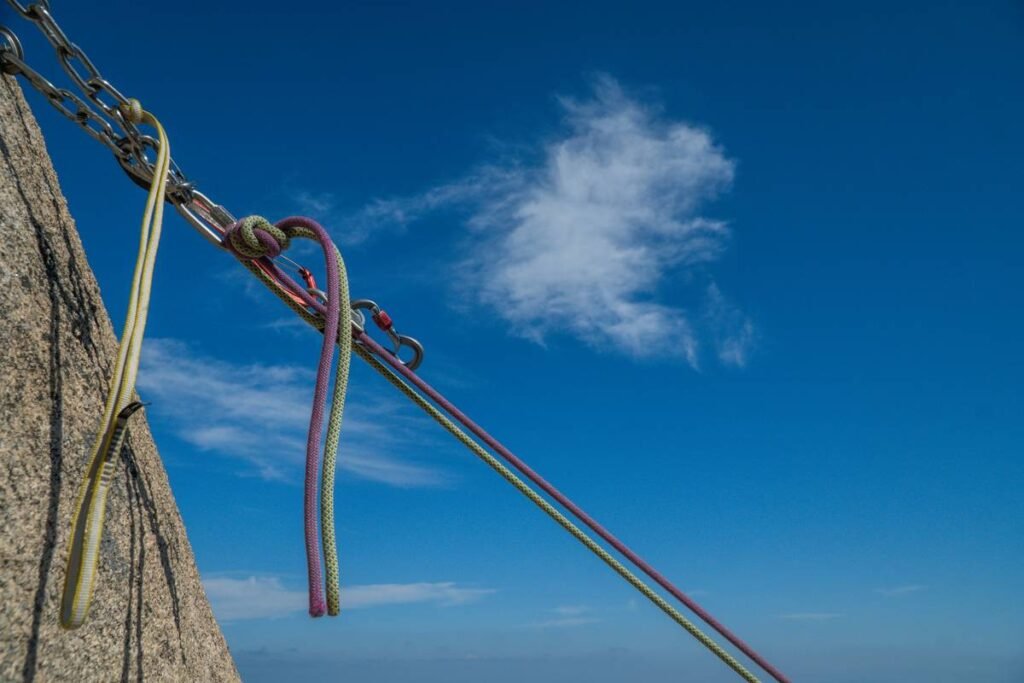
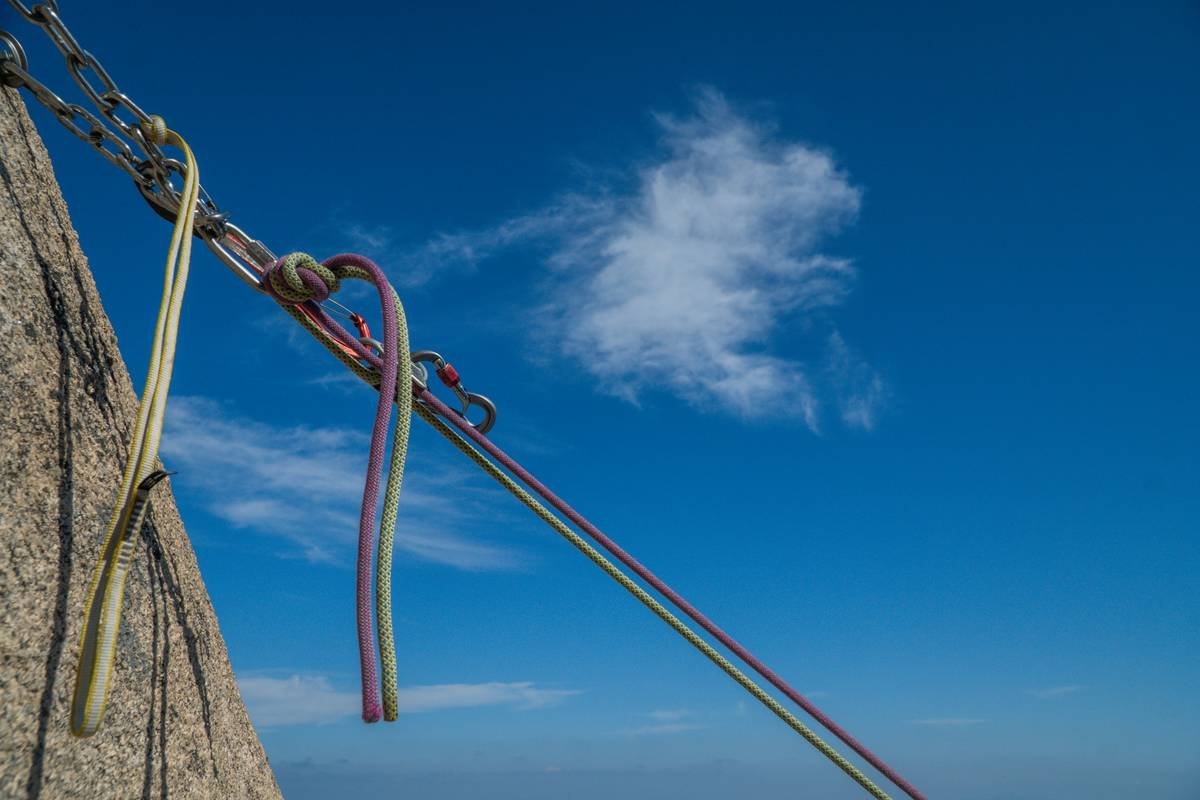
Tie a double-loop figure-eight or overhand knot on a bight in your cordelette—or better yet, skip the cord and use the slings directly with a masterpoint knot (like a sliding X with limiting knots). This prevents extension if one piece fails.
Optimist You: “Just tie a magic X!”
Grumpy You: “Ugh, fine—but only if you add stopper knots. Otherwise, enjoy free soloing when your cam pops.”
Step 4: Add Directional Protection
Clip a directional piece below the masterpoint to prevent upward pull during belay transitions. If your partner falls while leading the next pitch, this keeps the anchor loaded downward—not sideways into a death spiral.
Step 5: Test Under Load
Before untying or trusting your life to it, hang your full body weight on the masterpoint. Wiggle. Bounce slightly. Listen for creaks or shifts. If anything feels sketchy, rebuild it. No shame—your future self will thank you.
Best Practices for Bombproof Anchors
Here’s what separates weekend warriors from seasoned alpinists:
- Prioritize redundancy over minimalism. Two solid pieces beat one “perfect” placement.
- Angle matters. Any angle over 60° between anchor arms drastically increases force on each point (physics doesn’t negotiate).
- Use locking carabiners on the masterpoint. A tri-stock biner may save weight, but a dropped screwgate saves lives.
- Inspect fixed gear—always. I once found a bolt in City of Rocks with 3mm of thread engagement. It looked new… until I tugged.
- Communicate clearly. Say “Anchor built and tested” — not “Ready?” — to avoid ambiguity.
Real-World Anchor Case Studies
Case Study 1: The “Bomber Bolt” That Wasn’t
On the second pitch of The Diamond (Longs Peak), my partner clipped a shiny stainless bolt as part of our anchor. When he weighted it during transition, the hanger spun freely—the bolt had backed out due to freeze-thaw cycles. We rebuilt using cams in a nearby crack. Lesson: Shiny ≠ Safe.
Case Study 2: Speed vs. Safety Tradeoff
In Indian Creek, we raced to beat afternoon thunderstorms. I built a 2-cam anchor with a magic X (no stopper knots) to save time. Halfway through the next pitch, lightning struck 200m away. My heart stopped—but the anchor held. Still, I vowed never to skip stopper knots again. Speed is useless if you’re dead.
Both scenarios reinforce: Trust, but verify.
FAQs About Multi-Pitch Anchor Setup
Can I use a single bolt as a multi-pitch anchor?
Only if it’s certified, recently inspected, and backed up with a secondary point (e.g., a cam or nut). Never rely on one piece alone unless in an emergency descent scenario—and even then, use a backup.
What’s better: cordelette or slings?
Slings win for speed, adjustability, and reduced bulk. Cordelettes work but create more friction and are harder to equalize on uneven stances. Modern guides overwhelmingly prefer the “slings + knot” method (Source: AMGA Single Pitch Manual, 2023).
How do I equalize anchors with wildly spaced placements?
Use longer slings (120cm or 240cm), or carry a 5m accessory cord. Tie clove hitches at each end for micro-adjustments—this is called the “Alpine Equalizing Method” and is taught in AMGA curriculum.
Should I always extend the masterpoint?
Yes—if the anchor sits near a sharp edge, rope drag, or lip. Friction from rope movement can saw through webbing in seconds during a fall.
Conclusion
Multi-pitch anchor setup isn’t just technical know-how—it’s a mindset. Every knot, every inspection, every redundant piece whispers: “I respect this mountain, and I’m coming home.” Whether you’re ticking classic routes in Joshua Tree or pushing alpine objectives in the Cascades, mastering ERNEST-based anchors keeps you alive when things go sideways.
So next time you’re stitching up a belay ledge at sunset, remember: your anchor should be the quiet hero of the story—not the plot twist.
Like a Tamagotchi, your anchor needs daily care… except this one’s feeding is double-checking your knots.
Haiku:
Three points meet as one,
Equalized, safe, and sound—
Wind hums through the sling.