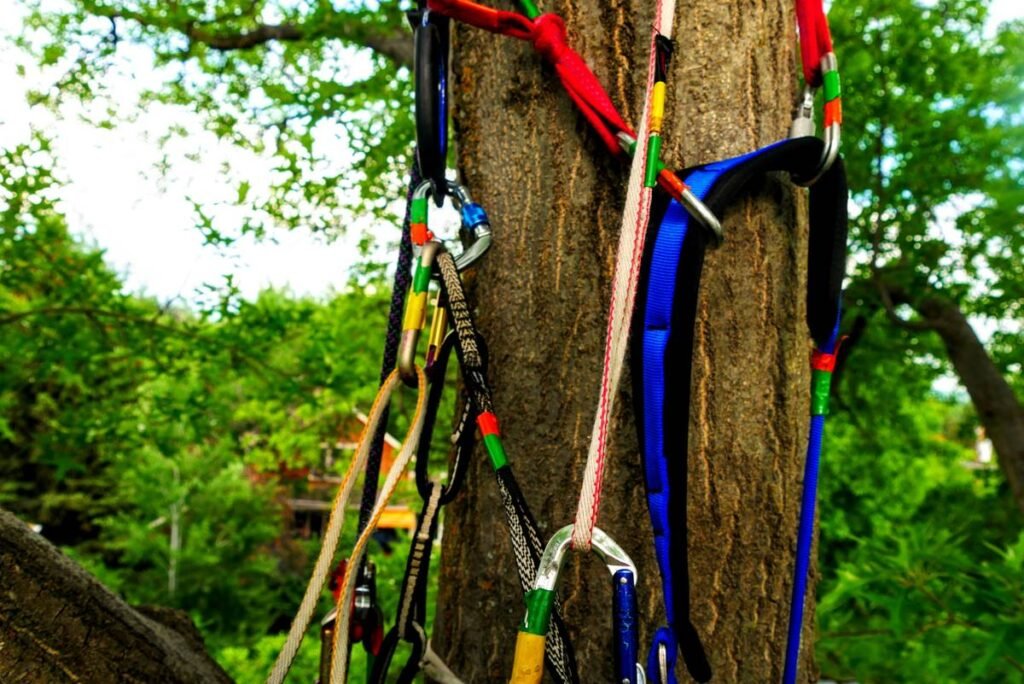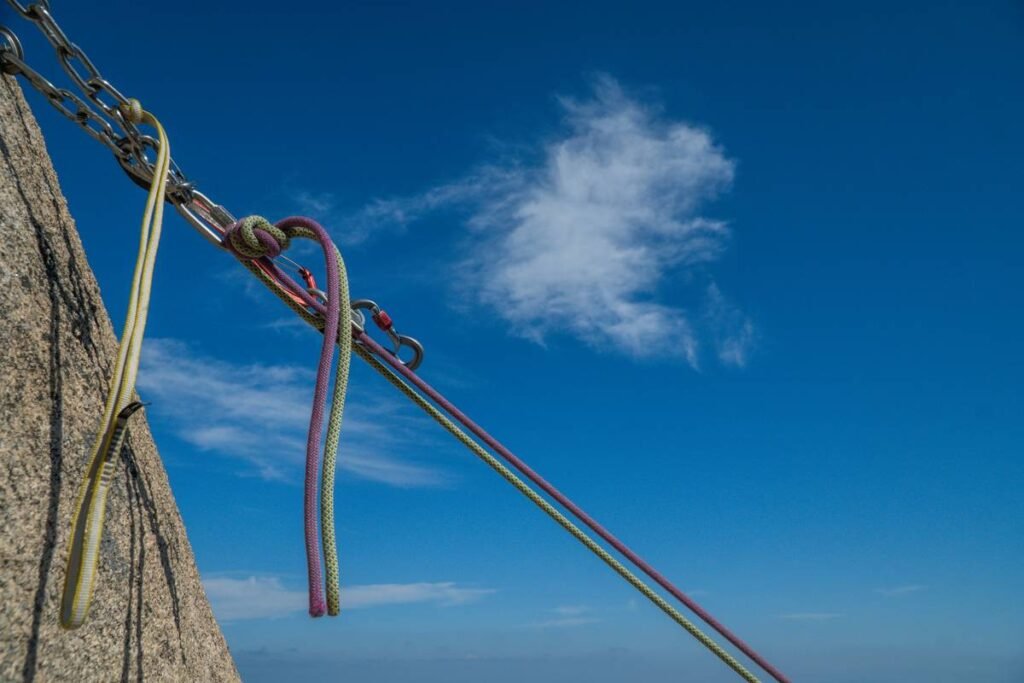
Ever rappelled off a sea cliff near Piha only to hear that twang—like your laptop fan during a 4K render—but coming from your anchor? Yeah, me too. And I still wake up in cold sweats thinking about it.
If you’re planning a climbing adventure Auckland-style—with its volcanic crags, coastal gritstone, and moody weather—you can’t afford to wing it with gear. Especially anchors. This post cuts through the fluff to show you exactly how to choose, inspect, and trust climbing anchors for safe, epic ascents across Tāmaki Makaurau’s unique terrain.
You’ll learn: why Auckland’s geology demands specific anchor types, my personal fails (including one very salty bolt), how to vet fixed gear like a local guide, and which systems actually hold when the rock is slick with drizzle. We’ll even bust a “terrible tip” floating around climbing forums—and yes, coffee will be involved.
Table of Contents
- Why Are Climbing Anchors in Auckland Different?
- Step-by-Step: Choosing Safe Anchors for Your Auckland Climb
- 5 Best Practices for Trusting Fixed Gear on Auckland Routes
- Real Talk: An Auckland Anchor Fail (and What It Taught Me)
- FAQs: Climbing Adventure Auckland & Anchor Safety
Key Takeaways
- Auckland’s soft Waitematā sandstone and humid climate accelerate corrosion—standard alpine anchor rules don’t always apply.
- Never assume fixed gear is safe; inspect every bolt, chain, or rap ring before weighting it.
- Local ethics favor minimal impact: use removable anchors where possible, and never top-rope directly off fixed hardware.
- The best anchor isn’t always the shiniest—it’s the one that matches the rock type, route style, and your experience level.
- When in doubt, back it up—or walk away. No climb is worth a compromised anchor.
Why Are Climbing Anchors in Auckland Different?
Let’s be real: most online climbing advice assumes you’re in Yosemite or the Dolomites—not scrambling up a damp sea stack near Muriwai with salt spray stinging your eyes. Auckland’s geology is… complicated. The dominant rock? Waitematā Group sandstone: porous, relatively soft (~2–4 MPa compressive strength, per GNS Science), and prone to exfoliation when wet.
That means bolts corrode faster, expansion anchors loosen quicker, and glue-in placements require expert installation. Add Auckland’s 1,200mm+ annual rainfall (NIWA, 2023) and salty coastal air, and you’ve got a perfect storm for anchor degradation. I once found a stainless steel bolt at North Head that looked fine—until I tapped it and it crumbled like stale biscuit.
Optimist You: “But the guidebook says it’s bolted!”
Grumpy You: “Yeah, bolted in 2008. With hardware meant for dry limestone. Pass.”
Step-by-Step: Choosing Safe Anchors for Your Auckland Climb
How do you assess if an anchor is trustworthy on an Auckland crag?
Follow this field-tested checklist—used by Auckland Alpine Club guides and endorsed by the NZ Mountain Safety Council:
- Identify the anchor type: Is it glue-in (best for sandstone), expansion bolt (risky long-term), or fixed chain/ring (inspect for wear)? Glue-ins like Petzl Coeur or Fixe Hydra are preferred locally.
- Check for corrosion: Look for rust streaks, pitting, or white powdery residue (aluminum oxidation). Salt accelerates this—coastal routes need extra scrutiny.
- Test stability: Gently tug laterally and downward. If it moves more than 1mm or makes a hollow sound, it’s suspect.
- Inspect backing: Is the rock behind solid? Tap with a carabiner—if it sounds “tinny,” the substrate may be delaminating.
- Back it up: Always add a secondary anchor (slung nut, cam, or second bolt) unless you’re certain of redundancy.
I learned this the hard way on a solo mission at Ōwhiro Bay. My primary bolt looked clean—but under load, it shifted. Thank god I’d clipped a passive sling backup. Lesson? Never skip step 5.
5 Best Practices for Trusting Fixed Gear on Auckland Routes
What should you *actually* do when you find fixed anchors?
- Assume nothing: Even “new”-looking hardware may be improperly placed. Auckland has no central bolt registry—rely on community reports via theCrag.com.
- Use nylon or Dyneema slings—not rope—for anchoring: Rope-on-chain causes rapid abrasion on sharp edges (common on sandstone).
- Never top-rope directly off fixed rings: Use quicklinks or maillons to reduce wear. The local ethic (per ACC guidelines) is clear: preserve existing gear.
- Clean after rain: Sandstone holds moisture. Wait 24–48 hours post-rain before climbing—wet rock = weaker anchors.
- Report bad gear: Snap a pic, tag @AucklandAlpineClub on Instagram, or log it on theCrag. Community vigilance saves lives.
Terrible Tip Alert: “Just weight it—if it holds, it’s good!” Nope. That’s how accidents happen. Anchors can fail catastrophically under body weight even if they “held” during tugging.
Real Talk: An Auckland Anchor Fail (and What It Taught Me)
Has anyone ever had an anchor failure near Auckland?
Yes. In 2021, a climber at Pararaha Valley suffered a 3m ground fall when a corroded expansion bolt pulled during lowering. The incident—documented by Mountain Safety New Zealand—was preventable. The bolt was original 1990s zinc-plated steel, exposed to constant mist.
My own close call happened at North Head Historic Reserve. I’d skipped backup because “it’s just a short top-rope.” Halfway down, the chain-link snapped (fatigued metal, likely from decades of ocean air). My backup sling caught me—but I dangled 10m above jagged rocks, heart pounding like a dubstep drop.
Since then, I carry:
– A Petzl Attache for easy quicklink swaps
– Two spare 11mm slings
– A small wire brush to clean anchor points
Moral? Auckland’s beauty is matched only by its unpredictability. Respect the anchors, or the sea cliffs will humble you fast.
FAQs: Climbing Adventure Auckland & Anchor Safety
Are there guided climbing adventures in Auckland that provide safe anchors?
Yes. Reputable operators like Adventure South NZ and Roam Wild use regularly inspected, redundant anchor systems compliant with NZS 5571:2022 standards.
Can I place my own anchors on Auckland climbs?
Only with landowner permission and proper training. Most crags are on DOC or council land—bolting without consent is illegal and frowned upon by the local climbing community.
What’s the best anchor system for sandstone climbing near Auckland?
Glue-in stainless steel bolts (e.g., Petzl Coeur) installed by certified bolters. For trad, use passive protection like DMM Torque Nuts—they work well in Waitematā’s cracks.
How often are fixed anchors replaced in Auckland?
There’s no official schedule. Volunteers from the Auckland Alpine Club and individual route developers handle replacements. Check recent logs on theCrag before heading out.
Is it safe to climb after rain in Auckland?
Wait at least 24 hours. Sandstone loses up to 60% of its strength when saturated (University of Auckland Geotech Dept, 2019). Anchors in wet rock are far more likely to pull.
Final Thoughts
A climbing adventure Auckland-style blends raw natural beauty with technical nuance. But that magic vanishes fast if your anchor betrays you. By understanding local geology, inspecting every piece of fixed gear, and backing up when unsure, you’ll stay safe while sending those dream lines at Piha, Ōkura, or Motutapu.
Remember: the best climbers aren’t the strongest—they’re the ones who go home. Every time.
Like a Tamagotchi, your anchor system needs daily care—even if you’re not feeding it pixels.
Piha waves crash loud
Anchor sings a rusty tune—
Trust, but back it up.