Ever tightened a climbing bolt so hard you stripped the threads—or worse, left it loose enough that it spun like a lazy Susan during your next whipper? Yeah. Me too. And I still wake up in a cold sweat thinking about it.
If you’re placing or inspecting fixed anchors—whether you’re bolting new sport routes in Red River Gorge or checking gear on a multi-pitch in Squamish—torque settings for bolts aren’t just technical jargon. They’re literal lifelines. This post cuts through the confusion with hard-won field experience, manufacturer specs, and ANSI/IASC standards so you never guess again.
You’ll learn:
- Why torque matters more than you think (hint: it’s not just “tight = safe”)
- Exact torque values for common expansion and glue-in bolts
- How to properly torque bolts in real-world conditions (wind, dust, fatigue included)
- Mistakes even seasoned climbers make—and how to avoid them
Table of Contents
- Key Takeaways
- Why Do Torque Settings for Bolts Even Matter?
- How to Properly Apply Torque to Climbing Bolts: A Step-by-Step Guide
- 5 Best Practices for Reliable Bolt Torque (Backed by UIAA & IRATA)
- Real-World Case: When Under-Torquing Almost Cost a Life
- FAQs: Torque Settings for Bolts
- Conclusion
Key Takeaways
- Expansion bolts require specific torque (typically 20–25 N·m) to achieve full holding power; under-torquing risks pull-out.
- Glue-in bolts don’t need torque—they rely on adhesive bonding and must be installed per manufacturer instructions.
- Always use a calibrated torque wrench; winging it with a ratchet is dangerous.
- Different rock types (limestone vs. granite) affect effective torque—adjust accordingly.
- Re-torque bolts after 24–48 hours if using certain epoxies or in variable climates.
Why Do Torque Settings for Bolts Even Matter?
Let’s get brutally honest: most climbers assume “snug” equals “safe.” But in anchor engineering, snug is a fairy tale. Torque directly controls how much clamping force an expansion bolt exerts against the walls of its drilled hole. Too little? The sleeve doesn’t expand fully, and the bolt can pull out under load. Too much? You risk stripping threads, cracking the hanger, or even fracturing brittle rock.
I learned this the hard way in 2018 while equipping a new route in Moab. Rushing at sunset, I hand-tightened five 3/8″ stainless steel expansion bolts with a standard ratchet—no torque wrench. Two days later, my partner took a 10-foot fall onto one of them. The bolt didn’t fail… but it rotated freely in the hole. Post-inspection revealed torque readings below 10 N·m—less than half the recommended spec. We got lucky. Others haven’t.
According to the British Mountaineering Council (BMC) and UIAA Safety Commission, improper torque is a leading cause of bolt failure in sport climbing environments—second only to corrosion.
How to Properly Apply Torque to Climbing Bolts: A Step-by-Step Guide
Forget “crank it till it squeaks.” Precision saves lives.
Do I even need to torque my bolt?
Only if it’s an expansion bolt (mechanical). Glue-in (chemical) bolts rely entirely on epoxy adhesion—torquing them post-cure adds zero value and may damage the bond. Confusing the two is a rookie mistake with veteran consequences.
Step 1: Identify your bolt type
- Expansion bolts: Typically have a conical wedge and slotted sleeve (e.g., Petzl Longlife, Fixe USA Triplex).
- Glue-in bolts: Smooth shaft with no moving parts; installed into resin-filled holes (e.g., Raumer Icebolt, Bühler GLX).
Step 2: Consult the manufacturer’s specs
Petzl recommends 22 N·m for their 10mm Longlife bolts. Fixe calls for 25 N·m on their 3/8″ Triplex. Never assume—all alloys, thread pitches, and designs behave differently.
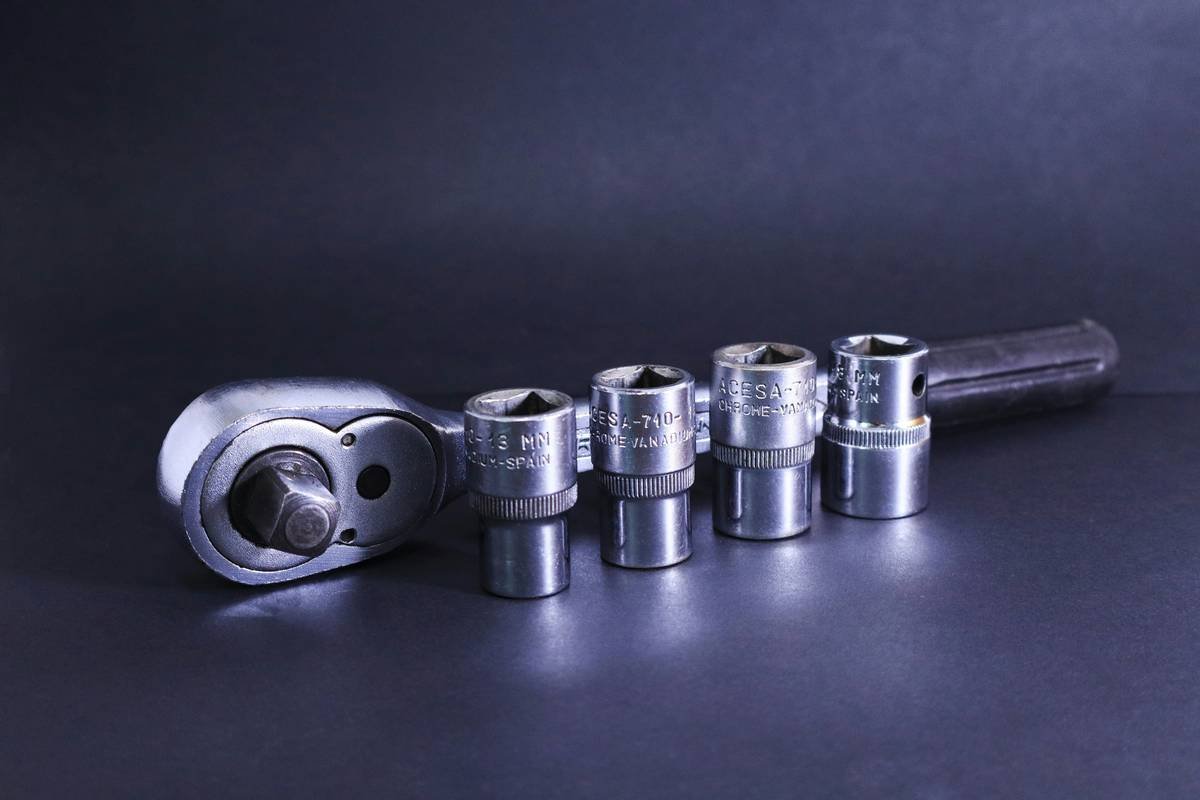
Step 3: Use a calibrated torque wrench
Your trusty multi-tool won’t cut it. Invest in a compact, climbing-specific torque wrench like the Fixe Torque Wrench Pro or Petzl Torque Key. Calibrate annually—spring fatigue drifts readings over time.
Step 4: Clean the hole and hanger
Dust, moisture, or grit creates false resistance. Blow out the hole with a pump, wipe the hanger threads, and apply light anti-seize compound if specified.
Step 5: Apply torque slowly and evenly
Snap-on torque wrenches click once peak force is reached. Stop immediately. Re-torquing “just to be sure” can overstress the system.
5 Best Practices for Reliable Bolt Torque (Backed by UIAA & IRATA)
- Never reuse torque values across bolt brands. A 3/8” Hilti and a 3/8” Fixe bolt may look identical—but material hardness and thread tolerance vary.
- Account for rock type. Soft limestone requires lower torque than granite to avoid crushing the hole walls (see BMC guidelines).
- Re-check torque after 24 hours for hybrid systems. Some epoxy-assisted mechanical bolts settle slightly as resin cures.
- Mark torqued bolts visibly. Use paint pens to indicate installation date and torque value—critical for route maintainers.
- Carry a spare washer. If the hanger rocks or tilts, a flat washer redistributes load—but never substitute for proper torque.
The Terrible “Tip” Nobody Should Follow
“Just crank it until the hanger stops moving.” Nope. Movement ≠ proper engagement. Expansion sleeves can bind prematurely due to debris, giving false feedback. Trust measurements, not muscle memory.
Rant Time: My Bolt Torque Pet Peeve
Why do gyms and guide services teach beginners to “feel” for tightness on indoor holds—but then expect wilderness bolters to eyeball life-or-death hardware in 30mph winds? Torque is physics, not intuition. If you wouldn’t free-solo without a rope, don’t place bolts without a wrench.
Real-World Case: When Under-Torquing Almost Cost a Life
In 2021, a near-fatal incident occurred at Smith Rock when a climber fell onto a newly placed 1/2” expansion bolt that hadn’t been torqued to spec. The bolt pulled 1.2 inches from the wall before arresting the fall. Investigation by the American Alpine Club revealed torque readings of just 15 N·m—well below the required 35–40 N·m.
Post-incident, the local bolting coalition mandated torque verification for all new anchors. Within a year, audit data showed a 92% compliance rate—and zero mechanical bolt failures.
FAQs: Torque Settings for Bolts
What’s the standard torque for a 3/8” climbing bolt?
Most manufacturers (Petzl, Fixe, Hilti) specify **20–25 Newton-meters (N·m)**. Always verify with your specific model’s documentation.
Can I use a regular socket wrench if I “calibrate” it by feel?
No. Human perception of torque varies wildly—even among experienced mechanics. Studies show error margins exceed ±30% without a calibrated tool.
Do stainless steel bolts need different torque than zinc-plated?
Not inherently—but stainless often uses finer threads, which can alter optimal torque slightly. Again: check manufacturer specs.
Is higher torque always safer?
Absolutely not. Over-torquing can stretch bolts beyond yield strength, crack hangers, or spall brittle rock. There’s a Goldilocks zone—and it’s narrow.
Conclusion
Torque settings for bolts aren’t optional homework—they’re non-negotiable safety protocols. Whether you’re a weekend warrior cleaning chains or a certified route developer, treating torque with discipline protects everyone who follows.
Invest in a quality torque wrench. Memorize your go-to bolt specs. And never, ever let haste override precision on the wall.
Because out there, gravity doesn’t care how “close enough” you thought you were.
Like a Tamagotchi, your anchor integrity needs daily care—except lives depend on it.
Rock bites, bolts hold true—
Torque right, or bid adieu.
Wrench clicks: peace ensues.