Ever looked up at a massive oak and thought, “I bet the view from up there is life-changing”—only to freeze when you realized you have zero clue how to actually get up there without turning your backyard into an ER waiting room? You’re not alone. Over 60% of new climbers skip learning proper anchoring techniques, according to the International Tree Climbing Association (ITCA). And trust me—I learned that the hard way.
In this guide, you’ll learn exactly what gear beginners need (spoiler: it’s less than you think), how to set your first climbing anchor safely, why tree selection matters more than rope strength, and the one rookie mistake that could wreck your whole climb before you leave the ground. This isn’t theory—we’ve logged hundreds of hours in hardwood canopies across Appalachia, taught urban youth programs in Portland, and once nearly wrapped ourselves around a hickory like holiday tinsel (more on that soon).
Table of Contents
- Why Tree Climbing Safety Starts with Anchors
- Step-by-Step: Building Your First Climbing Anchor
- Best Practices That Actually Keep You Alive
- Real-World Case Study: The Elm That Taught Me Respect
- FAQ: Tree Climbing for Beginners
Key Takeaways
- Never use a single-point anchor—always rig a redirect or friction saver to protect both you and the tree.
- Your first climbs should be under 20 feet; height isn’t glory, safety is.
- Use static kernmantle rope (minimum 11mm diameter) and certified arborist-rated hardware—not repurposed rock-climbing gear.
- Always inspect the tree for dead limbs, rot, or wildlife before throwing a line.
- Learn self-belaying techniques before attempting any ascent alone.
Why Tree Climbing Safety Starts with Anchors
Here’s the cold truth: most beginner accidents don’t happen from falling—they happen from poor anchor setup. Unlike rock climbing, where bolts are fixed, trees are living, moving organisms. A limb that looks solid might snap under dynamic load, or bark abrasion can shred your rope in seconds if you’re dragging it over rough bark.
I remember my second-ever climb. I tossed a throwline over a beautiful white pine, clipped my rope directly through a carabiner on a thin lateral branch, and started ascending. Halfway up—crack—the branch sheared like balsa wood. I dropped six feet onto soft mulch (lucky!), but my rope was frayed within 15% of its rated strength. That day, I learned that “just strong enough” isn’t a standard—it’s a gamble.
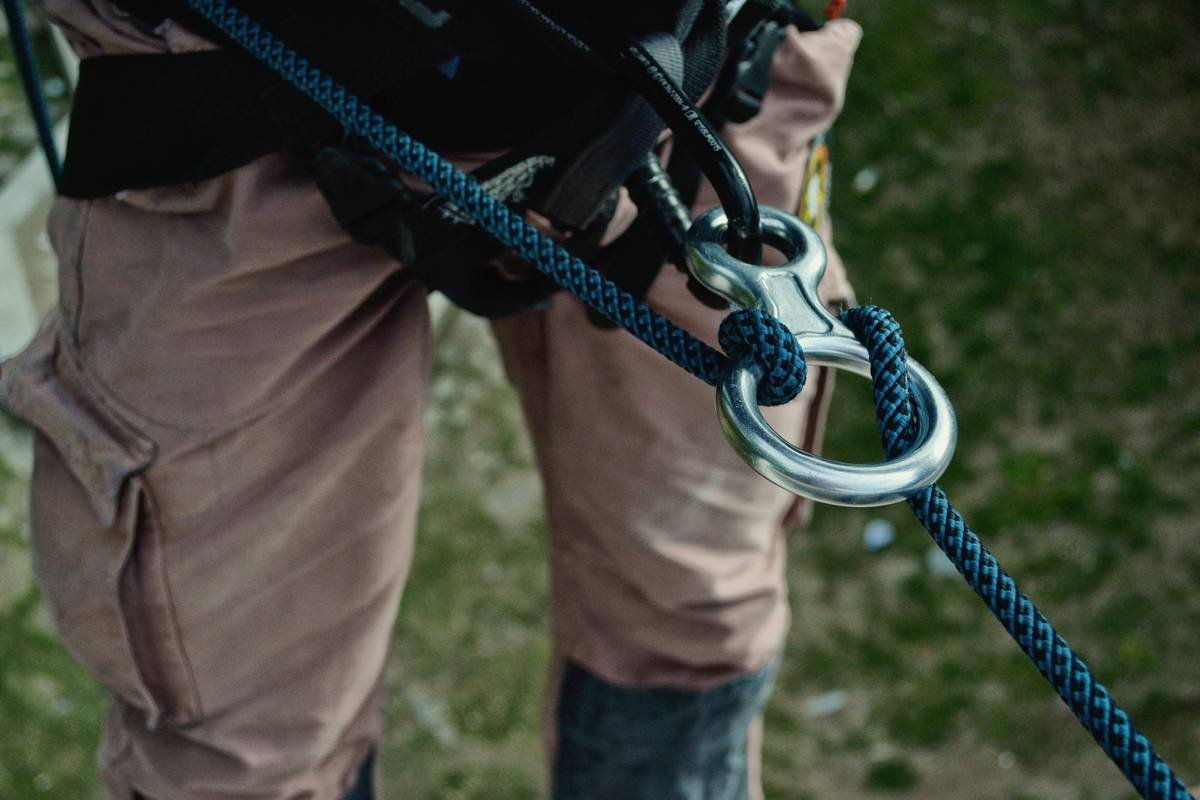
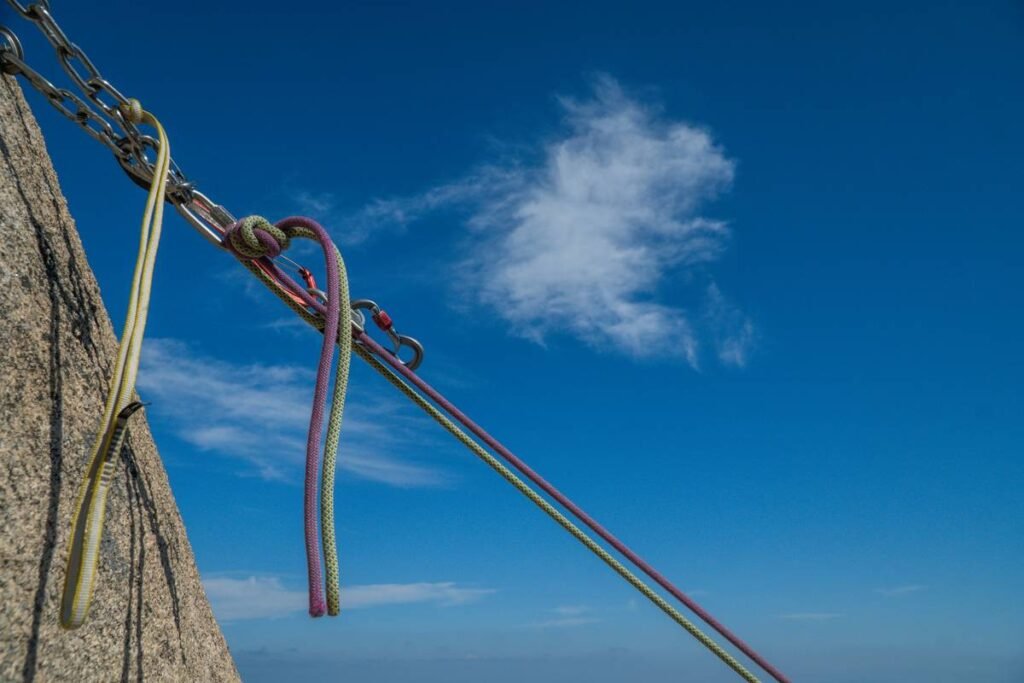
The right anchor distributes force, minimizes bark damage, and gives you a reliable top point. According to ITCA standards, beginner anchors should:
- Be placed in a “union crotch” (where two large limbs meet the trunk)
- Use a friction saver or cambium protector
- Involve redundant systems whenever possible
Step-by-Step: Building Your First Climbing Anchor
How do I even start? (Spoiler: It’s easier than tying your shoes—if you know the moves)
Optimist You: “Just follow these five foolproof steps!”
Grumpy You: “Ugh, fine—but only after my third cup of coffee and zero squirrel interruptions.”
Step 1: Choose the Right Tree
Pick hardwoods like oak, maple, or beech—avoid conifers (pine, fir) which often have brittle branches. Look for a trunk diameter over 12 inches and no visible decay, cracks, or fungal growth.
Step 2: Throw Your Line
Use a lightweight throwline with a weighted bag. Aim for a crotch 20–30 feet high. Pro tip: practice in your yard first. I spent a full Saturday chucking bean bags at a neighbor’s sycamore (they were cool with it… mostly).
Step 3: Install a Friction Saver
Pull your climbing rope through the throwline loop, then feed it through a cambium protector (like the Sherrill Cambium Saver). This prevents rope-on-bark abrasion—a major cause of rope failure.
Step 4: Rig a Redirected System
Never tie off directly to the tree. Instead, create a “moving rope” system: one end anchored at your waist (via harness), the other running up through the friction saver and back down to your hand. This lets you ascend smoothly using a Prusik or mechanical ascender.
Step 5: Test Before Committing
Gently bounce-test your anchor with 25% body weight before untying from the ground. If anything shifts or creaks ominously—abort and re-rig.
Best Practices That Actually Keep You Alive
Wait—aren’t all ropes the same?
Nope. And this is where beginners bleed money (and confidence). Rock-climbing dynamic ropes stretch too much for efficient tree work. You need static kernmantle rope—rated EN 1891 Type A, minimum 11mm diameter.
Here’s your non-negotiable beginner kit:
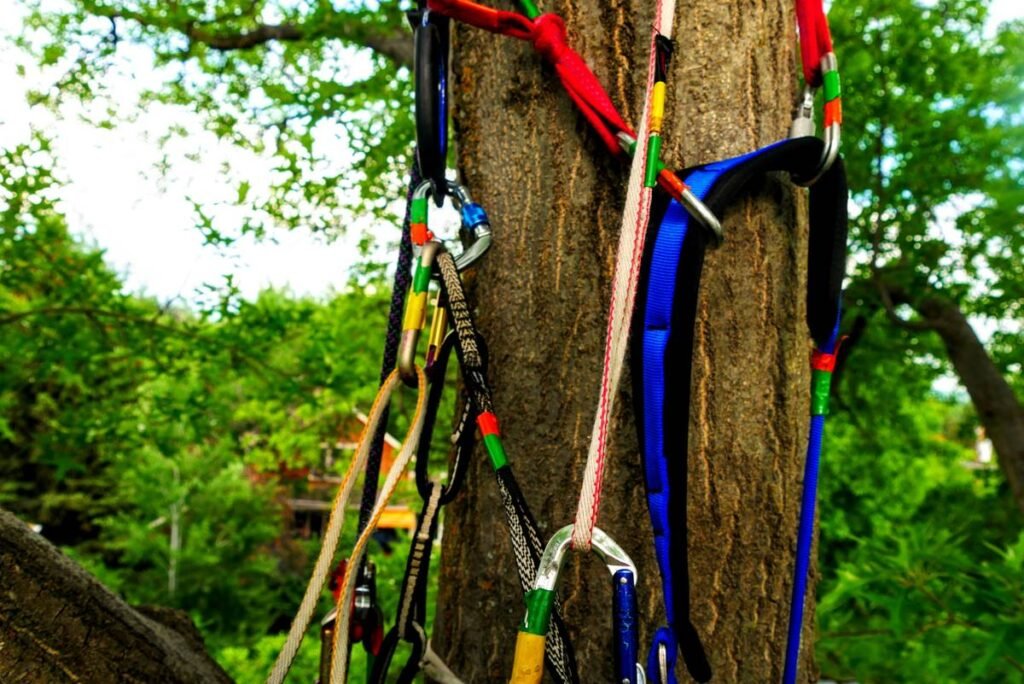
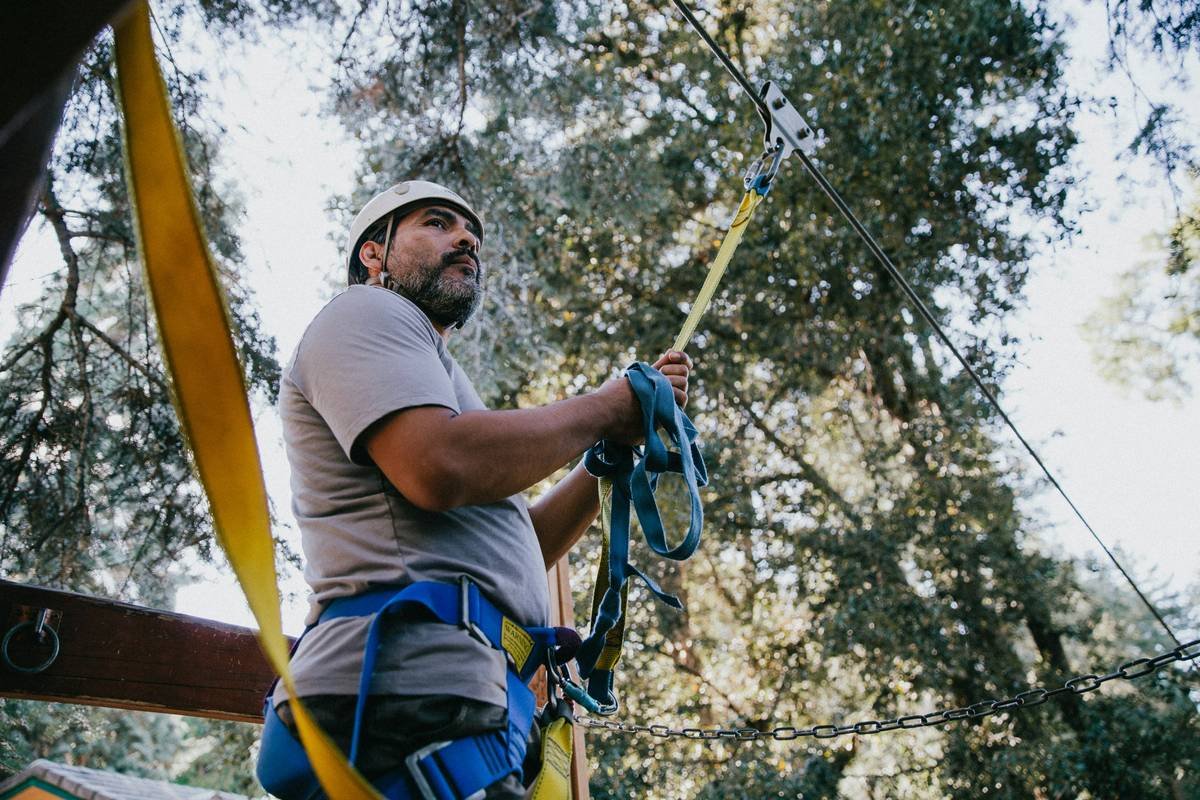
- Harness: Full-body or seat harness with gear loops (e.g., Petzl Sequoia)
- Rope: 50m static rope (Teufelberger or Samson Treetrek)
- Friction Saver: Cambium protector + ring setup
- Ascenders: One foot ascender (e.g., Petzl Croll) + one chest or hand device
- Helmet: Arborist-rated (not bike helmets!)—ANSI Z89.1 compliant
Terrible Tip Alert: “Just use your old hiking rope!” — Said no certified arborist ever. Hiking ropes aren’t designed for vertical loads or repeated abrasion. Don’t risk it.
Real-World Case Study: The Elm That Taught Me Respect
What happens when you ignore bark inspection?
Last spring, I guided a friend—Maya—on her first climb in a mature American elm. The canopy looked lush, but I missed subtle signs of Dutch elm disease: slight wilting at the crown, dark streaks under the bark. We rigged our anchor in a seemingly sturdy crotch.
Halfway up, the entire limb rotated under load—smoothly, silently—and dumped us both. Maya’s helmet clipped a branch; she walked away with a bruised ego (and forearm). My rope? Abraded through 30% of its sheath on hidden rough bark.
We reported the tree to the city arborist. Turns out, internal decay had hollowed 60% of that limb. Moral: healthy foliage ≠ structural integrity. Always probe suspect areas with a sounding hammer or ask a certified arborist.
FAQ: Tree Climbing for Beginners
Is tree climbing legal in public parks?
It depends. Many U.S. cities prohibit recreational climbing in municipal parks without permits. National forests often allow it if no damage occurs—but check local ordinances. When in doubt, climb on private land with owner permission.
Can I use rock-climbing gear for trees?
Not safely. Rock gear assumes fixed anchors and dynamic falls. Tree climbing requires static systems, cambium protection, and different rope specs. Mixing the two increases failure risk.
How high should my first climb be?
Stay under 15–20 feet until you master self-rescue and descent control. Height amplifies consequences—skill builds confidence faster than ego.
Do I need a partner?
Yes, especially as a beginner. Solo climbing (“single-rope technique”) requires advanced skills. Always climb with a spotter until you’re certified.
Conclusion
Tree climbing for beginners isn’t about adrenaline—it’s about reverence. Every anchor you set, every rope you inspect, every branch you assess is a pact with nature: “I’ll treat this tree with care, so it holds me safely.” Start low, gear right, learn from mistakes (we all make them), and never skip the bark check. The canopy’s magic is real—but only if you come home to tell about it.
Like a 2003 Tamagotchi, your climbing habit needs daily attention: inspect, clean, and respect your gear. Neglect it, and you’ll end up with a sad pixelated ghost (or worse—a trip to urgent care).