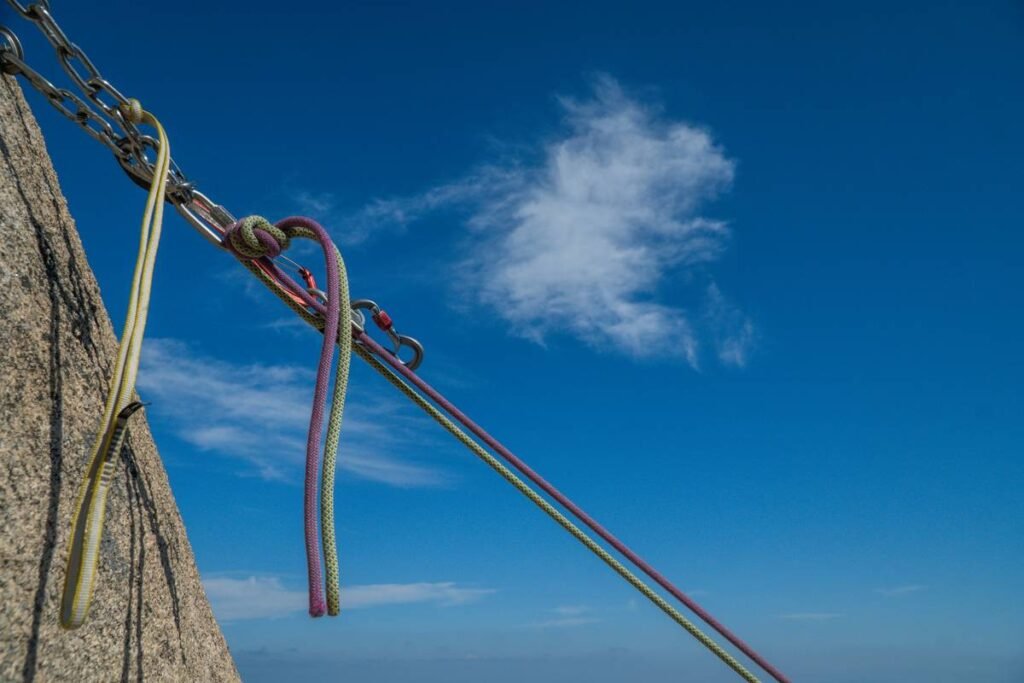
You trust your life to them—yet most climbers treat rock climbing anchors like an afterthought. A frayed sling. A corroded bolt. An awkward three-point equalization that collapses under real load. It’s not if you’ll fall—it’s when. And your anchor system better be ready. Here’s how to build, inspect, and trust your anchors like a pro who’s seen partners walk away… and others who didn’t.
Why 80% of Anchor Setups Fail Under Real Stress
Most climbers learn anchor theory in calm gyms or on clean sport routes. Reality? Cracks are dirty. Rock is brittle. Your belayer might yank the rope sideways during a leader fall. Standard “textbook” anchors assume perfect symmetry, pristine hardware, and static loads. None of that exists on El Cap’s North Face or even your local crag after a rainstorm.
And here’s the kicker: redundancy isn’t enough. If your master point shifts under load—and it will—uneven force distribution can spike stress on a single piece by 300%. One weak cam. One loose nut. That’s all it takes.
Building Bulletproof Rock Climbing Anchors: A Step-by-Step Field Protocol
Choose Gear That Matches the Rock Type
Granite loves cams. Limestone demands bolts or passive nuts. Sandstone? Go big—or go home—with wide cracks requiring stacked cams or custom slings. Never force gear. If it wiggles or spins, it’s junk.
Master Point Geometry Matters More Than You Think
V-angle under 60°? Good. Over 120°? You’re multiplying force exponentially. Use cordelettes or sliding-X with limiter knots to keep angles tight. And always test your anchor by tugging from multiple directions before committing.
Extend to Reduce Rope Drag—But Not at the Cost of Safety
Long slings reduce drag on wandering pitches—but they also increase pendulum risk in a fall. Balance extension with directness. Clip high, clip clean, and never let your anchor become a death zipper waiting to unzip.
| Anchor System | Best For | Force Distribution | Risk Level |
|---|---|---|---|
| Sliding-X with Limiter Knots | Two solid, close placements | Excellent (self-equalizing) | Low—if knots are tied correctly |
| Cordelette (7mm cord) | 3–4-piece anchors on trad routes | Poor (not truly equalized) | Medium—depends on knot placement |
| Quad Anchor (with two carabiners) | Multi-pitch stations with mixed gear | Good (redundant + adjustable) | Low—with proper inspection |
| Bolted Belay Station | Sport climbs or fixed anchors | High—if bolts are sound | Variable—inspect for corrosion! |
The Industry Secret: What Guide Services Don’t Tell Clients
Top-tier alpine guides rarely use cordelettes on serious objectives. Why? They’re slow, bulky, and create unnecessary bulk at the belay. Instead, they build “in-situ” anchors using the rope itself—tying off pieces directly with clove hitches on locking biners. It’s faster, lighter, and allows micro-adjustments on the fly. But it demands flawless knot discipline. One slipped hitch = catastrophe. This technique stays off Instagram because it looks messy. But on Denali or the Eiger, it saves lives—and milliseconds matter.
Frequently Asked Questions About Rock Climbing Anchors
What makes a rock climbing anchor safe?
A safe anchor is redundant, strong (holds >22kN), has limited extension, and equalizes load across pieces—even when one fails.
Can I reuse old climbing anchors?
Only if you personally inspected every component. Rust, UV degradation, or bent gates compromise integrity. When in doubt, replace it.
How often should I inspect my anchor gear?
Before every climb. Check slings for fuzziness, carabiners for gate play, and cams for sticky lobes. Gear doesn’t age—it degrades.