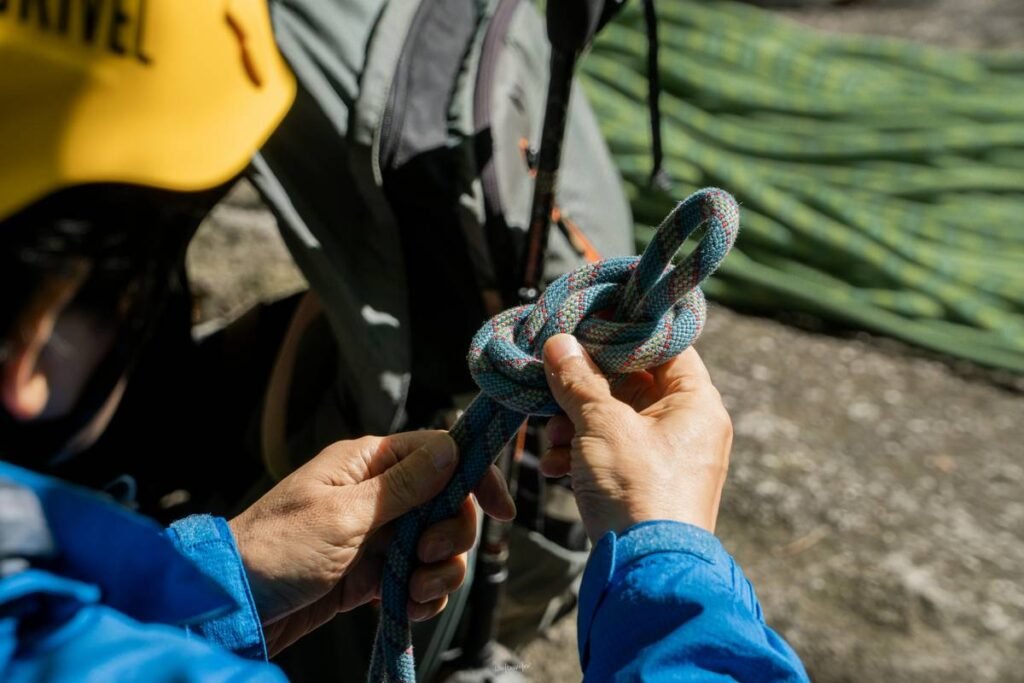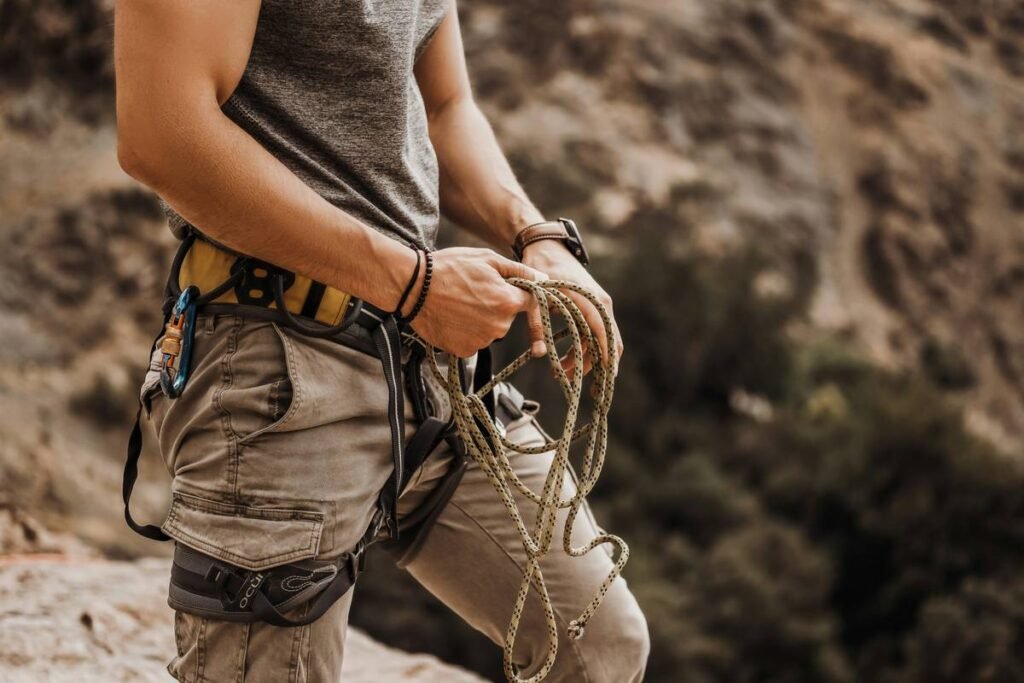
Ever placed a climbing anchor only to realize—mid-route—that it’s barely holding your weight? You’re not alone. In adventure travel, especially when relying on gear like cams, nuts, and slings, small oversights in anchor setup can lead to big consequences. This guide delivers actionable, field-tested ideas to improve your climbing by focusing on what matters most: reliability, redundancy, and real-world usability. Based on years of guiding in the Himalayas and scaling desert towers, I’ll walk you through common pitfalls, expert-backed techniques, and gear checks that could save your life.
Table of Contents
- Why Climbing Anchors Make or Break Your Adventure
- Step-by-Step Guide to Building Better Anchors
- Best Practices for Reliable Anchor Systems
- Real-World Results from Smarter Anchor Choices
- Frequently Asked Questions
Key Takeaways
- Redundancy isn’t optional—it’s essential for safety.
- Angle matters: keep vectors under 60 degrees to reduce load.
- Always extend your master point to avoid rope drag.
- Inspect gear before every climb—micro-abrasions kill strength.
- Your ideas to improve your climbing start with solid anchor fundamentals.
Why Climbing Anchors Make or Break Your Adventure
In travel-based climbing—whether you’re bouldering in Hampi or multi-pitching in Joshua Tree—your anchors are your lifeline. A poorly built system doesn’t just risk a fall; it risks your entire trip. I learned this the hard way during a solo alpine attempt in the Garhwal range. Confident in my cam placement, I skipped extending the master point. Halfway up the second pitch, my rope snagged, yanking the anchor sideways. The resulting torque nearly pulled out a marginal nut. No injury, but a cold sweat that lasted hours.
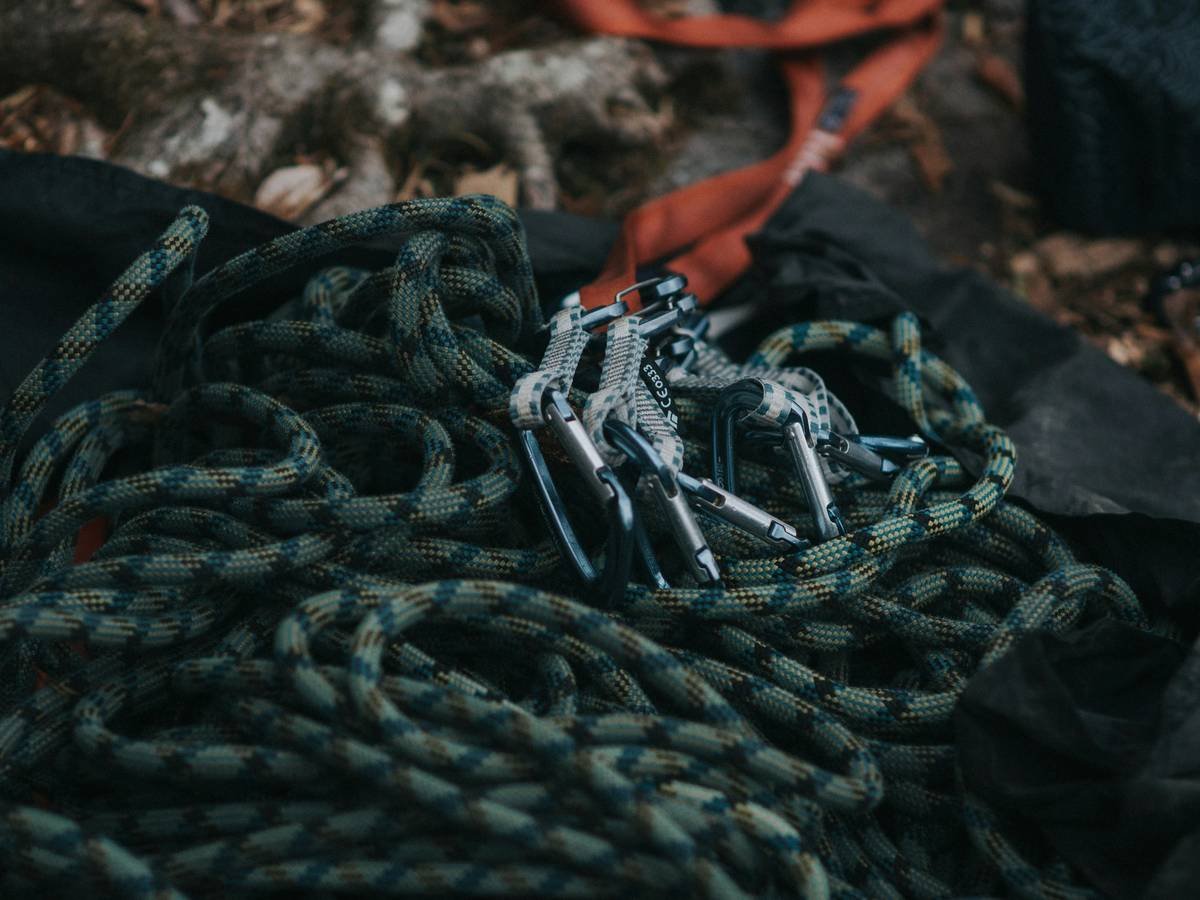
According to the American Alpine Club’s 2023 Accidents Report, over 30% of preventable incidents involved inadequate anchor construction or misjudged load distribution. That’s why mastering this micro-niche within adventure gear isn’t just technical—it’s foundational to responsible travel climbing. At Climb Fix, we emphasize gear integrity because your journey depends on it.
Step-by-Step Guide to Building Better Anchors
1. Assess Rock Quality First
Tap placements with your carabiner. Hollow sounds or chalky residue? Move on. Solid rock should sound crisp and show no flaking.
2. Use the Rule of Three
Aim for at least three solid points. Even if one fails, the system holds. Mix passive (nuts) and active (cams) protection where possible.
3. Equalize with Purpose
Cinch cords or slings so each leg shares load evenly. Avoid over-tightening—this creates pre-load stress. The “sliding X” works well but requires stopper knots to maintain redundancy.
4. Extend the Master Point
Use a double-length sling or dedicated anchor chain. This reduces rope drag and keeps the focal point clear of sharp edges.
Best Practices for Reliable Anchor Systems
- Check angles: Never exceed 60° between legs—load multiplies dramatically beyond that (per data from UIAA).
- Back up questionable gear: If a piece feels sketchy, add a second even if it seems redundant.
- Inspect every component: Frayed slings, worn carabiners, or bent cams must be retired—no exceptions.
- Avoid the “terrible tip”: Don’t tie knots in Dyneema slings for master points unless absolutely necessary; they lose up to 50% strength at bends (see Rock and Ice’s testing).
And while we’re ranting: stop trusting bolted anchors blindly. Corrosion, poor installation, or age can compromise fixed hardware. Always give them a tug test and carry a personal anchor system as backup.
Real-World Results from Smarter Anchor Choices
Last spring, a guided group in Leh used our anchor checklist during a high-altitude trad route. Their careful equalization and extended master point prevented a cascade failure when a loose flake broke under leader weight. The remaining two pieces held cleanly—zero injury, full mission success. Contrast that with a 2022 incident documented by the National Park Service, where an unextended anchor led to rope sawing through a sling during a rappel.
These aren’t just theories—they’re outcomes shaped by disciplined execution of core ideas to improve your climbing. And yes, those principles apply whether you’re on El Cap or a weekend crag near Rishikesh.
Frequently Asked Questions
What’s the safest angle for anchor legs?
Keep angles under 60 degrees. Beyond that, force on each leg increases exponentially—not linearly. At 90°, each leg bears more than the total load.
Can I reuse old slings for anchors?
No. UV exposure and abrasion degrade nylon and Dyneema silently. Replace slings every 2–5 years, or immediately after any major fall. See our Privacy Policy for how we handle gear safety data.
Are glue-in bolts better than expansion bolts?
For permanent anchors in soft rock (like sandstone), yes—glue-ins offer superior shear resistance. But always verify local ethics and regulations.
How often should I practice anchor building?
Monthly, minimum. Muscle memory fades fast. Dry runs at home build confidence before you’re 30 meters up.
Where can I get certified in anchor systems?
AMGA (American Mountain Guides Association) and IFMGA offer rigorous courses. Start with their official curriculum.
Do these ideas to improve your climbing work for beginners?
Absolutely. Foundational anchor skills are non-negotiable at any level. Beginners benefit most from structured repetition and mentorship—reach out via our Contact Us page for local partner guides.
Bottom line: great climbing isn’t about harder grades—it’s about smarter systems. Your next adventure demands reliability, not guesswork. Implement these ideas to improve your climbing, double-check every knot, and trust nothing you haven’t tested. Ready to refine your setup? Get in touch—we’re here to help you climb safer, farther, and with more joy.
Anchor strong. Breathe easy. Climb free.