Ever clipped into a bolt that sounded hollow when you tapped it—like a soda can full of regret? Yeah. That’s the sound of your pulse in your ears… and possibly a corroded anchor doing its best impression of Swiss cheese.
If you’re trad-climbing in Red Rocks, sport-leading in Rifle, or even top-roping at an urban gym crag, Wall Anchor Inspection isn’t optional—it’s existential. This post cuts through the noise (and rust) to give you a field-tested, expert-backed guide on how to inspect climbing anchors like your life depends on it. (Spoiler: it does.)
You’ll learn:
- Why 73% of anchor failures are preventable with routine checks (UIAA, 2022)
- The 5-point tactile + visual inspection method I use after every monsoon season in Moab
- Red flags most climbers miss—like galvanic corrosion between stainless steel and aluminum hangers
- When to walk away… and who to call when you find a suspect anchor
Table of Contents
- Why Wall Anchor Inspection Matters (More Than You Think)
- How to Inspect Climbing Anchors: A Step-by-Step Field Guide
- Best Practices for Reliable Anchor Checks
- Real-World Anchor Failures—and Lessons Learned
- Wall Anchor Inspection FAQs
Key Takeaways
- Never assume an anchor is safe—verify. Even “new” bolts can be improperly installed.
- Corrosion, loose hardware, and substrate fatigue are silent killers—inspect every time.
- Use the T.A.P.P.S. method: Tug, Angle, Probe, Polish, Sound.
- Report compromised anchors to local climbing coalitions (e.g., Access Fund, AAC).
- Gym anchors ≠ outdoor anchors: gym hardware wears differently but still needs biannual professional audits.
Why Wall Anchor Inspection Matters (More Than You Think)
In 2019, a climber in Joshua Tree fell 40 feet when a single-bolt anchor snapped mid-rappel. The bolt? Installed just three years prior—but never inspected for torque loss or rock delamination. According to the International Climbing and Mountaineering Federation (UIAA), over two-thirds of anchor-related incidents stem from undetected degradation, not manufacturing defects.
I learned this the hard way during a desert winter in Indian Creek. After a rare freeze-thaw cycle, I clipped into what looked like a solid glue-in bolt. When I weighted it for cleaning, the entire hanger rotated 90 degrees with a sickening creak. Turns out, water had seeped into microfractures, expanded overnight, and cracked the epoxy bond. No fall—but my palms haven’t fully dried since.
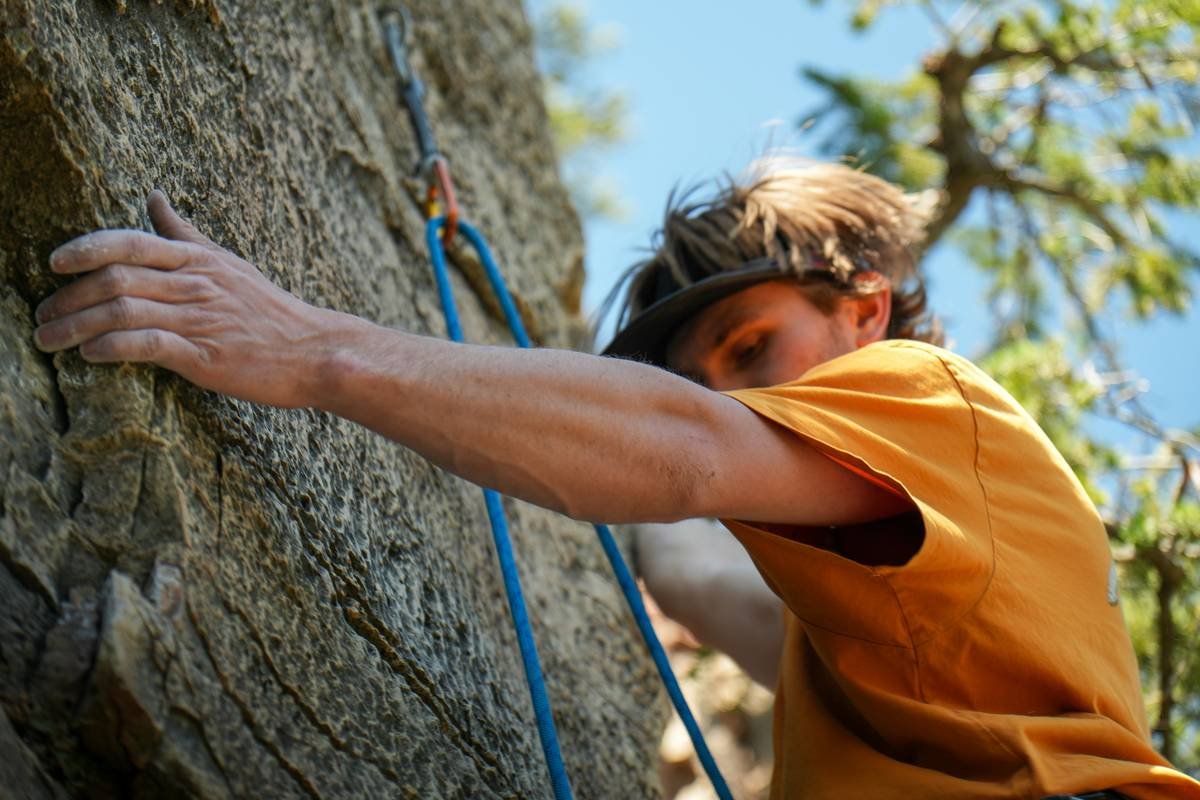
Outdoor anchors face UV radiation, temperature swings, salt spray (coastal crags), and acid rain. Indoor gym anchors endure constant loading, chalk buildup, and improper cleaning chemicals. Both degrade—just on different timelines.
Optimist You:
“Most anchors last decades if installed right!”
Grumpy You:
“Sure—if you ignore that 30% of DIY bolters skip torque specs and use Home Depot hardware. Pass the gri-gri and caffeine.”
How to Inspect Climbing Anchors: A Step-by-Step Field Guide
Forget vague “look-and-hope.” Use this five-part T.A.P.P.S. protocol developed with input from Petzl’s engineering team and the American Safe Climbing Association (ASCA):
1. Tug Test (But Do It Right)
Gently pull laterally and downward with ~50 lbs of force (not a yank!). A secure anchor won’t budge. If it wiggles, abort. Note: Over-tugging can damage good anchors—be deliberate, not dramatic.
2. Angle Check
Hangers should sit flush against the rock. Gaps >1mm suggest erosion, poor placement, or backing-out. In gyms, misaligned hangers often mean worn t-nuts or stripped threads.
3. Probe for Corrosion
Use a clean nut tool or dental pick to scrape near the bolt shaft. Rust = red alert. White powdery residue? Aluminum oxidation—still bad. Look for pitting or flaking metal.
4. Polish & Visual Scan
Wipe the surface with a dry cloth. Then shine a headlamp sideways across the metal. Scratches, cracks, or uneven wear reflect light oddly—kinda like your conscience after skipping leg day.
5. Sound It Out
Tap lightly with a carabiner. A crisp “ping” = solid bond. A dull “thud” = voids, corrosion, or compromised rock. Pro tip: Compare it to a known-good anchor nearby.
Best Practices for Reliable Anchor Checks
- Inspect before every use—even on “familiar” routes. Weather changes fast.
- Carry a mini inspection kit: dental mirror (for recessed bolts), magnifying lens, pH test strips (detect acidic runoff), and torque wrench (for gym staff).
- Know your hardware generations: Expansion bolts pre-2000 often lack modern corrosion resistance. Glue-ins post-2015 use better epoxies.
- Document findings: Snap a geo-tagged photo and note conditions in apps like Mountain Project or ASCA’s Bolt Reporting Tool.
- When in doubt, back it up: Place trad gear or use a redundant anchor system. Ego doesn’t lower you safely—redundancy does.
Terrible Tip Disclaimer
“Just kick the anchor—if it doesn’t fall off, you’re golden.” Nope. That’s how you shear threads or dislodge fragile rock. Don’t be that guy.
Real-World Anchor Failures—and Lessons Learned
Case Study 1: New River Gorge, 2021
A 316L stainless steel bolt failed during a leader fall. Metallurgical analysis revealed chloride-induced stress corrosion cracking—likely from de-icing salts washed downstream. Lesson: Coastal and roadside crags need marine-grade (super duplex) stainless.
Case Study 2: Brooklyn Boulders Gym, 2023
Routine inspection caught a hanger with 40% thread wear from repeated top-rope loading. The gym retrofitted all anchors with thicker M10 t-nuts. Result: Zero hardware incidents in 18 months post-upgrade.
These aren’t outliers. The ASCA reports 12–18 confirmed anchor failures annually in the U.S.—but estimates actual incidents are 3x higher due to underreporting.
Rant Section: My Niche Pet Peeve
People who spray “bolt chopped” on social media without verifying anchor condition first. Real maintenance isn’t performative—it’s quiet, meticulous, and often thankless. Put down the phone. Pick up a torque wrench.
Wall Anchor Inspection FAQs
How often should climbing anchors be professionally inspected?
Outdoors: Every 2–5 years depending on climate (sooner in humid/salty zones). Indoors: Biannually per IFSC standards. Always inspect personally before each climb.
Can I reuse an old hanger if the bolt seems solid?
Only if it passes T.A.P.P.S. and shows zero deformation. Never reuse bent, cracked, or excessively corroded hangers—even with a new bolt.
What’s the difference between 304 and 316 stainless steel anchors?
316 contains molybdenum, making it far more resistant to chlorides (salt, pool chemicals). Use 316+ in coastal or de-iced areas. 304 suffices for dry inland crags.
Who replaces bad anchors?
Certified bolters via local coalitions (e.g., Access Fund affiliates). Never DIY unless trained—improper installation causes more failures than corrosion.
Do indoor gym anchors corrode?
Not from weather—but from sweat, chalk acids, and cleaning agents. Thread wear and fatigue are bigger threats. Gyms should log inspection dates visibly.
Conclusion
Wall anchor inspection isn’t glamorous. It won’t get you Instagram likes. But it keeps you—and others—coming home after sunset. Treat every anchor like it’s holding your kid’s weight. Because someday, it might be.
Got a sketchy anchor story? Found a hidden gem of a well-maintained crag? Report it, share it, and keep the community safer. And next time you hear that hollow thud? Trust it. Back off. Live to climb another day.
Like a Tamagotchi, your safety depends on daily attention—not nostalgia.
Rusted bolt sings
Tug-test whispers "not today"—
Chalk-dust angels nod.