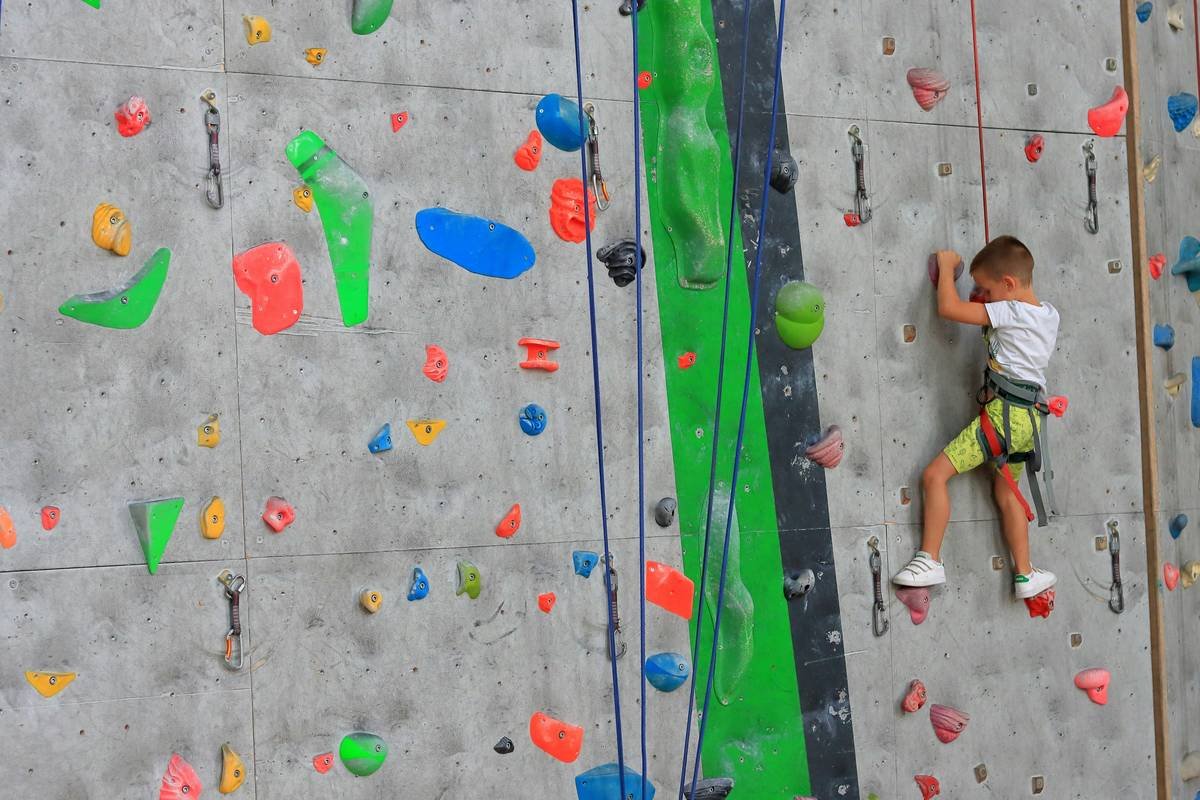
Ever stood at the base of a 40-foot climbing wall, palms sweaty, heart thumping like a drum solo in your ears—and realized you couldn’t even *spot the next hold*? You’re not alone. Over 75% of new climbers quit within their first three visits because they feel overwhelmed by technique, gear, or fear—not lack of grit.
That’s why this guide cuts through the noise. We’ll walk you through essential indoor climbing techniques for beginners, with a special focus on how anchor awareness (yes, even indoors!) builds safer, smarter habits from day one. Whether you’re eyeing your first top-rope session or dreaming of bouldering V3s, you’ll learn:
- How body positioning beats brute strength
- Why footwork is 80% of your climb (and how to nail it)
- The “silent lesson” indoor anchors teach about real-world safety
- Real mistakes I’ve made—and how you can skip them
Table of Contents
- Why Do Most Beginners Plateau After Their First Few Climbs?
- Step-by-Step Indoor Climbing Techniques for Beginners
- 5 Pro Tips That Feel Like Cheating (But Aren’t)
- A Real Climber’s Breakthrough: From Flailing to Flow
- FAQs: Your Burning Questions Answered
Key Takeaways
- Footwork > Grip Strength: Quiet feet = efficient movement.
- Hip Engagement Matters: Turn your hips into your secret weapon.
- Anchors Are Teachers: Even indoor fixed anchors reinforce safe rope systems.
- Rest ≠ Quitting: Strategic shaking out prevents burnout and injury.
- Avoid “Death Gripping”: It’s the #1 energy drain for new climbers.
Why Do Most Beginners Plateau After Their First Few Climbs?
New climbers often think climbing is about arms—big mistake. In reality, biomechanical studies confirm that 60–70% of propulsion comes from the legs. Yet most beginners hang like overcooked spaghetti, yanking themselves upward with exhausted forearms by climb #3.
I learned this the hard way during my first month at Brooklyn Boulders. I’d charge vertical walls like a caffeinated squirrel—only to plummet mid-route, chalk dust puffing around me like a sad cloud. My forearms burned, my confidence tanked, and worst of all, I kept misreading holds, missing subtle footholds painted right under my nose.
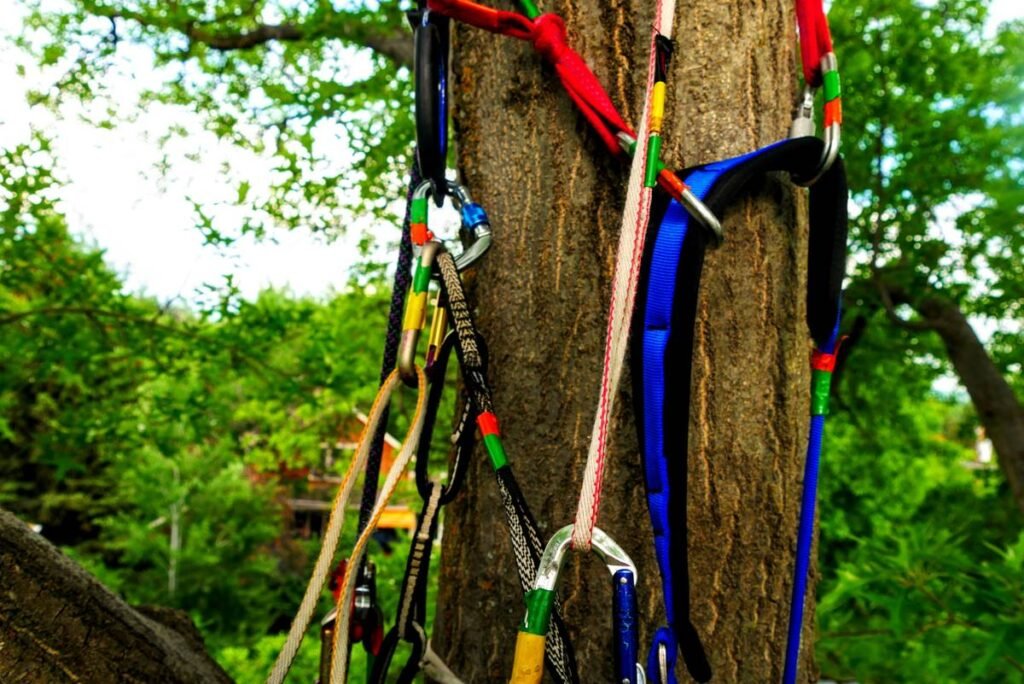
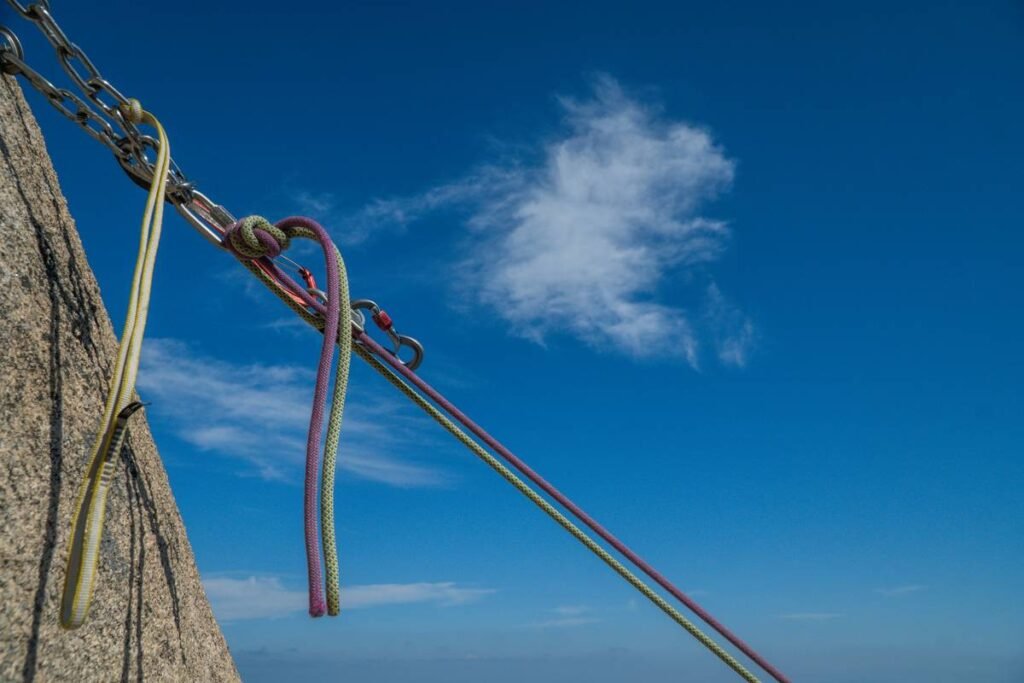
And here’s something gyms rarely emphasize: indoor anchor systems matter for beginners too. While you’re not building anchors yourself on top-rope routes, understanding how the fixed anchor works—the carabiners, the master point, the redundancy—builds foundational trust in the system. That mental comfort directly impacts technique. When you *know* the gear won’t fail, you stop holding your breath and start moving fluidly.
Step-by-Step Indoor Climbing Techniques for Beginners
How Do I Stop Death-Gripping Every Hold?
Optimist You: “Just relax your hands!”
Grumpy You: “Says the person who isn’t dangling 15 feet up with jelly arms.”
Here’s the fix: **grip modulation**. Not every hold needs a vice clamp. Practice this drill:
1. On an easy traverse, use only enough grip to stay on.
2. Shake out your hands every 3 moves.
3. Whisper “feet, feet, feet” like a mantra.
Over time, your brain learns that security comes from balance—not clenched fingers.
Why Should I Care About My Hips?
Your hips are your center of gravity. The closer they are to the wall, the less torque your arms fight. Try the hip-turn technique: when reaching for a hold, pivot your hip toward the wall like you’re closing a car door with your butt. This shifts weight onto your leg and unlocks reach without strain.
What’s the Deal With “Quiet Feet”?
Loud stomping = wasted energy. **Quiet feet** means placing your toe precisely, then committing. No readjustments. Start on slabs (slightly angled walls)—they force precision. Bonus: quieter feet mean fewer complaints from belayers tired of hearing “CLANG CLANG” all day.
5 Pro Tips That Feel Like Cheating (But Aren’t)
- Warm Up Like a Pro: 10 minutes of dynamic stretches + 2 easy climbs. Skipping this is how tendonitis sneaks in.
- Watch Others Climb: Stand back and observe advanced climbers’ foot sequences. Mimic their rhythm—it’s free coaching.
- Use Your Legs Fully: Straighten your leg when standing on a hold. Bent knees = rapid fatigue.
- Rest Strategically: Find “rest holds” (jugs or kneebars) and shake out one arm at a time. Breathe deep—oxygen is your fuel.
- Ask About the Anchor: Seriously. Ask staff: “Is this a fixed top-rope anchor?” Understanding how it’s built (usually two bolts + equalized chains) builds trust in the system.
🚫 Terrible Tip Alert!
“Just climb harder routes to get better faster.” NO. This is how beginners develop bad habits and injuries. Progress comes from mastering easy terrain with perfect form—not surviving impossible overhangs with flailing limbs.
Rant Corner: My Pet Peeve?
Climbers who spray beta unprompted. “Oh, just heel hook there!” Ugh. Let people problem-solve. Climbing is chess with calluses—part of the joy is figuring out the sequence yourself. (Unless someone asks. Then share freely.)
A Real Climber’s Breakthrough: From Flailing to Flow
Last year, my friend Lena—a total newbie—showed up to Movement Brooklyn convinced she “wasn’t strong enough.” She’d tried twice before and quit, convinced climbing was only for ripped athletes.
We started with footwork drills on a 30° slab. Week 1: just placing toes silently. Week 2: adding hip turns. Week 3: linking 10 moves without falling. By week 6? She sent her first 5.9 top-rope route—and noticed something profound: “I stopped looking up in panic. I started trusting my feet… and the rope.”
That trust came partly from learning how the indoor anchor worked. Her instructor walked her through the dual-bolt system, the locking carabiners, the backup knots. Suddenly, the “invisible safety net” had structure. Her mind relaxed—and her body followed.
FAQs: Your Burning Questions Answered
Do I need to know about climbing anchors as a beginner?
Not to build them—but yes, to understand them. Indoor top-rope anchors are pre-rigged, but knowing they’re redundant (two independent points) and load-tested builds psychological safety. The American Alpine Club emphasizes that anchor literacy starts early—even indoors.
How often should beginners climb?
2–3 times per week max, with rest days in between. Tendons adapt slower than muscles—overuse causes pulley strains.
Are indoor techniques different from outdoor?
Core movement principles (quiet feet, hip engagement) are identical. But outdoors adds variables: rock texture, weather, route-finding. Indoor walls are your controlled lab to master fundamentals.
What shoes should beginners buy?
Neutral, flat-soled shoes with moderate stiffness (e.g., La Sportiva Tarantula, Scarpa Origin). Avoid aggressive downturned shoes—they hurt and teach poor foot positioning.
Conclusion
Mastering indoor climbing techniques for beginners isn’t about scaling the tallest wall on day one. It’s about learning to move efficiently, breathe steadily, and trust both your body and the system—including those unassuming anchors overhead. Focus on foot precision, hip control, and strategic rest. Watch your progress compound faster than you thought possible.
Now go chalk up. And remember: every expert climber was once a beginner staring blankly at a purple hold, wondering if it was a jug or a crimp. (Spoiler: it was a crimp.)
Like a Tamagotchi, your climbing skills need daily care—except instead of feeding pixels, you’re feeding your courage one quiet step at a time.