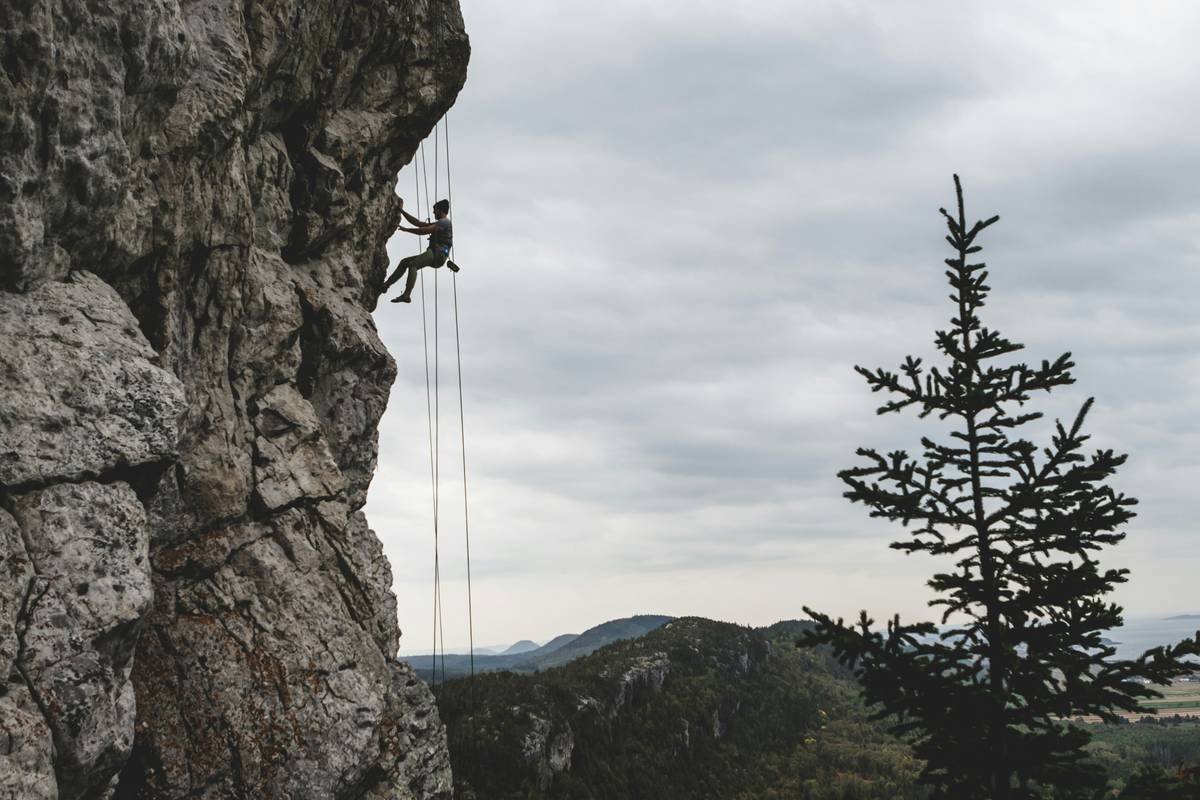
You’re 80 feet up a granite face. The rope’s taut. Your last piece of pro feels solid—until it doesn’t. That sickening pop echoes in your skull. Anchors for rock climbing aren’t just gear; they’re the thin line between adrenaline and catastrophe. Most climbers treat anchors like checkboxes. That’s how accidents happen. The solution? Ruthless precision, not ritual.
Why “Good Enough” Anchors Fail Spectacularly
Many climbers slap together anchors using whatever cams or nuts are handy—trusting tradition over physics. Big mistake. Rock isn’t uniform. A crack that held yesterday might crumble today under slightly different load angles. And most don’t realize: redundancy without equalization is theater, not safety.
Think about it. You’ve seen photos of clean anchor setups on Instagram—neat, symmetrical, color-coordinated. Real rock doesn’t care about your aesthetic. It cares about vector forces, rock integrity, and whether your knot will hold when your second takes a 15-foot whipper.
Building Bulletproof Anchors for Rock Climbing: Step by Step
Forget dogma. Here’s how to build anchors that survive chaos—not just calm days at the crag.
Evaluate the Rock, Not Just the Gear
Start by thumping the wall. Hollow sounds = bad news. Look for exfoliating layers, lichen patches (often indicate weakness), or moisture seepage. Place protection only in solid, compact sections—even if it means extending your anchor asymmetrically.
Create Directional Redundancy
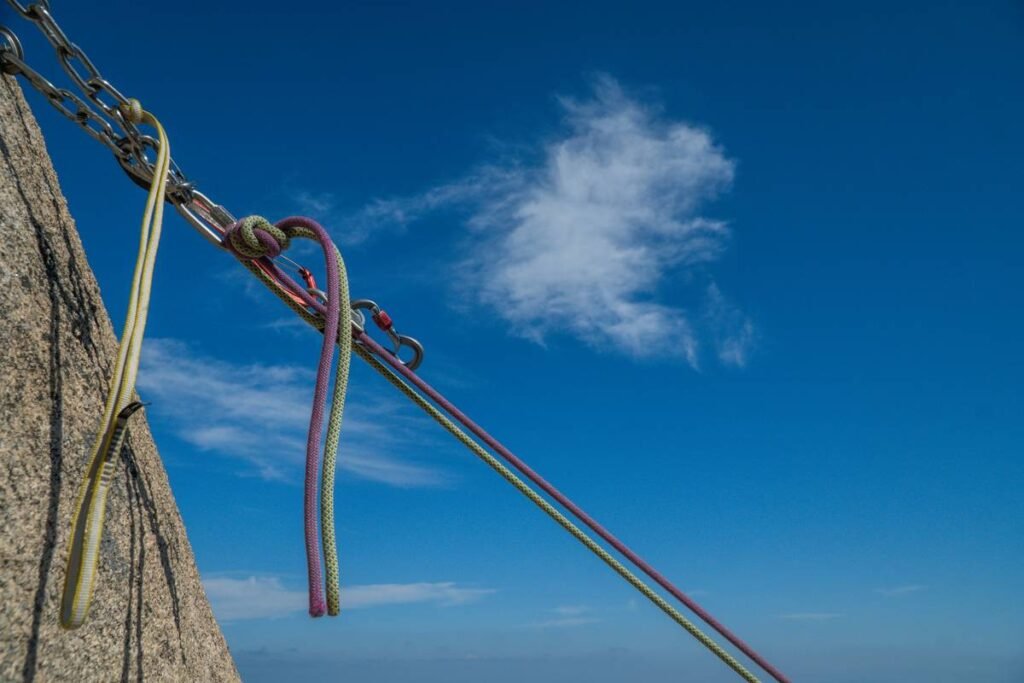
Your anchor must handle multidirectional loads. Use at least two primary points, ideally three, with independent slings or cordelettes. But—and this is critical—don’t assume your cordelette magically equalizes everything. Tie limiter knots to control extension if one point fails.
Master the Load-Testing Ritual
Before trusting your life, give each component a sharp tug *in the direction of expected force*. If a cam walks or a nut shifts, redo it. No exceptions.
| Anchor Method | Time to Build | Redundancy Level | Risk of Extension | Ideal Use Case |
|---|---|---|---|---|
| Cordelette (Untied) | 2–3 min | Moderate | High | Top-rope anchors on solid bolts |
| Quad Anchor | 3–4 min | High | Low | Multi-pitch trad routes with marginal gear |
| Sliding X with Limiters | 1.5–2 min | High | Controlled | Two-bolt sport anchors needing equalization |
| Bolted Fixed Anchor | N/A | Variable | None (if bolts solid) | Established sport crags—inspect corrosion! |
The Industry Secret: Anchor Psychology Over Anchor Geometry
Here’s what no manual tells you: your mental state shapes your anchor more than any knot. Fatigue, ego, or time pressure leads to “anchor drift”—that subconscious rush to finish the system. I’ve watched seasoned guides skip limiter knots because “it’s just a short pitch.” Then came the Factor 2 fall on El Cap’s East Ledge last spring. One snapped sling. Two broken ankles.
The math is simple: if you wouldn’t bet your house on it, don’t hang your body from it. Anchor building isn’t about gear—it’s about discipline under duress. Carry a dedicated anchor sling with pre-tied stoppers. Make it tactile. Muscle memory beats theory when your hands are shaking at dusk.
Frequently Asked Questions
What’s the strongest type of anchor for rock climbing?
There’s no single “strongest.” Strength comes from proper placement in solid rock, not gear brand. A well-set nut in granite often outperforms a cam in chossy sandstone.
Can I reuse old climbing anchors?
Inspect every component. Corrosion, frayed slings, or worn hangers mean immediate retirement. Metal doesn’t lie—but it won’t warn you either.
How often should I replace my anchor slings?
Every 2–3 years with regular use. UV exposure, abrasion, and acid rain degrade nylon faster than you think. When in doubt, throw it out.